
Hands-On Learning, 2026 Style: Your Guide to Interactive Platforms That Build Skills, Not Just Knowledge
Key Takeaways
- Interactive platforms bridge the gap between theoretical knowledge and practical skill application.
- Hands-on learning in 2026 prioritizes *doing* over just *knowing*, fostering practical expertise.
- EdTech shifts from passive 'read-and-remember' to active 'do-and-understand' learning cycles.
- These platforms act as digital workshops, building problem-solving and practical practitioner skills.
- Core principles for accelerated learning include active engagement and immediate feedback.
A fundamental challenge in modern education is the persistent friction between passive comprehension and active execution: the gap between merely studying a subject and effectively practicing it. Reading about programming, data analysis, or systems design provides foundational theory, but true mastery only crystallizes when engaging directly in interactive problem-solving environments. In 2026, the educational frontier has shifted decisively from static digital textbooks to responsive digital workshops driven by 📌 Recommended Reading: Architecting Sub-50ms Adaptive Tutoring in 2026: WebGPU Edge Inference, Dynamic Knowledge Graph Compilation, and Real-Time Cognitive State Tracking
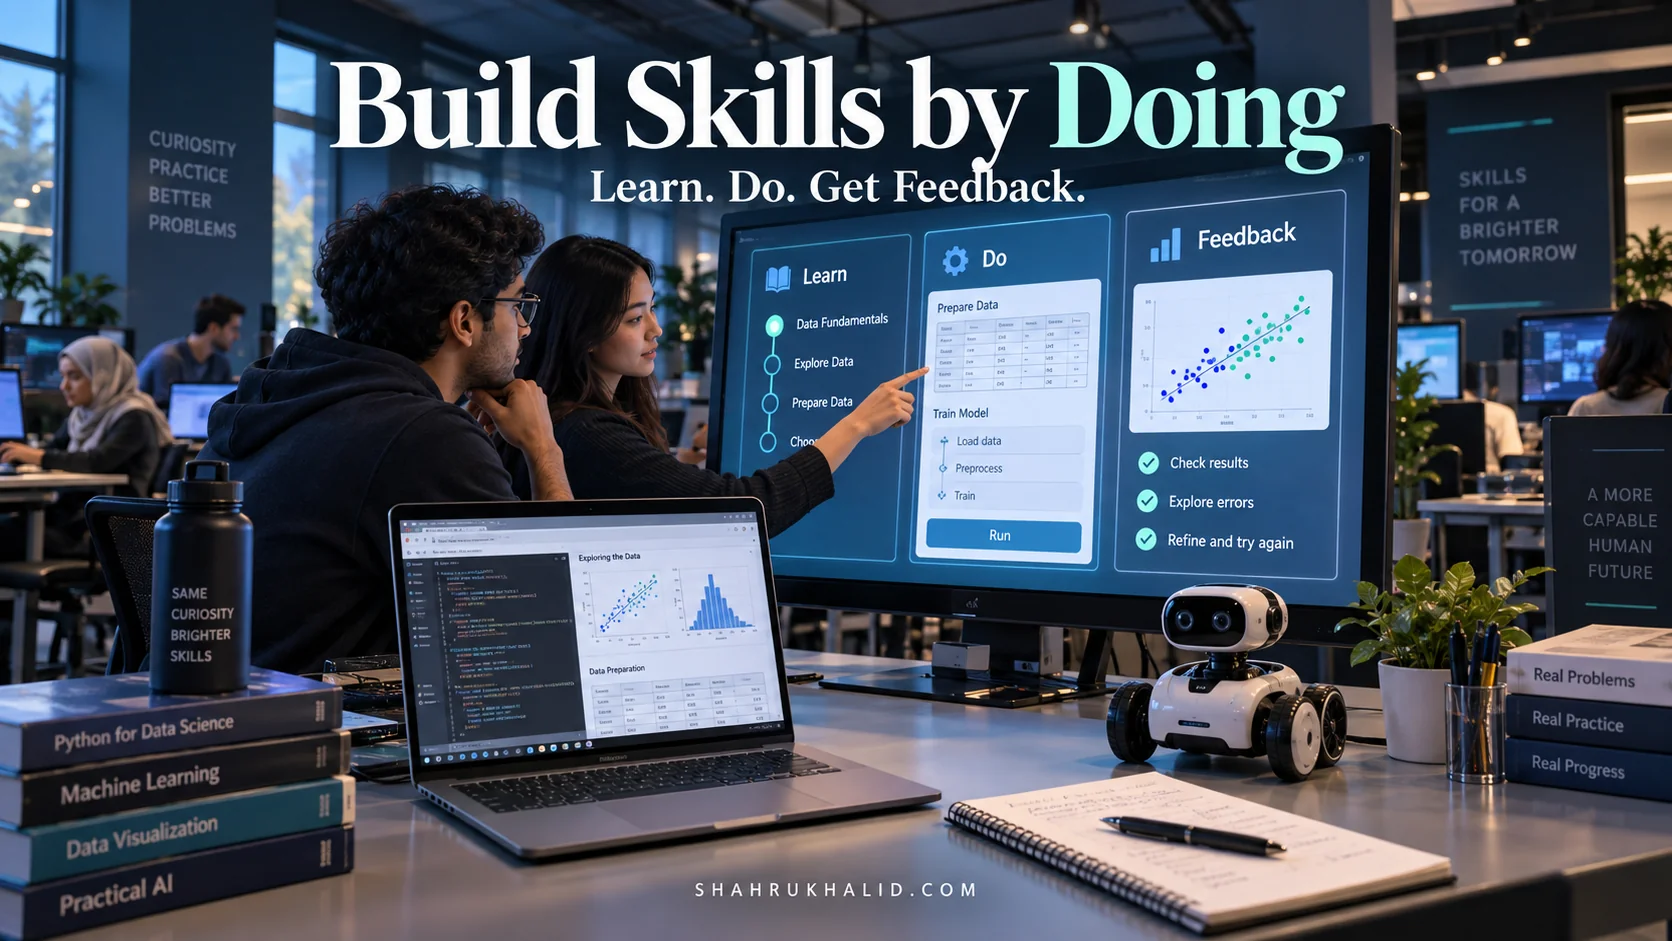
The second chef, Ben, has just one dog-eared recipe for a simple tomato sauce. He reads it, then immediately heads to the kitchen. His first attempt is watery. The second is too salty. On the third try, he burns the garlic. But with each attempt, he feels the texture of the dough, smells the aroma of the herbs, and sees how the heat transforms the ingredients. He isn’t just memorizing; he’s developing a feel, an intuition. After a week, Ben can make a decent tomato sauce without a recipe. Alex, for all his knowledge, would still be staring at a raw onion, unsure of how hard to press the knife. In the world of education, for too long, we’ve been creating Alexes. We’ve prioritized passive knowledge consumption—the digital equivalent of reading cookbooks. But by 2026, the world doesn’t just need people who know; it needs people who can do. This is where the revolution of **interactive learning platforms** comes in. At its heart, hands-on learning in EdTech is about closing the gap between theory and practice. It’s the difference between watching a video about Python code and actually writing Python code in a live environment that gives you instant feedback. It’s the shift from a passive “read-and-remember” model to an active “do-and-understand” cycle. Think of it as a digital apprenticeship. These experiential learning tools don’t just present you with information; they give you a sandbox, a workshop, or a virtual lab and a challenge. Your task is to use the concepts you’ve just learned to build something, solve something, or fix something. The core principles are simple but profound: The nature of work is changing. Employers are less interested in the name on your degree and more interested in your portfolio of projects. They want to see what you can build, what problems you’ve solved, and how you think. A certificate that says you “completed a course on JavaScript” is nice. A link to three web applications you built with JavaScript is a job offer. Skill development platforms are the bridge to that reality. They are designed from the ground up to help you build that portfolio. They are the gyms where you train your practical skills, preparing you for the marathon of a real-world career. The rise of AI and automation also means that rote knowledge is becoming a commodity. What isn’t a commodity is creativity, problem-solving, and the ability to apply knowledge in novel situations—the very things that active learning technologies are designed to foster. This isn’t just a trend; it’s a fundamental shift in how we value and measure competence. Before we can start building, we need to prepare our workshop. Just like a chef lays out their knives and cutting boards, we need to set up our digital environment. This isn’t just about software; it’s about adopting the right mindset for this new way of learning. The setup is simple, but every piece is crucial for a smooth, frustration-free journey. This is the most important prerequisite, and it doesn’t require a download. Before you open a single app, you must consciously adopt a “builder’s mindset.” While most interactive learning platforms are self-contained in your browser, having a basic local setup will empower you to take your learning to the next level, experiment independently, and truly own your work. With your mindset calibrated and your digital toolkit ready, you’re no longer just a student. You’re a builder standing at the entrance of your workshop. Now that our environment is set up, let’s pull back the curtain. How do these interactive learning platforms actually work? It might seem like magic, but it’s all based on a very deliberate pedagogical architecture designed to guide you through a powerful learning cycle. Understanding this blueprint will help you get the most out of any platform you use. The fundamental workflow of almost every effective skill development platform is a three-stage loop. Once you see it, you’ll recognize it everywhere. This loop then repeats, with each cycle building upon the last, gradually increasing in complexity. It’s like learning a language. First, you learn a word. Then you use it in a sentence. You get corrected on your grammar. Then you learn another word and try a new sentence. This is how fluency is built. To make this more concrete, let’s visualize the typical layout of these platforms. Imagine your screen is divided into three main panels. This structure is a deliberate design choice that facilitates the “Learn, Do, Get Feedback” loop. | Panel 1: The Instruction Pane (LEARN) | Panel 2: The Interactive Workspace (DO) | Panel 3: The Output/Feedback Pane (GET FEEDBACK) | This three-pane layout is the secret sauce. It keeps the theory, the practice, and the result in your field of view simultaneously, creating a powerful cognitive connection between your actions and their outcomes. So, what does a typical 30-minute learning session look like using this architecture? Let’s walk through it. Scenario: You’re learning CSS on a platform like freeCodeCamp. The goal is to change the color of a button. This is the rhythm of modern skill acquisition. It’s an active, engaging dance between you and the platform, and it’s the fastest way to build real, durable skills. Theory is great, but the whole point of this masterclass is to get our hands dirty. In this module, we’re going to move from concepts to code. We’ll take one of the most powerful and accessible interactive learning platforms—Google Colaboratory (Colab)—and use it to build a simple but real AI model. This project will demystify the world of AI and show you the “Learn, Do, Get Feedback” loop in action. Don’t worry if you’ve never written a line of Python or heard of machine learning. I’ll guide you every step of the way, explaining everything in plain English. Our Project: “The Great Fruit Detector.” We will teach a computer to tell the difference between an apple and a banana from a picture. It’s a classic “Hello, World!” of computer vision, and it’s the perfect first step into practical AI skills. Google Colab is essentially a free, super-powered Jupyter Notebook that runs in your browser, with access to Google’s powerful servers (including GPUs, which are special processors that speed up AI training). That’s it! Your environment is ready. No complex software installation needed. This is the power of cloud-based practical skills training tools. Before we cook, let’s look at our ingredients (our libraries). A library in programming is a pre-written collection of code that helps you perform common tasks without having to write everything from scratch. In the first code cell of your notebook, type or copy the following. I’ve added comments (the lines starting with `#`) to explain what each one does. Now, hover over the cell and click the “Play” button on the left, or press `Shift + Enter`. This is the “Do” part of the loop. The code will run on Google’s servers. Feedback: The Output Pane below the cell will show the message “✅ All libraries imported successfully!”. This instant confirmation tells us our environment is working correctly. AI models learn from data. We need to give our model lots of examples of apples and bananas. Luckily, we don’t have to go take pictures ourselves. We’ll use a pre-made dataset. Important Note: For this educational example, we’ll simulate loading data. In a real project, you’d download a dataset from a source like Kaggle. Here, we’ll focus on the processing steps, which are the core skill. Let’s create some dummy directories and then set up our `ImageDataGenerator`. This tool is amazing: it automatically loads images from folders, resizes them, and prepares them for the model. In a new code cell, add the following: # Define image size and batch size. # In a real project, you would download and unzip a dataset like this: # This is a placeholder path. Colab won't find it, but it shows the structure. # This is the magic tool: ImageDataGenerator. # This would connect the generator to the folder and tell it how to load the images. print("✅ Data generators configured. Ready to load images from specified paths.") Run this cell. The output confirms your configuration is syntactically correct. You’ve just written the code that bridges your raw data (images in folders) to your AI model. This is a fundamental skill in any AI project, and you learned it by doing. For an even more hands-on experience, you can find a small fruit dataset online (Kaggle has many), upload it to your Colab environment, and uncomment the `flow_from_directory` lines to see it in action. The official Google AI documentation provides extensive guides on how to handle data for more advanced projects. Now, we build our “brain”—the neural network. Using Keras, this is surprisingly straightforward. We’re going to stack layers like Lego blocks. In a new code cell, add the following: “`python model = keras.Sequential([What is Hands-On Learning in EdTech, Really?
Why This Matters More Than Ever in 2026
Prerequisites & Complete Environment Setup
Step 1: Configuring Your Learner’s Mindset
Step 2: Your Essential Digital Toolkit
├── python_basics/
│ ├── project_1_calculator/
│ │ └── notes.md
│ └── project_2_text_analyzer/
│ └── main.py
└── web_development/
└── project_1_portfolio_site/
├── index.html
└── style.css
Core Implementation Architecture & Workflow Blueprint
The “Learn, Do, Get Feedback” Loop: The Engine of Skill Building
The Anatomy of an Interactive Learning Platform: A Visual Grid
| :— | :— | :— |
| Location: Usually on the left side or top of the screen. | Location: The largest, central part of the screen. This is your digital workbench. | Location: Often at the bottom or on the right side. |
| Content: This is where you’ll find your instructions, conceptual explanations, and examples. It might contain text, images, or a video tutorial. | Content: This is the active area. It could be a code editor, a command-line terminal, a visual design canvas, or a simulated network environment. This is where you type, click, and build. | Content: This is where the results of your actions appear. It could be a rendered web page, the output of a program, a set of test results (e.g., “3/5 tests passed”), or a specific error message. |
| Your Goal Here: Understand the what and the why of the current task. Read carefully and absorb the core concept. | Your Goal Here: Apply the concept. Translate the theory from the instruction pane into a practical action. Write the code, drag the element, run the command. | Your Goal Here: Analyze the result. Did it work? If not, what does the feedback tell you? Use this information to debug and refine your work in the workspace. |Your Workflow Blueprint: A Step-by-Step Session
.btn {
      background-color: red;
    }
.btn {
      background-color: red;
    }
Hands-on Practical Implementation & Real-World Configuration
Step 1: Setting Up Your Google Colab Notebook
Step 2: The “Learn” Phase – Understanding the Ingredients
# This is a heavily commented, beginner-friendly Python script for Google Colab.

# --- Step 1: Importing Our Tools (Libraries) ---
# Think of these as importing different toolkits into our workshop.

# TensorFlow is Google's powerful, open-source library for machine learning. It's the engine of our AI.
# We're importing it and giving it a nickname 'tf' to make it easier to use.
import tensorflow as tf

# Keras is a high-level API (a user-friendly interface) that runs on top of TensorFlow.
# It makes building neural networks as easy as stacking Lego blocks.
from tensorflow import keras
from tensorflow.keras import layers
from tensorflow.keras.preprocessing.image import ImageDataGenerator

# NumPy is a fundamental library for scientific computing in Python.
# It's great for handling large arrays of numbers, which is what images become when a computer reads them.
import numpy as np

# Matplotlib is a plotting library. We'll use it to visualize our images and results.
import matplotlib.pyplot as plt

# Print a confirmation message to verify everything is imported correctly.
print("✅ All libraries imported successfully!")Step 3: The “Do” Phase – Preparing the Data
# The model needs all images to be the same size. 150×150 pixels is a good start.
# A 'batch' is a small group of images the model looks at in one go. 32 is a standard size.
IMG_HEIGHT = 150
IMG_WIDTH = 150
BATCH_SIZE = 32
# !wget -q "URL_TO_YOUR_DATASET.zip"
# !unzip -q "URL_TO_YOUR_DATASET.zip"
# For this guide, we'll define the paths where the data WOULD be.
# The structure is crucial: a main directory with subdirectories for each category.
# /data/
# ├── train/
# │ ├── apples/ (contains apple images)
# │ └── bananas/ (contains banana images)
# └── validation/
# ├── apples/ (contains more apple images)
# └── bananas/ (contains more banana images)
train_dir = 'data/train'
validation_dir = 'data/validation'
# It creates 'generators' that will feed images to our model from the directories.
# We also 'rescale' the images. Image pixel values range from 0-255.
# Scaling them to be between 0 and 1 helps the model learn faster.
train_datagen = ImageDataGenerator(rescale=1./255)
validation_datagen = ImageDataGenerator(rescale=1./255)
# Since we don't have real data loaded, this part is for demonstration.
# In a real run, you would uncomment and run this.
# train_generator = train_datagen.flow_from_directory(
# train_dir,
# target_size=(IMG_HEIGHT, IMG_WIDTH),
# batch_size=BATCH_SIZE,
# class_mode='binary' # 'binary' because we have only two classes: apples and bananas
# )
# validation_generator = validation_datagen.flow_from_directory(
# validation_dir,
# target_size=(IMG_HEIGHT, IMG_WIDTH),
# batch_size=BATCH_SIZE,
# class_mode='binary'
# )Step 4: Building and Training the Model (The Main Event)
# — Step 3: Building the Model (The Recipe) —
# We’re building a ‘Sequential’ model, which is a simple stack of layers.
# Layer 1: The ‘eyes’ of our model. This is a Convolutional layer (Conv2D).
# It learns to detect simple patterns like edges, curves, and colors.
# We tell it the input shape matches our image size (150×150 pixels, 3 color channels for R,G,B).
layers.Conv2D(16, (3,3), activation=’relu’, input_shape=(IMG_HEIGHT, IMG_WIDTH, 3)),
# This layer simplifies the information, keeping only the most important bits.
layers.MaxPooling2D(2,2),