The 2026 Student Tool Takedown: Which Study Tech *Actually* Works for YOU? (No-Fuss Comparison)
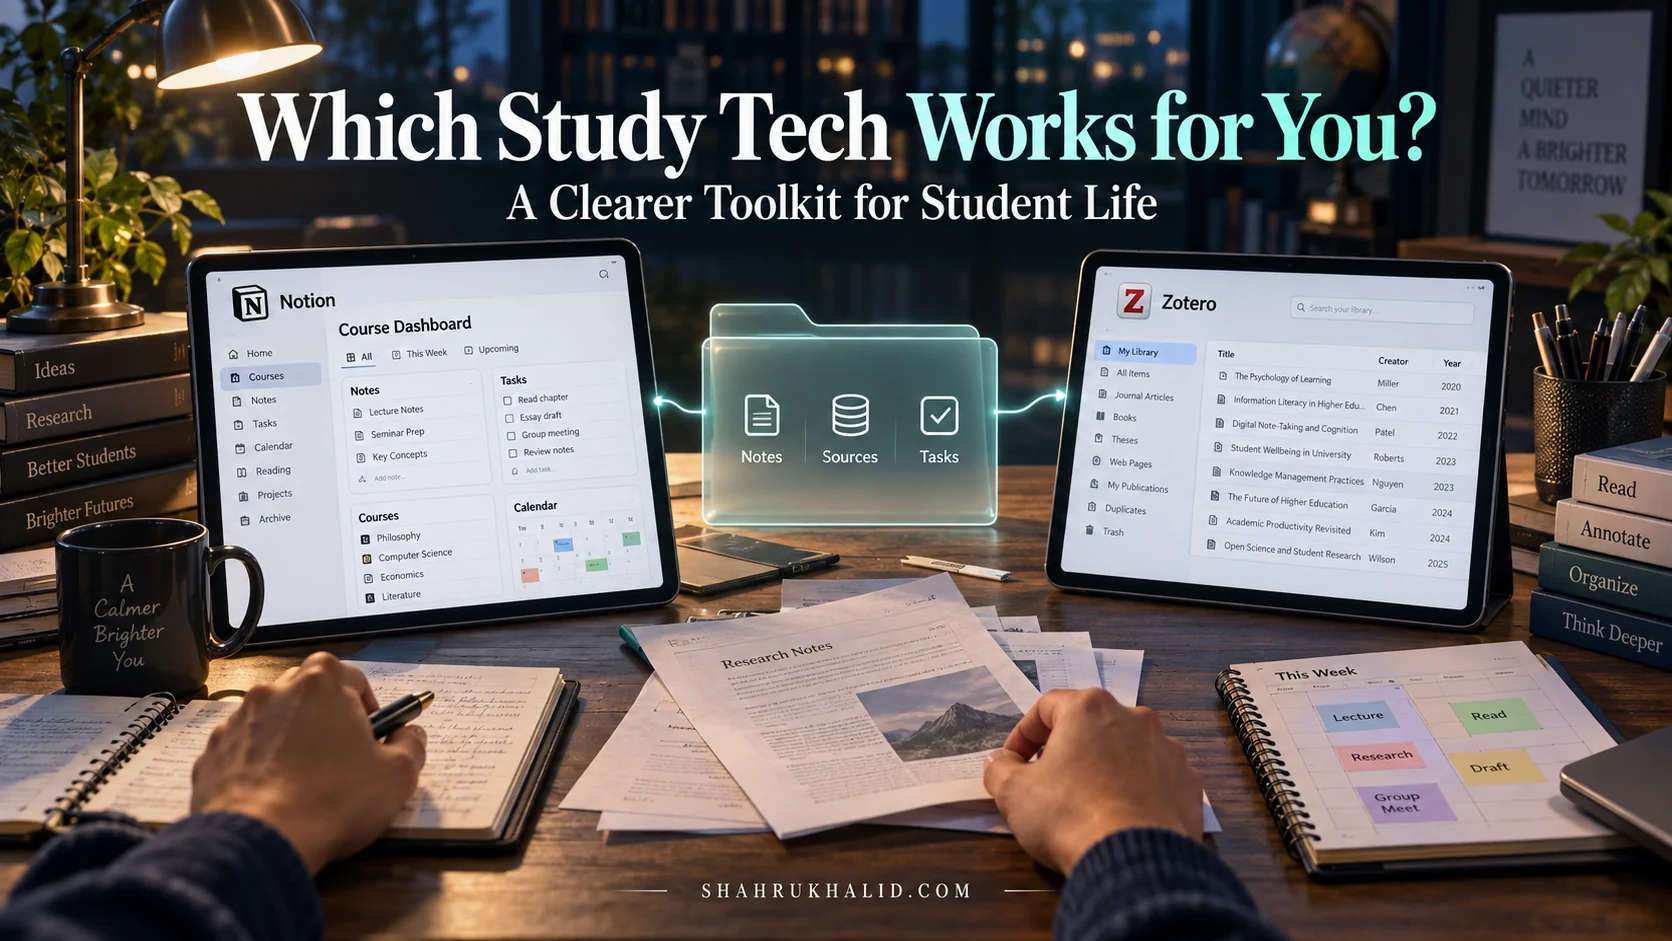
In modern higher education, academic success is no longer solely dictated by attendance or raw study hours—it hinges on personal information architecture. Students frequently struggle not with intellectual capacity, but with cognitive overload and tooling sprawl: notes dispersed across multiple apps, highlighted textbook PDFs buried in disorganized desktop folders, and fragmented task trackers that consume more energy to maintain than the material itself.
Managing an academic workload effectively mirrors the principles of enterprise software design: establishing clear data pipelines, eliminating duplicate state, and creating scalable, frictionless workflows. Rather than succumbing to the endless hype of novelty productivity apps, this guide cuts through the marketing noise to deliver a rigorous, side-by-side evaluation of 2026’s leading student tools, helping you architect a system tailored to your unique cognitive style.
Comprehensive Foundations & Concept Primer
Before we dive into specific apps or gadgets, we need to lay the foundation. Think of this as the physics lesson you need before you can build a rocket ship. Understanding the why behind your tool choices is what separates a student who just has apps from a student who leverages a system. The goal here is to find the best study tools for your unique brain.
The “Digital Backpack” Analogy: Why Your Current System is Failing You
Imagine your physical backpack from high school. Remember that one pocket filled with crumpled papers, a leaky pen, three-month-old granola bar crumbs, and a single, mysterious paperclip? That’s what most students’ digital lives look like. You have notes in Apple Notes, a syllabus downloaded to your desktop, a link saved in a browser bookmark folder you never check, and a to-do list scribbled on a receipt.
This isn’t just messy; it’s a cognitive drain. Every time you have to ask, “Wait, where did I save that lecture slide?” you’re spending precious mental energy on retrieval logistics instead of on understanding covalent bonds or the causes of the French Revolution.
A well-designed “Digital Backpack” for 2026 is different. It’s a single, organized space where every tool has a purpose and every piece of information has a home. It’s lightweight, searchable, and accessible from anywhere. Building this is our primary goal.
The Three Pillars of Effective Learning Technology
All the most effective study gadgets and apps, from the simplest to the most complex, serve one or more of these three core functions. Understanding them is key to diagnosing what’s missing from your current workflow.
- Capture: This is the process of getting information from the outside world into your system. It could be typing lecture notes, scanning a whiteboard, saving a research paper, or recording a voice memo about a sudden essay idea. The key to effective capture is low friction. It needs to be as fast and easy as possible.
- Organize: This is where raw, captured information is processed into structured knowledge. It involves tagging, linking, summarizing, and filing notes into a coherent structure. This is where you build your “second brain,” connecting ideas and creating a personal knowledge graph. This is the step most students skip, and it’s the most critical.
- Review: Information that isn’t revisited is quickly forgotten. The Review pillar is about actively engaging with your organized knowledge to commit it to long-term memory. This isn’t passive rereading. It’s active recall, self-testing, and spaced repetition—proven methods for durable learning.
As we go through this guide, I want you to constantly ask yourself: “How does this tool help me Capture, Organize, or Review?”
Why 2026 is a Different Ball Game: The Rise of AI and Integrated Systems
The student tech landscape is evolving at a dizzying pace. The “top student tech 2026” isn’t just about a new note-taking app. It’s about a fundamental shift in how we interact with information. AI is no longer a gimmick; it’s a powerful study partner. Tools are no longer isolated islands; they are connected via APIs and integrations, forming a seamless whole.
This raises the crucial question: Are AI study tools worth it? The answer is a resounding yes, but with a major caveat. AI is a phenomenal assistant, not a replacement for your brain. It can summarize a dense 50-page paper in seconds, generate practice questions for an exam, or act as a Socratic tutor to challenge your understanding. But if you use it to simply write your essay without engaging in the underlying thought process, you’re not learning; you’re just cheating yourself. We’ll explore how to use these tools responsibly and effectively.
Prerequisites & Complete Environment Setup
Alright, let’s get our hands dirty. In software development, before we write a single line of code, we set up our “environment.” This means installing the right programs, creating our folder structures, and making sure everything is configured correctly. We’re going to do the exact same thing for your study life. This module is about creating the clean, organized digital workspace where your new system will live.
Step 1: The Digital Audit – Taking Inventory of Your Current “Tech Stack”
You can’t build a new city without first surveying the land. Let’s figure out what you’re working with.
Grab a piece of paper or open a new document. I want you to perform a “Digital Audit.” List every single app, software, subscription, and website you currently use for your studies. Be brutally honest.
Your list might look something like this:
- Note-Taking: Google Docs, Apple Notes, one physical notebook for Chemistry
- Task Management: Sticky notes on my monitor, the Reminders app
- File Storage: Google Drive, my laptop’s Desktop folder, a USB stick
- Collaboration: WhatsApp group chat for a group project
- Reference: A folder of bookmarks named “Stuff”
Don’t judge the mess. Just get it all down. This list is your “before” picture. It helps you see where the redundancies, gaps, and points of friction are.
Step 2: Defining Your “Single Source of Truth” (SSoT)
In the world of databases and APIs, a “Single Source of Truth” or SSoT is a fundamental concept. It means that for any given piece of information, there is only one authoritative place where it lives. This prevents confusion and ensures everyone is working from the same data. On platforms like the one I write for at Shahrukh Khalid, maintaining an SSoT is critical for system integrity.
For you as a student, your SSoT is your Digital Backpack’s central hub. It’s the one place you can trust to contain, or at least link to, everything important. This is not necessarily a single app, but a single, intentional location.
Your SSoT could be
- A master “University” folder in Google Drive or Dropbox.
- A central “Dashboard” page in a tool like Notion or Obsidian.
- The top-level folder in your Zotero reference library.
The specific choice depends on your workflow, but the principle is what matters. Decision Point: Where will your academic life be centered? Choose one location now. This is the foundation of your entire system.
Step 3: Architecting Your Directory Structure
Once you’ve chosen your SSoT, it’s time to build the scaffolding. A logical folder structure is the single most effective, low-tech way to bring order to chaos. This is your system’s “directory layout.” I recommend a simple, scalable, chronological-thematic hybrid structure.
Here is a production-ready template. Create this structure inside your chosen SSoT:
├── 2026_Fall/
│ ├── PSYC101_Intro_to_Psychology/
│ │ ├── 01_Syllabus_and_Admin/
│ │ ├── 02_Lectures_and_Notes/
│ │ ├── 03_Readings_and_Resources/
│ │ ├── 04_Assignments/
│ │ └── 05_Exam_Prep/
│ ├── HIST240_Modern_Europe/
│ │ ├── 01_Syllabus_and_Admin/
│ │ ├── … (etc.)
│ └── …
├── 2027_Spring/
│ ├── …
└── Archive/
└── 2025_Archive/
Why this works
- Scalable: You can easily add new semesters and courses.
- Chronological: Everything from a specific time is grouped together.
- Thematic: Everything for a specific course is in one place.
- Predictable: You will always know where to save a new file and where to find an old one. The numbered prefixes (01, 02, etc.) force the folders to appear in a logical order, not alphabetical.
Go ahead and build this structure right now in your Google Drive, Dropbox, or on your local hard drive.
Step 4: Verification – The “5-Second Rule”
How do you know if your environment setup is successful? We need a verification test. I call it the “5-Second Rule.”
The Test: Pick a random, specific piece of information you might need. For example: “The PDF of the reading for Week 3 of my Psychology class last semester.”
Start a timer. Can you navigate to that exact file in your new system in 5 seconds or less, without using a search function?
If you can, congratulations. Your environment is set up correctly. The structure is so intuitive that you don’t need to think. If you can’t, it means your structure is too complex or not logical enough for your brain. Tweak it until you can pass the test. This simple exercise is the benchmark for an effective organizational system.
Core Implementation Architecture & Workflow Blueprint
With our clean environment set up, we can now design the “software” that will run on it. This isn’t about apps yet; it’s about workflows. A workflow is just a series of repeatable steps to get something done. By defining our workflows first, we can then choose tools that fit the process, not the other way around. This is how you avoid “Tool-Hopping Procrastination.”
We’ll visualize our system using a “card” metaphor, a common practice in agile development for tracking tasks. Each card represents a distinct stage in the journey of information, from raw idea to ingrained knowledge.
The Three Core Student Workflows
Your entire academic life can be broken down into three fundamental workflows.
- The “Capture & Process” Workflow: This is the journey from hearing something in a lecture or reading it in a book to having a clean, organized, and connected note in your system.
- The “Synthesis & Creation” Workflow: This is the process of taking your organized notes and transforming them into a new piece of original work, like an essay, a project, or a presentation.
- The “Review & Reinforce” Workflow: This is the crucial, often-neglected process of systematically reviewing your notes to fight the “forgetting curve” and ensure you’re prepared for exams.
Every tool we discuss will be in service of one or more of these workflows.
The “Information Assembly Line”: A Visual Card Grid
Let’s map these workflows onto a visual grid. Imagine an assembly line for knowledge. Information comes in one end, gets processed at different stations, and exits as a finished product (either a creative work or long-term memory).
[Visual Card Structure: The Four Stations]
Card 1: The “Inbox” Station (Frictionless Capture)
- Purpose: To get ideas, tasks, and information out of your head and into your system with the least possible effort. The Inbox is a temporary holding area, not a permanent home. It’s designed to be messy.
- Core Principle: Speed over structure.
- Tools Fit for the Job:
- Digital: Google Keep, Apple Notes, Drafts, voice memo apps. These are fast to open and sync across devices.
- Physical: A small pocket notebook (e.g., Field Notes) and a pen.
- Hybrid: A scanning app like Microsoft Lens or Adobe Scan to quickly digitize whiteboard photos or handwritten notes.
- Workflow Example: You’re in a lecture and the professor says something that sparks an essay idea. You pull out your phone, open Google Keep, and type “Essay idea: connect Plato’s cave allegory to The Matrix for HIST240.” Done in 10 seconds. The thought is captured.
Card 2: The “Processing Hub” Station (Organization & Connection)
- Purpose: This is the brain of your operation. Here, you regularly empty your Inbox and process the raw items. You clarify, contextualize, tag, and link them to other knowledge. This is where you turn messy notes into a structured, interconnected knowledge base.
- Core Principle: Structure and context over speed.
- Tools Fit for the Job:
- Notion: Excellent for structured databases (e.g., a table of all your readings, a gallery of your courses).
- Obsidian: Unparalleled for creating a web of linked thoughts (a “second brain”). Its graph view visually shows how your ideas connect.
- Microsoft OneNote: A robust, free-form digital binder that many students love for its organizational flexibility.
- Workflow Example: At the end of the day, you review your Google Keep. You see the note about Plato. You open Notion, go to your “HIST240” page, and create a new entry in your “Essay Ideas” database. You copy the note, tag it with `#philosophy` and `#film`, and add a link to the Wikipedia page for Plato’s Allegory. The raw idea is now a structured, enriched piece of information.
Card 3: The “Active Workspace” Station (Synthesis & Creation)
- Purpose: This is your digital workshop. It’s where you pull organized materials from your Processing Hub and actively build something new. This space is optimized for long-form writing, mind-mapping, and creating final deliverables.
- Core Principle: Focus and flow.
- Tools Fit for the Job:
- Google Docs / Microsoft Word: The industry standards for writing and collaboration.
- Scrivener: A powerful tool for long-form writing (like a thesis or novel) that lets you manage research and write in a single interface.
- Miro / FigJam: Infinite digital whiteboards for brainstorming, mind-mapping, and planning projects visually.
- Workflow Example: It’s time to write the essay. You open Google Docs. On one side of your screen, you have your Notion page with all your organized notes and links. On the other, you have your blank document. You drag and drop quotes, synthesize ideas, and build your argument, using your notes as building blocks.
Card 4: The “Memory Palace” Station (Review & Reinforcement)
- Purpose: To transfer knowledge from your system into your long-term biological memory. This station is built on the principles of active recall and spaced repetition.
- Core Principle: Deliberate, effortful retrieval.
- Tools Fit for the Job:
- Anki: The gold standard for spaced repetition flashcards. It’s powerful, customizable, and free.
- Quizlet: More user-friendly than Anki, with game-like learning modes.
- Native Tool Features: Many tools like Notion and Obsidian have community-built plugins or templates for spaced repetition.
- Workflow Example: While processing your notes in Notion (Card 2), you identify a key concept: “The Forms are the true reality in Platonic philosophy.” You open Anki and create a “Cloze deletion” flashcard: “The {…} are the true reality in Platonic philosophy.” Days or weeks later, Anki will prompt you to fill in the blank, forcing your brain to retrieve the information. This is infinitely more effective than passively rereading your notes.
Understanding this four-station assembly line is the key. Now, let’s build a real one with actual tools.
Hands-on Practical Implementation & Real-World Configuration
Theory is great, but let’s make this real. In this module, we’ll walk through the step-by-step setup of a powerful, flexible, and—most importantly—affordable student productivity software stack. I call this the “Freemium Powerhouse.” It uses free or low-cost tools to create a system that rivals expensive, all-in-one solutions.
We will configure a stack using:
- Notion: As our Processing Hub and project dashboard.
- Zotero: As our dedicated reference and PDF manager.
- Anki: As our Memory Palace for long-term retention.
Setup 1: Notion – Your University Dashboard
Notion will be the central command of your academic life. It’s where your plans, notes, and tasks will live and connect.
- Step 1: Create Your Workspace. Go to Notion.so and sign up for a free personal account. Create a new, blank page and title it “University Dashboard.”
- Step 2: Build the Core Structure. On your dashboard, type `/` to bring up the command menu. We’re going to create three key databases.
- Type `/database – inline` and name it `Courses`. Add properties (columns) for “Course Code,” “Professor,” and “Semester.”
- Type `/database – inline` and name it `Assignments`. Add properties for “Due Date” (Date property), “Status” (Select property: Not Started, In Progress, Done), and most importantly, “Course” (Relation property). When you create the Relation property, link it to your `Courses` database.
- Type `/database – inline` and name it `Lecture Notes`. Add properties for “Date,” “Topic,” and a “Course” Relation property linked to your `Courses` database.
- Step 3: The Magic of Relations. Now, when you add a new entry to your `Assignments` database for a “Psychology Paper,” you can link it directly to the `PSYC101` entry in your `Courses` database. When you open the `PSYC101` page, you will see all the assignments and lecture notes related to that course automatically grouped there. This is the power of a relational database over simple folders.
- Step 4: Create a Capture Inbox. At the very top of your dashboard, create a simple “Inbox” section with a bulleted list or a to-do list. This is where you’ll quickly dump ideas or tasks before processing them into your databases later.
Production-Ready Configuration: Your `University Dashboard` should now have a quick-capture Inbox at the top, followed by your three interconnected databases: Courses, Assignments, and Lecture Notes. This simple setup provides a powerful framework for organizing your entire academic workload.
Setup 2: Zotero – Your Automated Reference Librarian
Endless hours spent formatting citations is a classic student time-sink. Zotero automates this. It’s a free, open-source tool that is non-negotiable for anyone doing research.
- Step 1: Install Zotero. Download and install the Zotero desktop app from zotero.org.
- Step 2: Install the Zotero Connector. While on the download page, also install the Zotero Connector for your browser (Chrome, Firefox, Safari). This is the most important part.
- Step 3: Configure the Connector. Open the Zotero desktop app. Now, go to a research paper on a site like Google Scholar or your university’s library database. In your browser, click the Zotero Connector icon (it might look like a ‘Z’ or a small paper icon).
- Step 4: Watch the Magic. Zotero will automatically parse the webpage and save all the citation information (author, title, journal, year, etc.) and, if available, the full-text PDF, directly into your Zotero library. All with a single click.
- Step 5: Cite While You Write. Install the Zotero plugin for Google Docs or Microsoft Word. When you’re writing your essay in Google Docs and need to cite a source, you just click `Zotero > Add/edit citation`, search for the paper you saved, and it will insert a perfectly formatted in-text citation. When you’re done, you can click `Zotero > Add/edit bibliography` to generate a complete, alphabetized reference list in whatever style you need (APA, MLA, Chicago, etc.) in seconds.
This workflow alone will save you dozens of hours over your academic