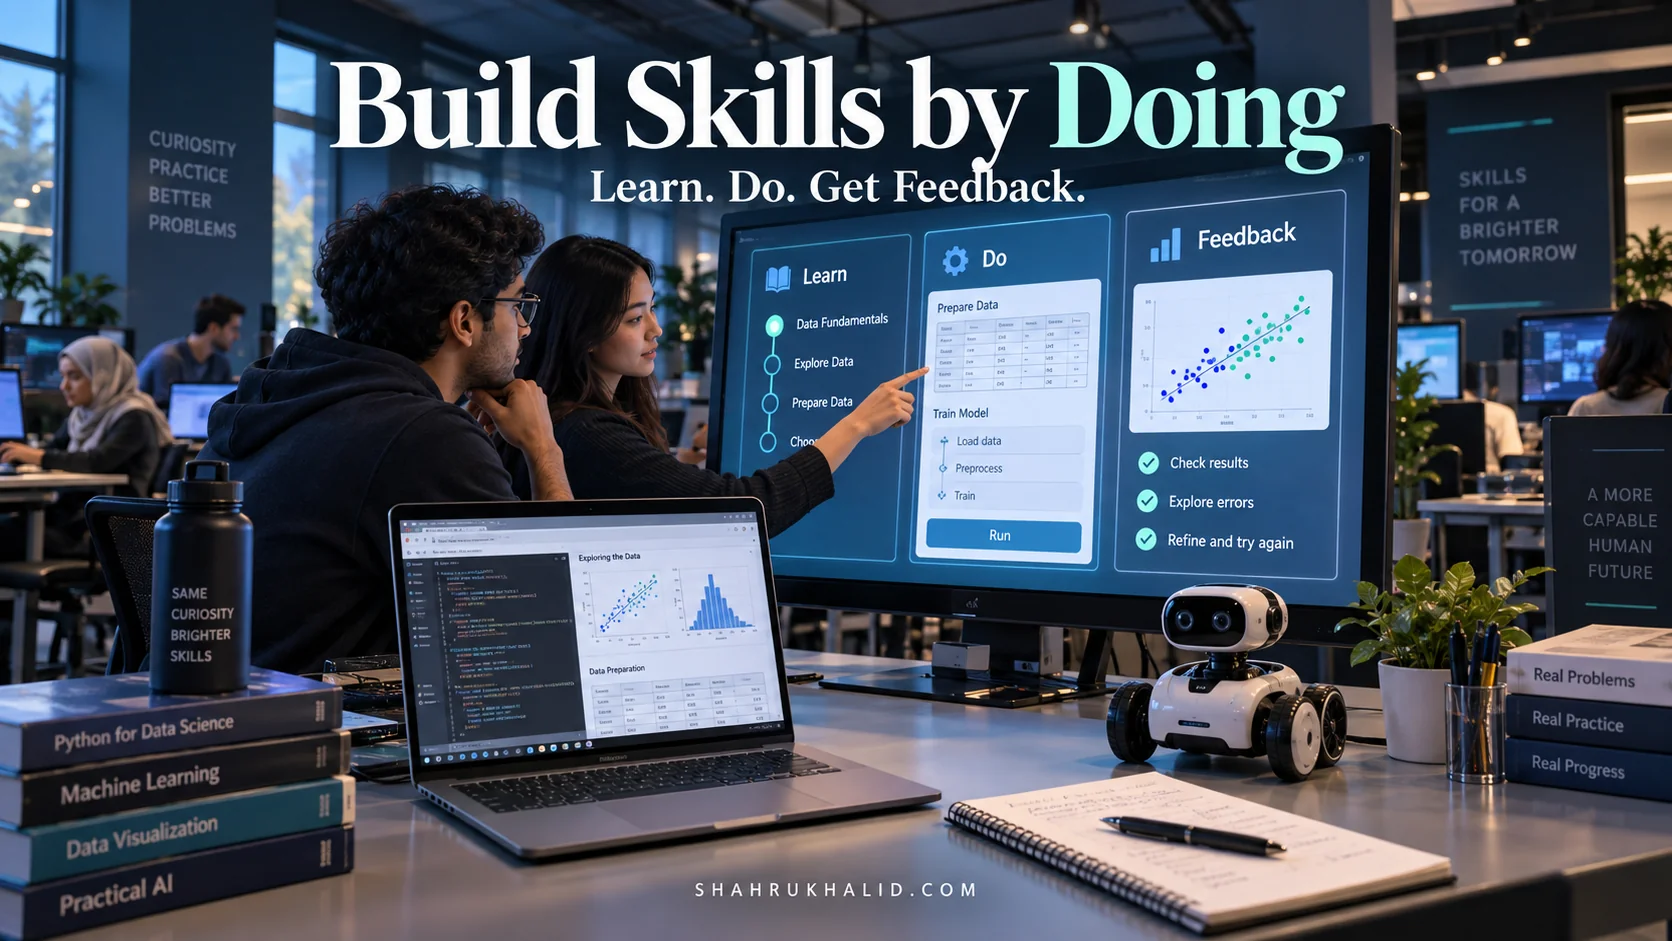
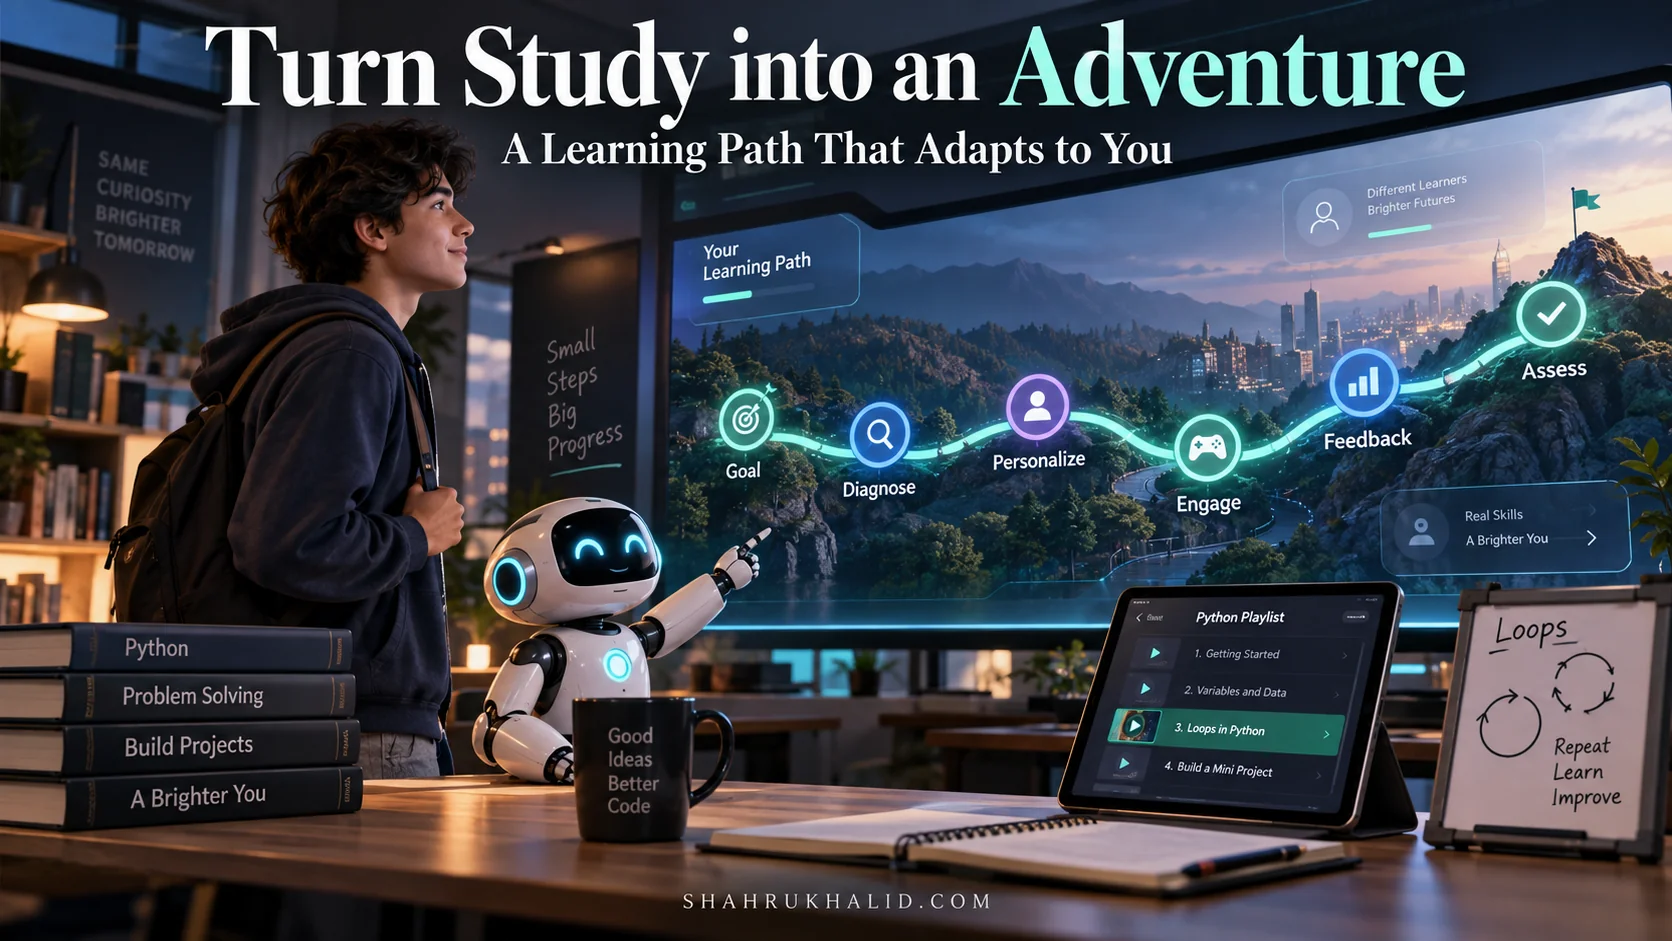
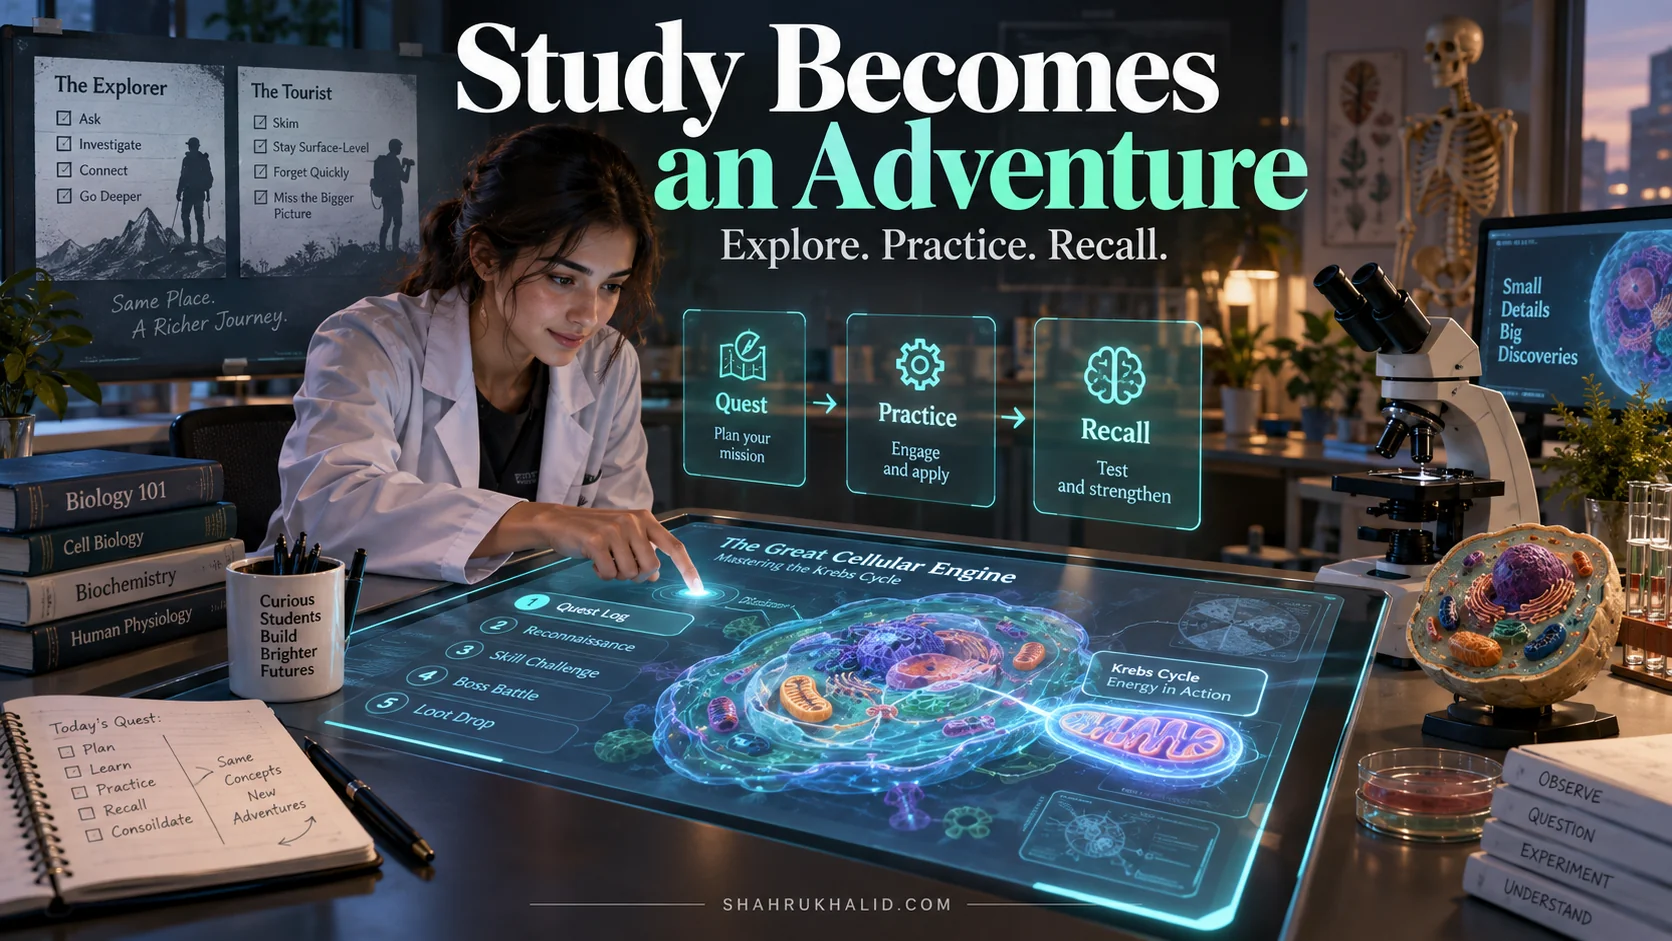
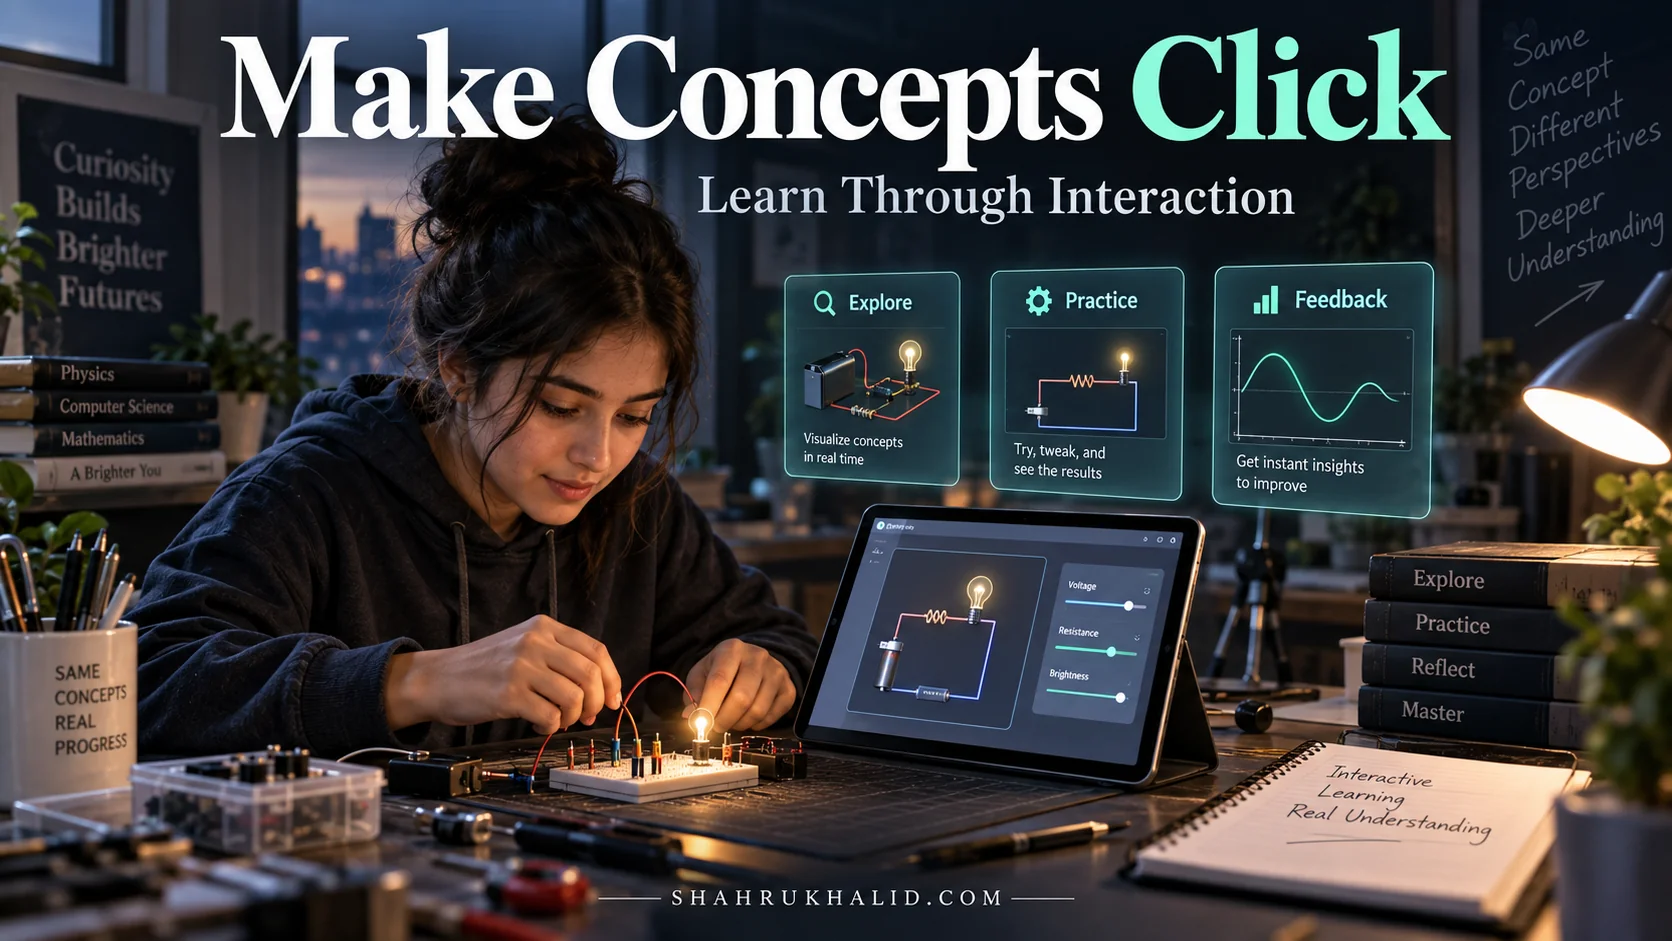
The 2026 Learning Game-Changer: How Interactive Platforms Make Complex Topics *Click* for Students

Key Takeaways
- Interactive platforms shift learning from passive reception to active discovery, making complex topics intuitive.
- They utilize digital environments and real-time simulations to enable hands-on experimentation and comprehension.
- These tools embody constructivism, fostering deep understanding through doing, creating, and immediate feedback.
- Learning with interactive platforms is a crucial skill for mastering intricate subjects by 2026.
- Proficiency demonstrates agile learning, highly valued by future employers and educational institutions.
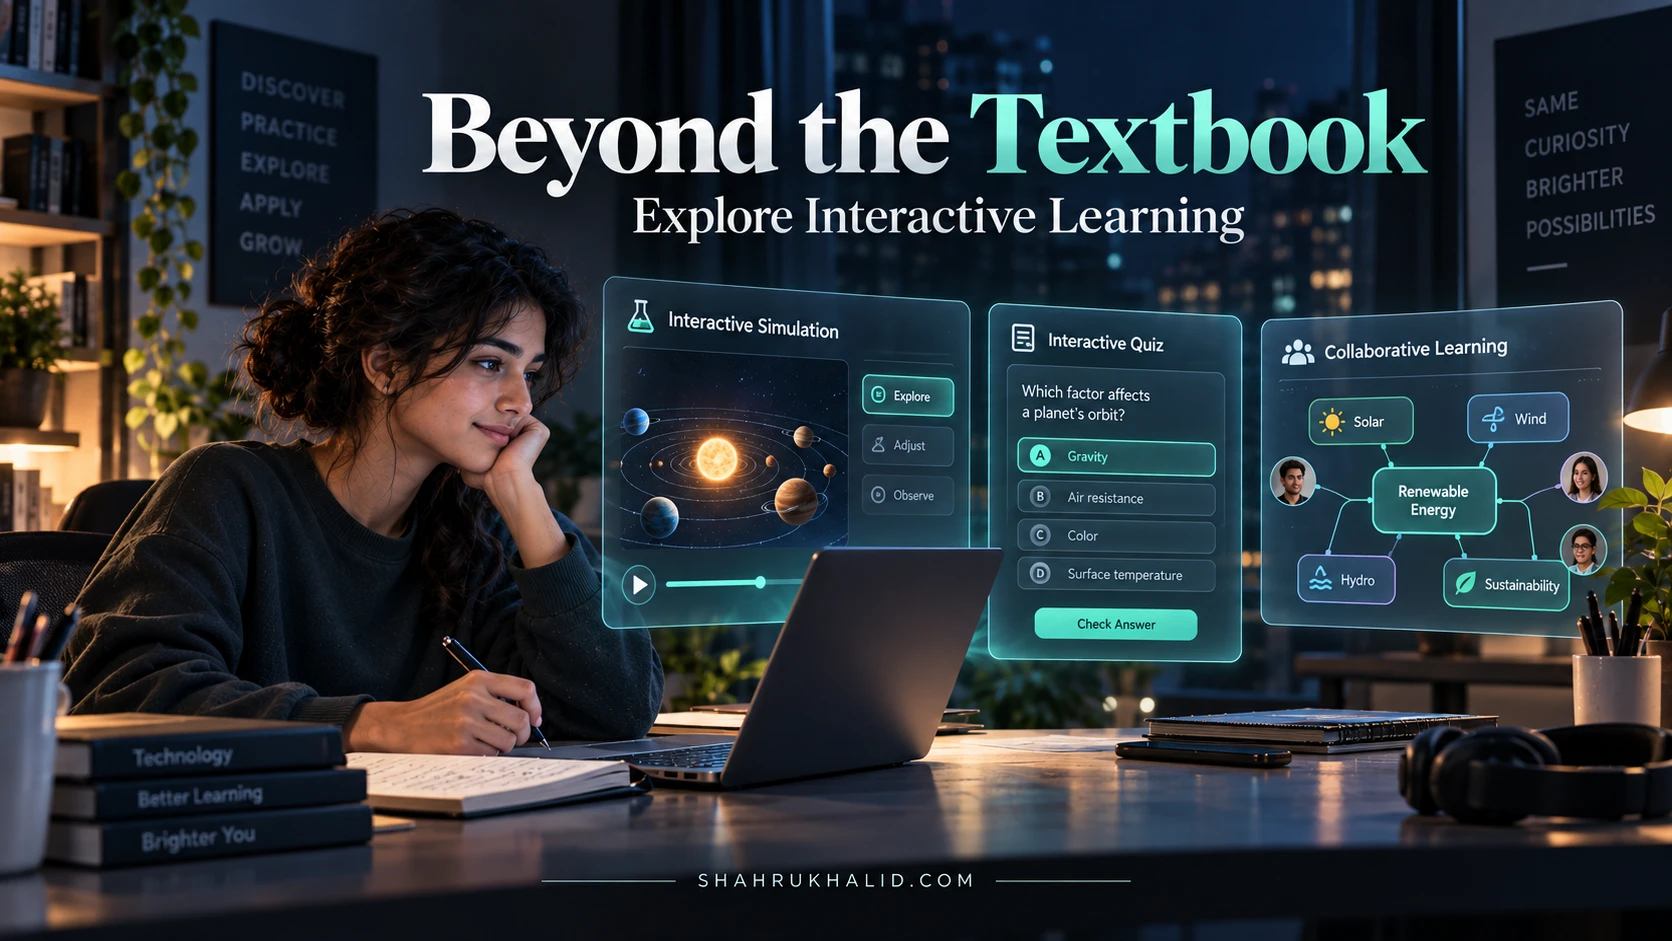
We are on the cusp of a monumental shift in education, a change powered by a new generation of **interactive learning platforms**. By 2026, these tools won’t just be a supplement to your studies; they will be the core engine that makes difficult subjects finally click. This guide is your masterclass. It’s not just about the technology; it’s about a new way to think, to engage, and to learn. We’re going to break down how you can harness these platforms to transform your own educational journey, moving from a passive observer to an active participant in your own success.
Module 1: Comprehensive Foundations & Concept Primer
Let’s start with a story. I remember my first encounter with university-level calculus. The textbook was a dense, thousand-page brick filled with symbols that felt more like ancient hieroglyphs than a language of motion and change. My professor was brilliant, but the lectures were a one-way street of information. I’d leave the hall feeling like I’d been sprayed with a firehose of facts, but I was no closer to understanding.
Now, imagine learning calculus a different way. Instead of a static graph in a book, you have a digital slider. As you drag it, you see the tangent line move along the curve, and you watch the value of the derivative change in real-time. You’re not just being told that the derivative is the slope of the tangent; you are discovering it. You’re playing with it. That, in a nutshell, is the magic of interactive learning.
What Exactly Are Interactive Learning Platforms?
At their core, interactive learning platforms are digital environments designed to turn you from a passive recipient of information into an active explorer of knowledge. They are the polar opposite of a traditional textbook or a standard video lecture.
Think of it this way:
- Passive Learning (The Old Way): Reading a chapter on the solar system. You see pictures of the planets. You memorize their order.
- Active Learning (The Interactive Way): Opening a 3D simulation of the solar system. You can zoom in on Mars, spin it around, and click on Olympus Mons to see its true scale compared to Mount Everest. You can speed up time to watch the planets orbit the sun, gaining an intuitive feel for their relative speeds.
This isn’t just about adding fancy graphics; it’s a pedagogical principle called constructivism. The idea is that we build understanding most effectively when we are actively doing, creating, and experimenting. These platforms are built to facilitate that. They ask you questions, present you with challenges, and give you immediate feedback, creating a tight loop that accelerates comprehension.
Why This is the Essential Learning Skill for 2026
The world is getting more complex, not less. Fields like AI, bioinformatics, and climate science require understanding intricate, dynamic systems. Simply memorizing facts is no longer enough. The most valuable skill you can develop is the ability to learn complex topics quickly and deeply. This is where edtech trends 2026 are pointing with a giant, flashing arrow.
Employers and universities of the future won’t just be looking for what you know; they’ll be looking for how you learn. Being proficient with these tools demonstrates that you are an agile, adaptable, and engaged learner. You’re someone who doesn’t just wait to be taught but actively seeks out understanding.
The core principles that make these platforms so powerful are:
- Active Engagement: You’re always doing something—dragging, dropping, typing, simulating, or answering. This keeps your brain switched on and focused.
- Immediate Feedback: When you make a mistake in a simulation or a quiz, you know instantly. More importantly, the best platforms tell you why you were wrong, guiding you back to the correct path. This is a game-changer compared to waiting two weeks to get a graded assignment back.
- Personalization: This is where adaptive learning systems come in. These smart platforms can identify your specific weak spots. Struggling with a particular type of chemistry problem? The system will serve you more of those, along with hints and foundational videos, until you achieve mastery. It creates a unique learning path just for you.
- Safe-to-Fail Environments: You can’t break a virtual chemistry lab or crash a real economy in a business simulation. These platforms provide a safe space to experiment, make mistakes, and learn from them without real-world consequences, which is critical for building confidence.
So, to answer that burning question: How do interactive platforms simplify complex subjects? They do it by breaking them down into manageable, interactive chunks. They translate abstract theories into tangible experiences and provide a personalized, guided path through the material, ensuring you don’t move on until you’ve truly grasped each concept. They make learning feel less like a chore and more like a captivating game.
Module 2: Prerequisites & Complete Environment Setup
Before we dive into the deep end, let’s talk about getting you set up for success. When we say “environment setup,” we’re not talking about complex coding or installing servers. We’re talking about preparing your mind and your digital space to get the absolute most out of these powerful tools. This is arguably the most important module, because the best tool in the world is useless without the right approach.
Prerequisite 1: The Mindset Shift
The single most important prerequisite is a mental one. You must consciously shift from a consumer mindset to a creator mindset.
- Consumer Mindset (Passive): “I’ll watch this video and hope I absorb it.”
- Creator Mindset (Active): “I will engage with this simulation to build a mental model of how this system works.”
This means taking ownership. When you open an interactive platform, your goal isn’t to “finish the module.” Your goal is to understand the concept. The points, badges, and progress bars are just signposts; they are not the destination. Before you even log in, tell yourself: “I am here to be an active participant. I will be curious. I will experiment. I will embrace my mistakes as learning opportunities.”
Step-by-Step: Configuring Your Digital Learning Environment
Your physical desk is probably organized for study (or I hope it is!). Your digital desktop needs the same attention. A cluttered digital space leads to a cluttered mind.
Step 1: Choose Your Device Wisely
While you can use these platforms on a phone, I strongly recommend a laptop or desktop computer with a decent-sized screen, especially for visual simulations. A larger screen allows you to see all the elements of an interface without constant zooming and scrolling, which can break your cognitive flow. A physical keyboard and mouse also provide more precise control for drag-and-drop and simulation activities.
Step 2: Create a "Focus Profile" in Your Browser
Your web browser is likely a mix of social media, entertainment, and study. Let’s fix that. Both Chrome and Firefox allow you to create separate user profiles.
- Action: Create a new browser profile named “Study” or “Focus Mode.”
- Configuration: In this profile, do not log into any social media, email, or entertainment accounts. Keep the bookmarks bar clean and dedicated solely to your educational resources: your university portal, online libraries, and the interactive learning platforms you’ll be using. This simple separation creates a powerful psychological trigger: when you open this browser window, it’s time to learn.
Step 3: Establish Your Digital "Notebook" Structure
You’ll be learning so much, so fast. You need a system to capture it. Don’t rely on your brain to remember everything.
- Action: Create a main folder on your computer called `My_Learning_Journey`.
- Directory Layout: Inside this folder, create a sub-folder for each subject you’re studying (e.g., `BIOL_101`, `CS_250`, `ECON_300`).
- Inside each subject folder, create three key files/sub-folders:
- `Concept_Summaries.md`: A simple text or Markdown file. After you complete a module on an interactive platform, take 5 minutes to write a summary of the concept in your own words. This is non-negotiable. It solidifies your understanding.
- `Error_Log.md`: Another text file. When you get something wrong and the platform gives you feedback, log it here. Write down the question, your mistake, and the correct reasoning. This turns mistakes into your most valuable learning assets.
- `Screenshots/`: A folder where you can save screenshots of particularly helpful diagrams, simulation results, or feedback explanations from the platform.
Step 4: Sign Up and Onboard (A Trial Run)
Let’s walk through the generic process of joining a platform. We’ll use a hypothetical platform called “Cognify” as an example.
- Navigate to `cognify-platform.com` in your new “Study” browser profile.
- Click “Sign Up.” Use your student email address.
- You’ll likely be presented with an onboarding tour. Do not skip this. This is the platform teaching you how to use its features. Pay close attention to how it explains the feedback system and progress tracking.
- Most platforms will ask you to choose subjects or interests. Select one you’re currently studying.
- You’ll often be given a short “diagnostic quiz.” This is the adaptive learning system getting a baseline of your knowledge. Be honest. Don’t guess. The goal is for the platform to understand where you need the most help.
Step 5: Verification
Your environment is “set up” and verified when you have:
- Created your “Study” browser profile.
- Set up your `My_Learning_Journey` folder structure.
- Successfully signed up for a platform and completed its introductory tour and diagnostic test.
- Completed one introductory lesson and made your first entry in your `Concept_Summaries.md` file.
You are now ready. You have a clean, organized digital space and, more importantly, an active, prepared mindset.
Module 3: Core Implementation Architecture & Workflow Blueprint
Now that your learning environment is primed, let’s pull back the curtain and look at the “architecture” of these platforms. I don’t mean the code, but the pedagogical design—the why behind the way they’re built. Understanding this will help you use them more effectively. We can visualize the core learning loop of most interactive learning platforms as a series of four connected cards.
The 4-Card Architecture of an Interactive Learning Unit
Imagine you’re learning about the greenhouse effect. A typical module on a modern platform would be structured like this:
Card 1: The Concept Input
This is the initial knowledge transfer. It’s usually short, dynamic, and highly focused. It could be a 2-minute animated video showing sunlight entering the atmosphere, with some energy being trapped by CO2 molecules. It’s designed to be engaging and deliver one core idea, not overwhelm you.
Card 2: The Interactive Challenge
This is where you become the scientist. The platform immediately asks you to apply the concept. It might present you with a simple simulation of Earth’s atmosphere. You get a slider to increase or decrease the concentration of CO2. Your challenge: “Adjust the CO2 level and observe the effect on the planet’s temperature.”
Card 3: The Feedback Engine
As you drag the slider, you see the temperature gauge rise. This is immediate, visual feedback. If the challenge was a quiz question—e.g., “Which of these is NOT a greenhouse gas?”—and you chose incorrectly, the engine wouldn’t just say “Wrong.” It would provide a targeted explanation: “Oxygen is not a greenhouse gas because its molecular structure doesn’t allow it to trap infrared radiation. Let’s review the molecular properties of gases like CO2 and Methane.”
Card 4: The Mastery & Progression Tracker
Once you complete the challenge successfully, the system acknowledges it. A progress bar for “Climate Science Basics” fills up. You might earn “Earth Points” or a “Junior Climatologist” badge. This is the core of gamified learning platforms. It taps into our brain’s natural reward system, providing motivation and a clear sense of accomplishment and forward momentum.
This four-card cycle—Input, Challenge, Feedback, Progression—is the fundamental heartbeat of modern digital learning. It’s a powerful loop that keeps you engaged and ensures you’re building a solid foundation of understanding, one concept at a time.
Your Learning Workflow Blueprint
Knowing the platform’s architecture allows you to design your own optimal workflow. Don’t just passively follow the platform’s path; navigate it with intent. Here is a step-by-step blueprint for tackling any new topic on an interactive platform:
Step 1: Prime Your Brain (2 Minutes)
- Before you start the first video or reading, open your `Concept_Summaries.md` file.
- Write the name of the topic at the top (e.g., “The Greenhouse Effect”).
- Write down one or two questions you have about it. (e.g., “How is this different from the hole in the ozone layer?” “What gases are the worst?”). This pre-activates your curiosity.
Step 2: Engage with the Concept Input (Card 1)
- Watch the video or read the text.
- Your only goal is to grasp the single main idea being presented. Don’t try to memorize everything.
- If you can, pause and re-watch a segment that seems particularly important.
Step 3: Embrace the Interactive Challenge (Card 2)
- This is the most important part. Lean in.
- If it’s a simulation, play with the parameters. Try to “break” it. What happens if you set CO2 to zero? What happens if you set it to its maximum? This is active discovery.
- If it’s a quiz, treat it like a genuine test of your understanding, not a hurdle to jump over.
Step 4: Analyze the Feedback (Card 3)
- If you are correct: Don’t just click “Next.” Take 10 seconds to ask yourself why you were correct. Solidify the reasoning in your mind.
- If you are incorrect: This is a golden opportunity.
- Read the feedback carefully. Don’t skim it.
- Open your `Error_Log.md` file and document your mistake and the correct logic.
- Go back and re-engage with the Concept Input (Card 1) with this new understanding. The concept will suddenly seem much clearer.
Step 5: Consolidate and Solidify (Post-Cycle)
- After you’ve successfully completed the challenge and the platform shows you’ve achieved “mastery” (Card 4), your work isn’t done.
- Go back to your `Concept_Summaries.md` file.
- Now, answer the questions you wrote down in Step 1.
- Write a 3-5 sentence summary of the concept in the simplest terms possible, as if you were explaining it to a 12-year-old. This is the “Feynman Technique,” and it’s incredibly powerful for exposing gaps in your knowledge.
By following this workflow, you are using the platform as a professional tool, not just a toy. You are building a robust, interconnected web of knowledge, supported by a system of personal notes and error analysis.
Module 4: Hands-on Practical Implementation & Real-World Configuration
Theory is great, but let’s make this real. I’m going to walk you through how you would use this system to learn a notoriously tricky topic from computer science: Recursion. Many students struggle with recursion because it feels abstract and circular. It’s the perfect candidate for an interactive approach.
Let’s imagine our “Cognify” platform has a module on this.
Learning Recursion: A Step-by-Step Interactive Journey
Your Goal: Understand how a recursive function calculates a factorial (e.g., 5! = 5 * 4 * 3 * 2 * 1).
Platform Configuration: Before we start, you’d go into the Cognify settings. You’d make sure “Code-along Mode” is enabled, which might split the screen between a video and a live code editor. You’d also set your “Learning Pace” to “Conceptual,” meaning the platform will offer more hints and analogies along the way.
Step 1: The Concept Input (Card 1)
You click “Start Module: Introduction to Recursion.” A short, 2-minute animation begins. It doesn’t show any code. Instead, it shows a person standing in front of a set of Russian nesting dolls (Matryoshka dolls).
- The Analogy: The narrator says, “To understand what’s inside the biggest doll, you have to open it. Inside, you find a slightly smaller doll. To understand that one, you have to open it, too. You keep doing this until you reach the smallest, solid doll that can’t be opened. That’s your ‘base case.’ Once you have it, you can start closing all the dolls back up, one by one, to understand the whole set.”
This simple, visual analogy gives you a mental model before you ever see a line of code.
Step 2: The Interactive Challenge (Card 2)
The screen now shows a simple code block for a factorial function, and next to it, a visual “call stack.” The challenge is a fill-in-the-blank.
def factorial(n):
    if n == 1: # This is the base case
        return 1
    else:
        # What goes here?
        return n * ___________
You are given two drag-and-drop options: `factorial(n)` and `factorial(n – 1)`.
You think back to the nesting dolls. To solve for the big doll (n), you need the result from the smaller doll (n-1). You drag `factorial(n – 1)` into the blank.
Step 3: The Feedback Engine (Card 3)
You click “Submit.” The platform doesn’t just say “Correct.” It brings the code to life.
- The Simulation: You’re asked to input a number. You type `3`.
- The visual call stack on the right lights up. A box appears at the bottom labeled `factorial(3)`. The animation shows that to solve this, it needs to call `factorial(2)`.
- A new box appears on top of the first one, labeled `factorial(2)`. The animation shows this call needs to solve `factorial(1)`.
- A third box, `factorial(1)`, appears at the top. The code highlights the `if n == 1: return 1` line. This is the “base case”—the smallest doll. The box `factorial(1)` resolves to the value `1`.
- Now the magic happens. The `factorial(1)` box disappears, and its value (`1`) is passed down to the `factorial(2)` box. The code now calculates `2 * 1`. The `factorial(2)` box resolves to `2`.
- Finally, the `factorial(2)` box disappears, and its value (`2`) is passed down to the original `factorial(3)` box. The code calculates `3 * 2`, and the final result, `6`, is displayed.
You didn’t just trace the code on paper. You watched it execute. You saw the “stack” build up and then resolve. The abstract concept became a concrete, visual process.
Step 4: Mastery & Progression (Card 4)
A “Well Done!” message appears. You earn 150 “Algo-Points,” and a “Recursion Novice” badge is added to your profile. The platform then suggests the next logical step: “Ready to try a slightly harder challenge? Let’s apply recursion to the Fibonacci sequence.”
This entire process might take 10 minutes, but the depth of understanding you gain is far greater than what you’d get from an hour of reading a textbook. You’ve successfully used the platform’s features—its analogies, interactive editors, and visual simulations—to conquer a difficult topic. This is the essence of how interactive platforms simplify complex topics.
Module 5: Real-World Enterprise Use Cases & Case Studies
These tools aren’t just for individual students studying for exams. They are a cornerstone of digital learning innovation across entire institutions and industries. Understanding these broader applications can give you ideas for how to integrate them into your own projects, group work, and even future career.
Case Study 1: The Flipped High School Chemistry Class
- Scenario: Ms. Anya Sharma teaches 11th-grade chemistry. Her students used to struggle with stoichiometry (the math behind chemical reactions). The lectures were dense, and students would get lost.
- Implementation: Anya adopted a flipped classroom model using an interactive platform.
- Homework: Students don’t do problem sets for homework anymore. Instead, their homework is to complete a 15-minute interactive module on the day’s topic. They watch simulations of reactions, balance virtual equations, and get instant feedback.
- Class Time: When students come to class, they already have the foundational knowledge. Anya now uses class time for hands-on labs, group problem-solving sessions on complex, multi-step problems, and Socratic discussions.
- End-to-End User Journey (Student):
- Evening: A student, Ben, logs into the platform. He watches an animation of a combustion reaction.
- He then plays a game where he has to drag the correct coefficients to balance five different chemical equations. He gets two wrong, but the platform shows him why his atom counts were off and lets him try again.
- Morning: Ben walks into class feeling confident. When Anya puts a complex stoichiometry problem on the board, he’s not intimidated. He works with his group, applying the concepts he practiced the night before.
- Outcome: Student engagement and test scores increased dramatically. Class time became a dynamic, collaborative workshop instead of a passive lecture. This is a prime example of using student engagement tools effectively.
Case Study 2: The Virtual Reality (VR) Medical School Lab
- Scenario: A medical school needs to teach complex surgical procedures. Cadavers are expensive and in short supply, and practicing on live patients is out of the question for first-year students.
- Implementation: The school invests in a VR-based interactive platform. Students put on a VR headset and enter a hyper-realistic virtual operating room.
- The Tool: The platform provides a step-by-step guided simulation of an appendectomy. Haptic gloves provide physical feedback, so students can “feel” the resistance of tissue as they make a virtual incision.
- The Feedback: If a student makes a mistake, like nicking a nearby artery, the simulation doesn’t just end. It freezes, highlights the error, and shows a video overlay of an