Savvas Envision Math 2026: Your K-12 Students Practical Guide to Personalized Progress & Problem-Solving Mastery
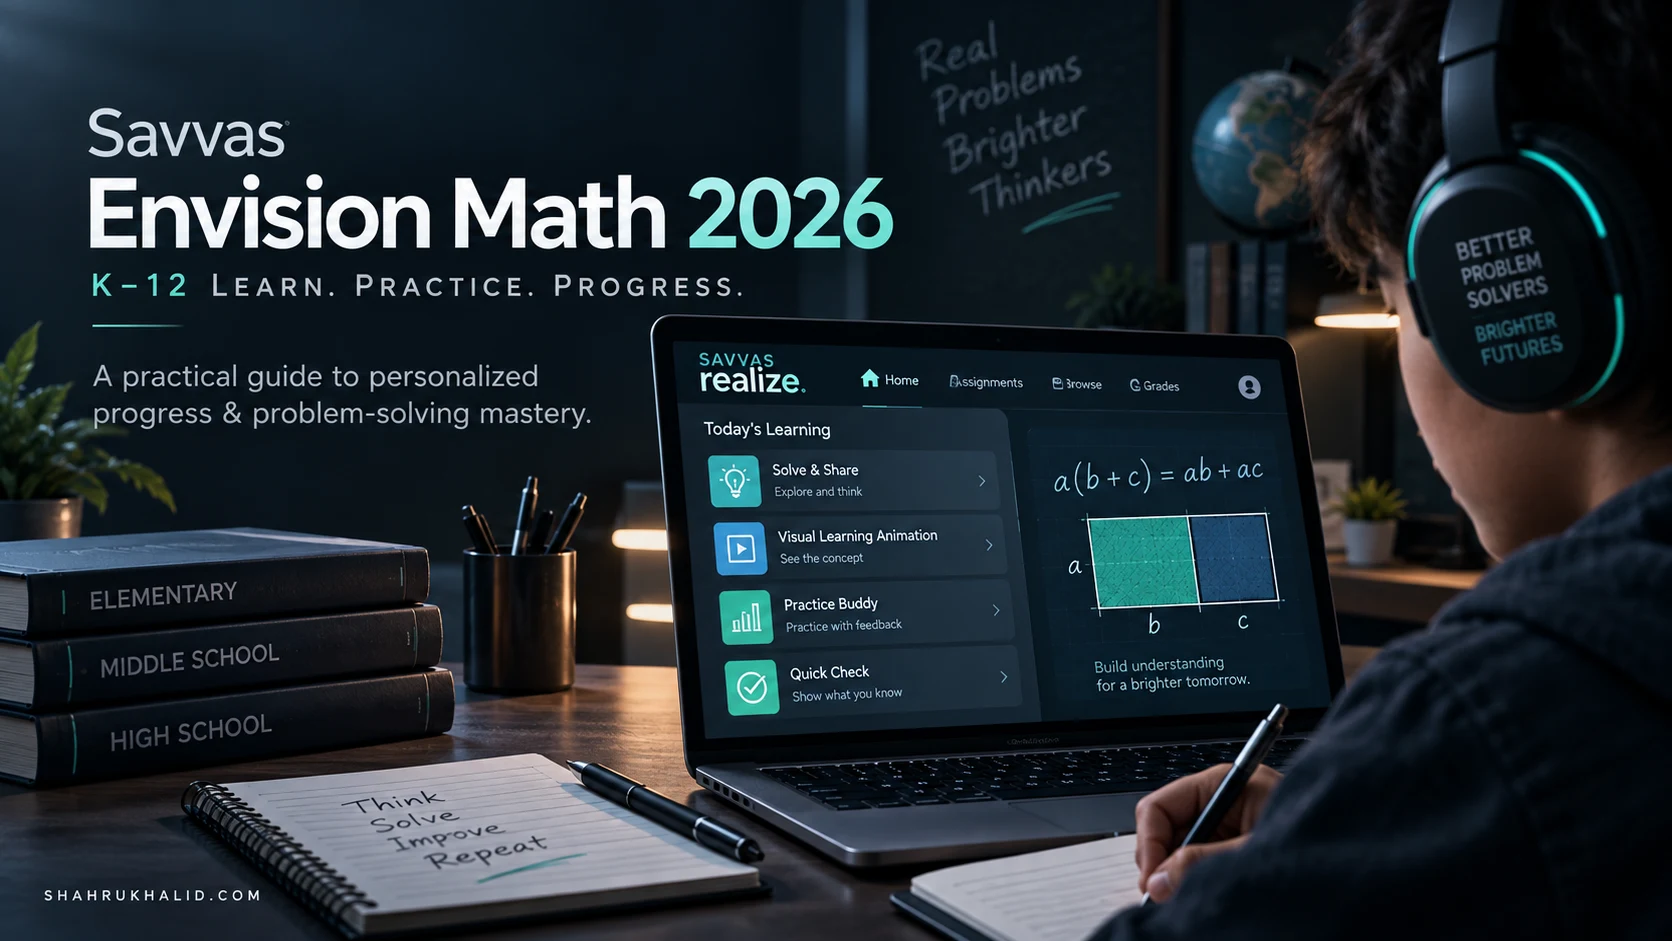
Key Takeaways
- Savvas Envision Math is an interactive, personalized K-12 platform acting as a student's math coach.
- It uses Solve & Share and Quick Checks to gauge student understanding and readiness.
- Visual Learning Animations and 'Another Look' videos offer diverse explanations for tricky concepts.
- Practice Buddy provides interactive exercises with instant feedback for skill mastery.
- The platform delivers personalized learning paths, fostering deep understanding beyond memorization.
Technology should serve your learning, not complicate it. In this comprehensive guide, we embark on a deep dive into the Savvas Envision Math K-12 curriculum—your interactive problem-solving partner and roadmap to truly understanding math. This guide is built specifically for international K-12 students, focusing on practical, step-by-step strategies to conquer math, one personalized step at a time.
Comprehensive Foundations & Concept Primer

Let’s start at the very beginning. You’ve probably heard your teachers talk about “Envision Math,” or maybe you’ve just seen the logo on your school’s learning portal. But what exactly is it? And more importantly, why should you care?
What is Savvas Envision Math K-12? A Simple Analogy
Imagine you’re learning to build a complex LEGO masterpiece. A traditional textbook is like a single, giant instruction booklet with thousands of steps. It shows you the final product, but if you get stuck on step 5, you’re on your own. You might try to force the wrong pieces together, get frustrated, and give up.
Now, think of the Savvas Envision Math K-12 platform as a master LEGO builder sitting right next to you. This builder doesn’t just hand you the instructions.
- They show you a quick animation of how the tricky parts connect (that’s the Visual Learning Animation).
- They ask you a question first to see what you already know about building (that’s the Solve & Share).
- They give you a few pieces to practice with and offer instant feedback if a piece is in the wrong spot (that’s the Practice Buddy).
- If you’re really stuck, they have a separate video showing you another way to build that section (that’s the Another Look video).
- And once you’ve mastered a section, they give you a small challenge to make sure you’re ready for the next part (that’s the Quick Check).
In essence, Savvas Envision Math isn’t just a book of problems; it’s an interactive learning environment. It’s a Savvas math curriculum designed to understand where you are in your learning journey and give you the exact tools you need to take the next step. This is the heart of what we call `Personalized math learning K-12`. It’s not about everyone finishing at the same time; it’s about everyone finishing with a deep, confident understanding.
Why This Matters in 2026 and Beyond: The Core Principles
You might wonder, “Why can’t I just memorize the formulas like my parents did?” The world you’re preparing for is vastly different. The problems you’ll solve in your future career—whether you’re a climate scientist, a video game designer, or an entrepreneur—won’t come with a neat formula at the top of the page. They will be messy, complex, and require creative thinking.
This is where Envision’s core philosophy becomes so essential. It’s built on a simple but powerful three-legged stool:
- Conceptual Understanding (The “Why”): This is the biggest piece. Before you ever learn the “how” (the steps or the formula), Envision focuses on the “why.” Why does the formula for the area of a circle work? What is a fraction really representing? The platform uses visual models, animations, and interactive tools to help you build a mental picture of the concept. Without the “why,” math is just a list of rules to be forgotten. With the “why,” it’s a powerful tool for thinking.
- Procedural Fluency (The “How”): Once you understand the “why,” it’s time to get good at the “how.” This is where practice comes in. But it’s not just about doing 50 of the same problem. The platform provides practice that adapts. If you’re getting things right, it might give you a tougher problem. If you’re struggling, it will offer hints or break the problem down. This is how you build speed and accuracy without the boredom of mindless repetition.
- Application & Problem-Solving (The “Where”): This is where it all comes together. You understand the concept (“why”) and you’re efficient with the procedure (“how”). Now, can you use it to solve a real-world problem (“where”)? Envision lessons are packed with `Problem-solving math strategies`. They present you with real-life scenarios that force you to think like a mathematician—to analyze the problem, choose the right tool (the concept you just learned), and apply it to find a solution. This directly supports the inquiry-based learning approach championed by curricula like the International Baccalaureate (IB), which, as noted on ibo.org, emphasizes students making connections between their studies and the real world.
By balancing these three areas, the curriculum ensures you’re not just a human calculator. You’re becoming a mathematical thinker, a problem-solver. That’s a skill that will serve you long after you’ve forgotten the quadratic formula.
Eliminating the Jargon: Your Personal Translator
As we go through this guide, you’ll see terms that might sound like “teacher-speak.” Let’s demystify a few of them right now.
- Savvas Realize: This is the name of the actual website or digital platform where your Envision Math curriculum lives. Think of “Savvas Envision” as the name of the textbook series and “Savvas Realize” as the high-tech digital library that holds it.
- Adaptive Practice: This just means the practice problems change based on your answers. It’s like a video game that gets harder as you get better, or offers you a power-up if you’re struggling.
- Interactive Learning Aids: This is a fancy term for all the helpful tools built into a problem. The “Help me solve this” button, the glossary, the animated hints—these are all interactive learning aids. They’re not “cheats”; they are your digital tutors.
- Data-Driven Instruction: This is more for your teachers, but it affects you directly. Every time you answer a question on the platform, you’re creating a piece of data. Your teacher can look at this data to see, “Ah, 70% of my class is struggling with Topic 5, Question 3. I need to re-teach that concept tomorrow.” This helps them personalize their classroom teaching, moving away from a one-size-fits-all approach. This data often syncs with the school’s main Student Information System (SIS), like Rediker, giving a holistic view of your progress.
Understanding these foundational ideas is the first and most important step. You’re not just “doing your math homework online.” You’re engaging with a sophisticated system designed to adapt to you. In the next module, we’ll get practical and set up your digital and physical workspace to make the most of this powerful tool.
Prerequisites & Complete Environment Setup for Savvas Envision Math K-12
Alright, let’s move from the “what” and “why” to the “how.” Before you can solve a single math problem, you need to make sure your learning environment—both digital and physical—is set up for success. This might sound basic, but as I’ve seen in countless classroom observations, a little bit of setup can make a world of difference in your focus and efficiency. Think of this as a pilot’s pre-flight checklist. It ensures a smooth journey.
Step 1: Your Digital Cockpit – Logging In and Understanding the Dashboard
Your gateway to the Savvas Envision Math K-12 universe is the Savvas Realize platform. Getting there is your first step.
Step-by-Step Login Instructions
- Find Your School’s Portal: Most international schools don’t have you go to the Savvas website directly. Instead, you’ll log in through your school’s central hub or Student Information System (SIS). This could be a platform like Rediker, PowerSchool, or a custom-built portal. As we see from the architecture of systems like Rediker.com, they are designed to be a single sign-on (SSO) gateway, meaning one login gets you into all your school apps.
- Locate the Savvas Icon: Once you’re logged into your school portal, look for an icon or link that says “Savvas,” “Savvas Realize,” or “Pearson Realize” (its former name). It will often be in a section called “My Apps,” “Resources,” or “Classes.”
- First-Time Login: The very first time you click this, you might be asked to select your language, pick a profile icon, and choose a background theme. Take a minute to do this! Personalizing your space, even in this small way, makes it feel more like your tool.
- Bookmark It!: Once you’ve successfully landed on the Savvas Realize dashboard, bookmark the page in your browser. This way, if your school portal is ever down, you might still be able to access your work directly.
Verifying Your Setup: The Dashboard Tour
You’re in! Now, let’s take a 30-second tour of your digital cockpit. It can look a little overwhelming at first, but it’s organized quite logically.
- The “Classes” Tab: This is your home base. Here you will see a card for each of your subjects that uses the Savvas platform. Click on your Math class.
- The “Assignments” View: This is the most important section for you. It will be broken down into three categories:
- Not Started: These are the assignments your teacher has given you that you haven’t opened yet. They will have a due date listed.
- In Progress: You started this assignment but didn’t finish it. The platform saves your work automatically, so you can always come back to it.
- Completed: Everything you’ve finished. You can often go back here to review your work and see the correct answers, which is a fantastic study strategy before a test.
- The “Browse” Tab: This is your digital library. Here you can explore the entire Savvas math curriculum for your grade level. If you want to get ahead or review an old topic, this is the place to go. It’s like having the entire textbook, plus all the videos and interactive tools, at your fingertips.
- The “Grades” Tab: This shows your score on completed assignments. Use this to track your progress and identify topics where you might need extra help.
Take five minutes right now to click through these tabs. Don’t start any assignments yet. Just get a feel for the layout. Where are your assignments? How do you browse to a previous chapter? Knowing the layout of your digital environment prevents you from wasting time and mental energy later when you’re trying to focus on a tough math concept.
Step 2: Your Physical Workspace – Optimizing for Deep Work
Now for the non-digital part, which is just as critical. Where you work has a massive impact on how you work. Trying to solve a multi-step algebra problem on your bed with your phone buzzing next to you is a recipe for disaster. You need to create a space that signals to your brain: “It’s time to focus.”
Your Ideal Study Environment Configuration
- Dedicated Space: If possible, use a desk or table that is used only for schoolwork. When you sit there, your brain will automatically start shifting into “work mode.” Avoid places you associate with relaxation, like your sofa or bed.
- Minimize Distractions: This is the big one.
- Your Phone: Put it in another room. Or, at the very least, turn it on “Do Not Disturb” and place it face down, out of arm’s reach. Every notification buzz is a “context switch” that breaks your concentration and makes it harder to get back on track.
- Browser Tabs: When you’re working on Savvas Realize, close all other browser tabs. No YouTube. No social media. No online shopping. This single habit will dramatically improve your focus.
- Noise: Some people need silence. Others work better with background noise. If you have noisy siblings or live in a loud apartment, consider using noise-canceling headphones. You can listen to instrumental music or ambient sounds (like a “rainy day” or “cafe” soundscape) to block out distracting noises.
- Gather Your Analog Tools: Digital learning is powerful, but it doesn’t replace everything. Have these items ready before you start your assignment:
- Scrap Paper/Notebook: You MUST have paper and a pencil. Math is not a spectator sport. You need to work out problems by hand. Trying to do it all in your head is a common mistake that leads to simple errors.
- Pencils & Eraser: Use a pencil, not a pen. You’re going to make mistakes. That’s part of learning! An eraser makes it easy to correct them without making a mess.
- Calculator (If Allowed): Check the instructions for the assignment. Some activities want you to practice your mental math, while others expect you to use a calculator. Have the right one (scientific, graphing, etc.) ready.
Directory Layouts for Your Brain (And Your Files)
Just as a computer has a file directory, you should have a system for your physical and digital notes.
- Physical: Get a dedicated binder or notebook just for math. For each new topic in Savvas (e.g., “Topic 5: Understanding Fractions”), start a new page. Write down the topic title, the date, and any key vocabulary or formulas from the lesson. As you do the practice problems, do your scratch work on this page. When you study for a test, you’ll have a perfect, organized summary of everything you’ve learned.
- Digital: If your teacher has you do projects or written explanations, create a folder on your computer called “Math.” Inside that folder, create sub-folders for each topic (e.g., “Topic 1 – Geometry,” “Topic 2 – Algebra”). Save your work with a clear file name like `MahnoorTariq_Topic2_LinearEquations_Project.docx`. This system, as detailed in the campus technology integration guides on shahrukhalid.com, is crucial for managing your digital life and ensuring you never lose your work.
Your environment is now set. You know how to navigate your digital platform, and your physical space is optimized for focus. You’re ready to tackle the actual learning process, which we’ll blueprint in the next module.
Core Implementation Architecture & Workflow Blueprint for Savvas Envision Math K-12

Now that your environment is prepped, let’s zoom in on the structure of a typical lesson within the Savvas Envision Math K-12 curriculum. Understanding this workflow is like knowing the layout of a video game level before you play. It helps you anticipate what’s next, use your resources wisely, and navigate the challenges more effectively.
I call this the “Core Implementation Architecture” because it’s the fundamental design of how you will implement, or carry out, your learning. We’ll map this out using a “visual card” structure. Imagine each step as a card in a sequence. Your job is to move from one card to the next, mastering each one before moving on.
The Standard Lesson Workflow: A Diagram Grid of Your Learning Journey
Most lessons in Envision Math, from elementary to high school, follow a predictable and powerful pattern. Let’s visualize it as a grid.
| Phase | Component (Visual Card) | Your Goal & Strategy |
| :— | :— | :— |
| 1. Engage & Explore | Card 1: Solve & Share | Goal: To activate your prior knowledge and start thinking about the new concept. Strategy: Don’t be afraid to be wrong! This is a low-stakes problem. Try to solve it using what you already know. Sketch a diagram, write down your ideas on your scrap paper. The goal isn’t to get the right answer; it’s to get your brain warmed up. |
| 2. Learn & Practice | Card 2: Visual Learning Animation | Goal: To understand the “why” behind the math. Strategy: Watch this actively, not passively. Don’t just let it play in the background. Pause the video. Rewind it. On your notebook page for this topic, write down the key vocabulary words they introduce. Try to re-explain the concept in your own words. |
| | Card 3: Another Look Video | Goal: To get a different perspective if the first explanation was confusing. Strategy: This is one of the most under-utilized `Digital math resources K-12`. If you feel even slightly unsure after the main animation, watch this. It’s not a punishment; it’s a pro tool. It often presents the same idea in a simpler or more visual way. |
| | Card 4: Practice Buddy | Goal: To build procedural fluency (the “how”). Strategy: This is where you do the work. For each problem, use your scrap paper first. Then, input your answer. If you get it wrong, read the feedback carefully. Don’t just click “Next.” Use the “Help me solve this” or “View an example” tools. These are your built-in tutors. |
| 3. Assess & Differentiate | Card 5: Quick Check | Goal: To prove to yourself (and your teacher) that you’ve mastered the core skill of the lesson. Strategy: Treat this like a mini-quiz. Try to do it without any help tools. This is your chance to see if you can stand on your own two feet with this concept. If you struggle here, it’s a sign you should go back and review the Visual Learning Animation or do more practice. |
| | Card 6: Differentiated Practice | Goal: To get practice tailored to your exact level. Strategy: Your teacher may assign this. It could be a “Reteach to Build Understanding” worksheet if you struggled on the Quick Check, or an “Enrichment” problem if you aced it. This is the heart of `Savvas Envision Math personalized learning K-12`. Embrace the path you’re given. |
This entire workflow is the “implementation” of a single lesson. It’s how you take a concept from a fuzzy idea to a mastered skill.
Deconstructing the “Practice Buddy”: Your Most Important Tool
Let’s zoom in even further on Card #4, the Practice Buddy, because this is where most of your active learning will happen. It’s far more than just a list of problems. It’s an interactive, responsive coach.
The Anatomy of a Practice Buddy Problem
Imagine a single problem on your screen. Here’s what you should see and how you should use it:
- The Problem Itself: Read it twice. On your scrap paper, write down the important numbers and what the question is actually asking for.
- The Answer Box: This is where your final answer goes. Be careful with formatting (e.g., rounding instructions).
- The “Question Help” Menu: This is your lifeline. It usually contains several powerful tools:
- “Help me solve this”: This is a step-by-step guided walkthrough of the exact problem you are on. It will ask you to solve it one piece at a time. Use this when you are completely lost on how to even begin.
- “View an example”: This will show you a fully worked-out solution to a similar problem. This is useful if you just need a little nudge or a reminder of the process. I recommend trying this one before “Help me solve this.”
- “Animation”: This will often link you back to the main Visual Learning Animation for the lesson. If you realize you’ve forgotten the core concept, a quick re-watch can be a huge help.
- “Glossary”: If you see a word you don’t understand (like “isosceles” or “coefficient”), you can look it up right here without leaving the page.
- “Calculator”: A pop-up calculator for when you’re allowed to use one.
- The “Check Answer” Button: After you enter your answer, you click this.
- The Feedback: This is immediate and crucial.
- “Well done!” or “Excellent!”: Great! But don’t move on just yet. Take 10 seconds to think: “Why was that the right answer? What was the key step?” This reinforces the learning.
- “Try Again” or “Not quite”: This is not a failure! It’s an opportunity. Before you change your answer randomly, go back to your scrap paper. Where could you have made a mistake? A calculation error? Did you misunderstand the question? This is where real learning happens. Only after re-examining your work should you try a new answer or use one of the help tools.
By understanding and using this entire architecture, you shift from being a passive recipient of information to an active participant in your own learning. You are in control of the pace and the support you receive. This structured approach is a core reason why many consider this one of the `best K-12 math curriculum for international schools`, as it provides a clear yet flexible path for every student.
Hands-on Practical Implementation & Real-World Configuration
Theory is great, but math is a hands-on sport. In this module, we’re going to get our hands dirty. I will walk you through, step-by-step, how to tackle a real math lesson using the workflow we just blueprinted. We’ll use a middle-school-level example, but the process and strategies apply whether you’re in 4th grade learning long division or in 11th grade working with logarithms.
Our mission: Mastering Topic 4, Lesson 2: Solve Equations Using the Distributive Property.
This is a classic topic where many students get stuck, but the tools in Savvas Envision Math can make it crystal clear.
Step-by-Step Walkthrough: From “Solve & Share” to “Quick Check”
Let’s imagine you’ve just logged into Savvas Realize. You click on your Math class and see the assignment “4-2: Solve Equations Using the Distributive Property” in your “Not Started” list. You’ve got your notebook open to a fresh page labeled “Topic 4-2,” your pencil is sharp, and your phone is in another room. Let’s begin.
Step 1: The Solve & Share (5 Minutes)
- The Problem Appears: “A group of 4 friends is going to a concert. Each ticket costs $25, and each person also has to pay a $3 service fee. What is the total cost for the group?”
- Your Action (On Paper): Don’t just stare at the screen. First, think about how you would solve this in the real world.
- Method 1: “Okay, one person pays $25 + $3 = $28. There are 4 friends, so 4 * $28.” You do the math: $28 * 4 = $112.
- Method 2: “Wait, I could also calculate the cost of all the tickets first: 4 * $25 = $100. Then calculate the cost of all the service fees: 4 * $3 = $12. Then add them together: $100 + $12 = $112.”
- Your Action (On Screen): The platform might have a space for you to type your answer or explain your thinking. Type in “$112.” You might explain, “I found the cost for one person and multiplied by 4.”
- The Goal: You just engaged with the core idea of the distributive property without even knowing its name! You saw that 4 * (25 + 3) is the same as (4 * 25) + (4 * 3). You’ve primed your brain for the formal lesson.
Step 2: The Visual Learning Animation (5-7 Minutes)
- The Video Starts: An animated character, maybe a friendly robot, appears on screen. It shows the expression `a(b + c)`. It visually demonstrates how the ‘a’ on the outside of the parentheses “distributes” or “hands out” multiplication to both the ‘b’ and the ‘c’ inside, resulting in `ab + ac`.
- Your Action (Active Watching & Note-Taking):
- Pause the video. In your notebook, write down the formal property: `a(b + c) = ab + ac`.
- The video now shows the concert problem from the Solve & Share, but with variables: `4(25 + 3)`. It animates the 4 multiplying the 25 and then the 4 multiplying the 3.
- Rewind that part. Watch it again. The visual connection between the abstract formula and the concrete problem is the key to understanding the “why.”
- The video then shows a more abstract example, like `5(x + 2)`. It shows that this becomes `5x + 52`, which simplifies to `5x + 10`. Write this example in your notebook. This is your model for the practice problems to come.
Step 3: The Practice Buddy (15-20 Minutes)
- Problem 1 Appears: `Solve for y: 3(y – 5) = 12`
- Your Action (Paper First!):
- Write the problem in your notebook.
- Remember the animation: distribute the 3. So, `3y – 35 = 12`.
- Simplify: `3y – 15 = 12`.
- Now it’s a standard two-step equation. Add 15 to both sides: `3y = 27`.
- Divide by 3: `y = 9`.
- Your Action (On Screen): Type `9` into the answer box. Click “Check Answer.”
- Feedback: “Well done!”
- Problem 5 Appears: `Solve for m: -2(m + 7) = 6`
- Your Action (Paper First): You distribute the -2. You write `-2m + 14 = 6`. You subtract 1