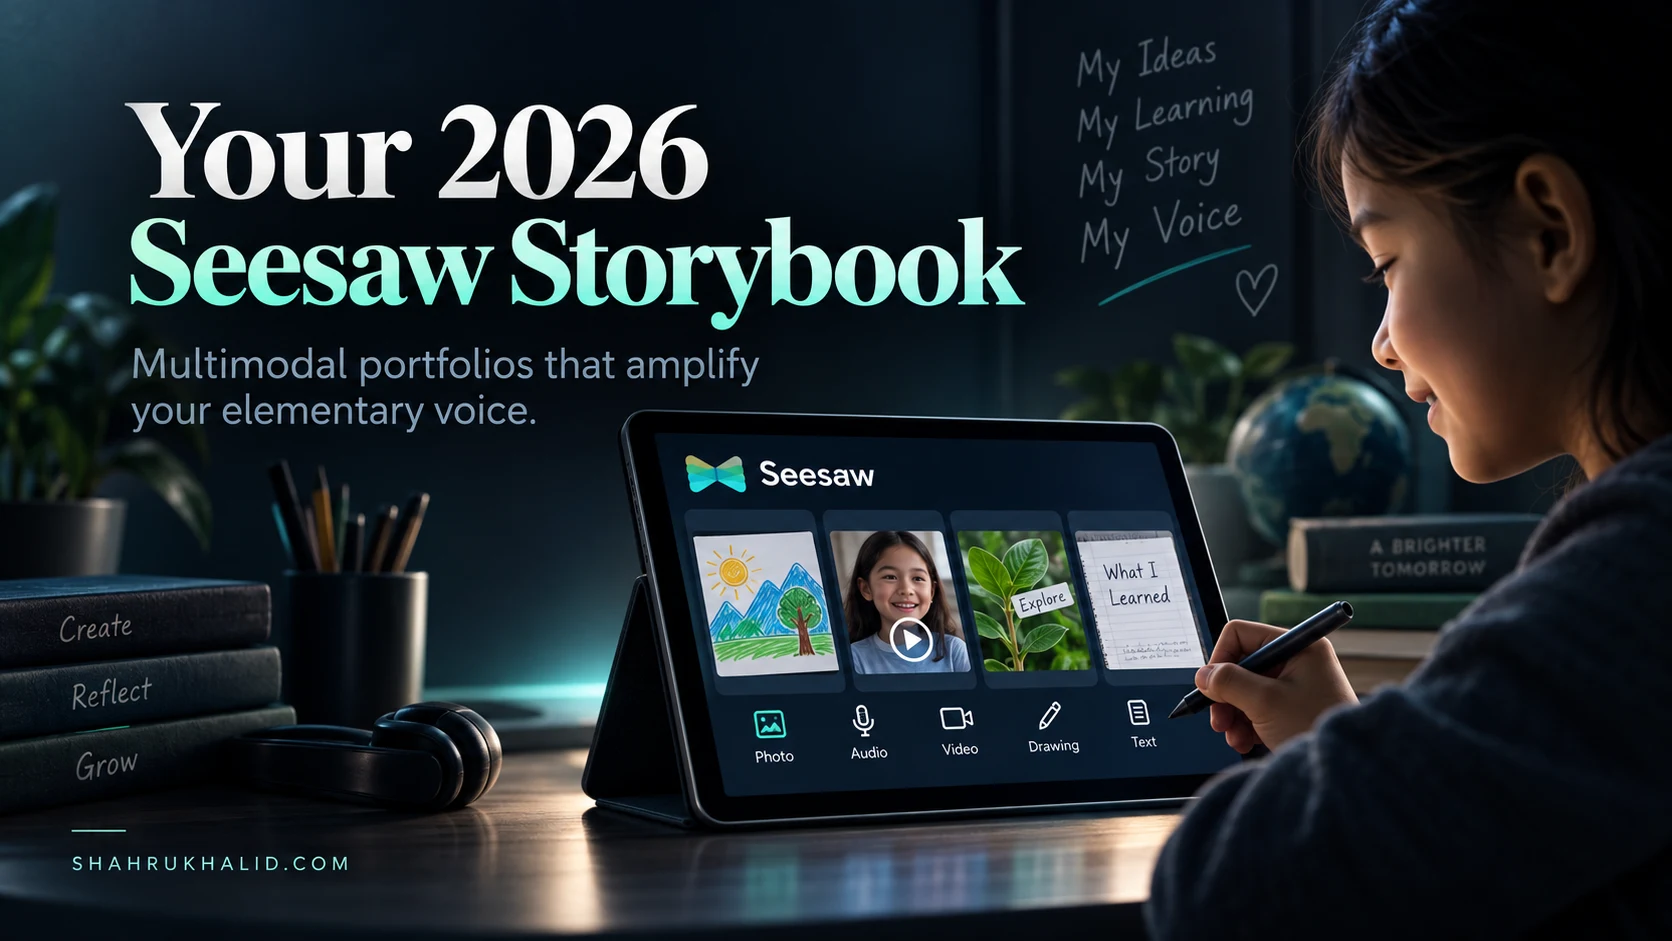
Your 2026 Seesaw Storybook: A Beginners Guide to Multimodal Portfolios That Amplify Your Elementary Voice
Key Takeaways
- Seesaw multimodal portfolios empower elementary students to architect and tell their unique learning story.
- A portfolio is a curated collection showcasing learning journeys, growth, struggles, and triumphs.
- Digital portfolios are 21st-century online collections holding diverse content beyond traditional paper.
- 'Multimodal' integrates various communication forms like text, video, and drawings, not just text files.
- Students become architects of their own '2026 storybook,' a living, talking, moving learning testament.

We’re going to build something incredible together. This isn’t just about learning to use an app. This is about learning to see your own growth, to tell your own story, and to build a collection of your work that shouts, “This is me! This is what I can do! This is how I think!” By the end of this masterclass, you will be the architect of your own 2026 storybook—a living, breathing, talking, and moving testament to your learning. We’re going to focus on a wonderful tool called Seesaw to build what we call Seesaw multimodal portfolios, and I promise you, it’s going to change the way you think about your schoolwork forever.
Let’s begin.
Comprehensive Foundations & Concept Primer
Before we build our house, we need to understand the ground it’s built on. What exactly is a portfolio, and what on earth does “multimodal” mean? Let’s clear away the jargon and get to the heart of why this matters so much, especially for you, right now.
What is a Portfolio, Really? (Hint: It’s Not a Dusty Binder)
Imagine you’re an artist. At the end of the year, you wouldn’t just show your teacher a single grade on a report card to prove you’d become a better painter. No way! You’d pull out your favorite pieces. You’d show the first messy sketch next to the final, glorious painting. You’d point to the piece where you finally mastered shading and another where you experimented with a wild new color. You’d tell the story of each piece. That collection, the one that tells the story of your journey, your struggles, and your triumphs—that’s a portfolio.
For decades, students have kept portfolios. Usually, they were big, heavy binders or folders filled with papers: essays with teacher comments, math tests, and drawings. They were great, but they were also flat. Silent. They only showed the final product.
Now, let’s fast forward to your classroom. A digital portfolio, or an elementary student e-portfolio, is the 21st-century version of that artist’s collection. It lives online, it’s not heavy, and it can hold so much more than paper. But the most important part isn’t the “digital” part; it’s the “portfolio” part—it is your collection, curated by you, to tell your story of learning.
The Magic Word: “Multimodal”
This is where it gets really exciting. “Multimodal” is a fancy word, but the idea is super simple. Think about how you communicate in your daily life. You don’t just write. You talk, you text with emojis, you send video clips, you make funny faces on FaceTime, you draw pictures. You use multiple “modes” of communication.
A multimodal portfolio is a portfolio that speaks your language. It’s not just a collection of digital text files (like Word or Google Docs). It’s a collection that includes:
- Text: Your written stories, poems, and reflections.
- Images: Photos of your 3D science project, your handwritten math solution, or the pages of a book you’re reading.
- Audio: You, recording your voice to read a passage aloud, explain your thinking on a math problem, or practice a new language.
- Video: You, demonstrating a science experiment, performing a short play, or presenting your research with confidence.
- *Drawings & Annotations: You, using a digital pen to circle the main idea in an article, label the parts of a plant on a photo, or just create a beautiful piece of digital art.
A multimodal portfolio in education is, therefore, a storybook of your learning that uses all these modes. It’s a place where your work can talk, move, and come to life. This is the core of what makes
Seesaw multimodal portfolios
so revolutionary for elementary students. It doesn’t force you to communicate in only one way (writing); it invites you to show what you know using all of your talents.
Why Your 2026 Storybook Matters More Than Ever
Why are we so focused on this for 2026? Because the world you’re growing into values different skills than it did even ten years ago. People aren’t just looking for good test-takers. They are looking for creative problem-solvers, clear communicators, and reflective learners. Building your portfolio helps you practice these exact skills.
- It Amplifies Your Voice: This is the big one. How can Seesaw amplify student voice? Often in school, you’re asked to answer a question the teacher already knows the answer to. A portfolio flips that. It’s a space for your thoughts, your ideas, your choices. When you decide to record a video explaining your art project instead of writing about it, you’re making a choice about how to best express yourself. That is student voice K-12 in action. You’re not just a passive receiver of information; you’re an active, vocal participant in your own education.
- It Makes Learning Visible: Have you ever worked really hard on something, only to feel like no one noticed? A portfolio makes all that hard work visible—to you, your teacher, your parents, and your friends. It shows the process, not just the final product. That messy first draft of your story is just as important as the polished final version, because it shows your growth. This is one of an online learning portfolio’s greatest strengths.
- It Builds a Growth Mindset: A growth mindset is the belief that you can get smarter through hard work and practice. When you look back at your portfolio from September and see how much better you are at something in May, you are seeing hard evidence of your own growth. You see that your effort paid off. This is incredibly powerful. Instead of saying “I’m bad at math,” you can look at your portfolio and say, “I used to struggle with long division, but look at this video where I explain exactly how to do it! I’ve learned so much.”
- It Prepares You for the Future: In many forward-thinking high schools and universities, like those following the International Baccalaureate (IB) framework, portfolios are a standard part of learning and assessment. The IB Learner Profile celebrates students who are “communicators,” “reflective,” and “inquirers”—all skills that you build with a portfolio. By starting now, you’re not just doing a fun activity; you’re building foundational skills for your entire academic career, as outlined in frameworks you might encounter on sites like `IBO.org`.
Your Seesaw storybook is more than a grade. It’s a mirror showing you how much you’ve grown, a megaphone to amplify your unique voice, and a map that shows you the path you’ve traveled as a learner. It’s the most important story you can tell: your own.
Prerequisites & Complete Environment Setup
Alright, storyteller, it’s time to get our tools ready. Just like an artist lays out their paints and brushes, we need to set up our digital studio. This module is our step-by-step guide to getting your Seesaw environment ready to capture your amazing ideas. We’ll answer the big question, “How do I start a Seesaw portfolio for my class?” from the ground up. Don’t worry, I’ll be with you every step of the way.
Your Digital Backpack: What You’ll Need
Before we dive in, let’s make sure you have the right gear. It’s pretty simple!
- A Device: This could be an iPad, a Chromebook, a laptop, or even a shared classroom computer. Seesaw works on almost anything with a screen and an internet connection.
- An Internet Connection: Your digital portfolio lives in the “cloud,” which is just a friendly way of saying it’s stored safely on the internet. You’ll need a connection to upload your work and see feedback.
- Your Teacher’s Help (At First!): Your teacher is your guide. They will be the one to create the classroom space in Seesaw and invite you to join. They’ll give you the magic key to get in.
That’s it! No fancy software to buy, no complicated manuals to read.
Step 1: Your Teacher Sets the Stage
This first part is something your teacher will do, but it’s important for you to understand what’s happening behind the scenes. Think of your teacher as the architect of your new digital classroom.
- Creating the Class: Your teacher will go to Seesaw’s website and create a new class. They’ll give it a name, like “Ms. Shah’s Awesome 3rd Graders.”
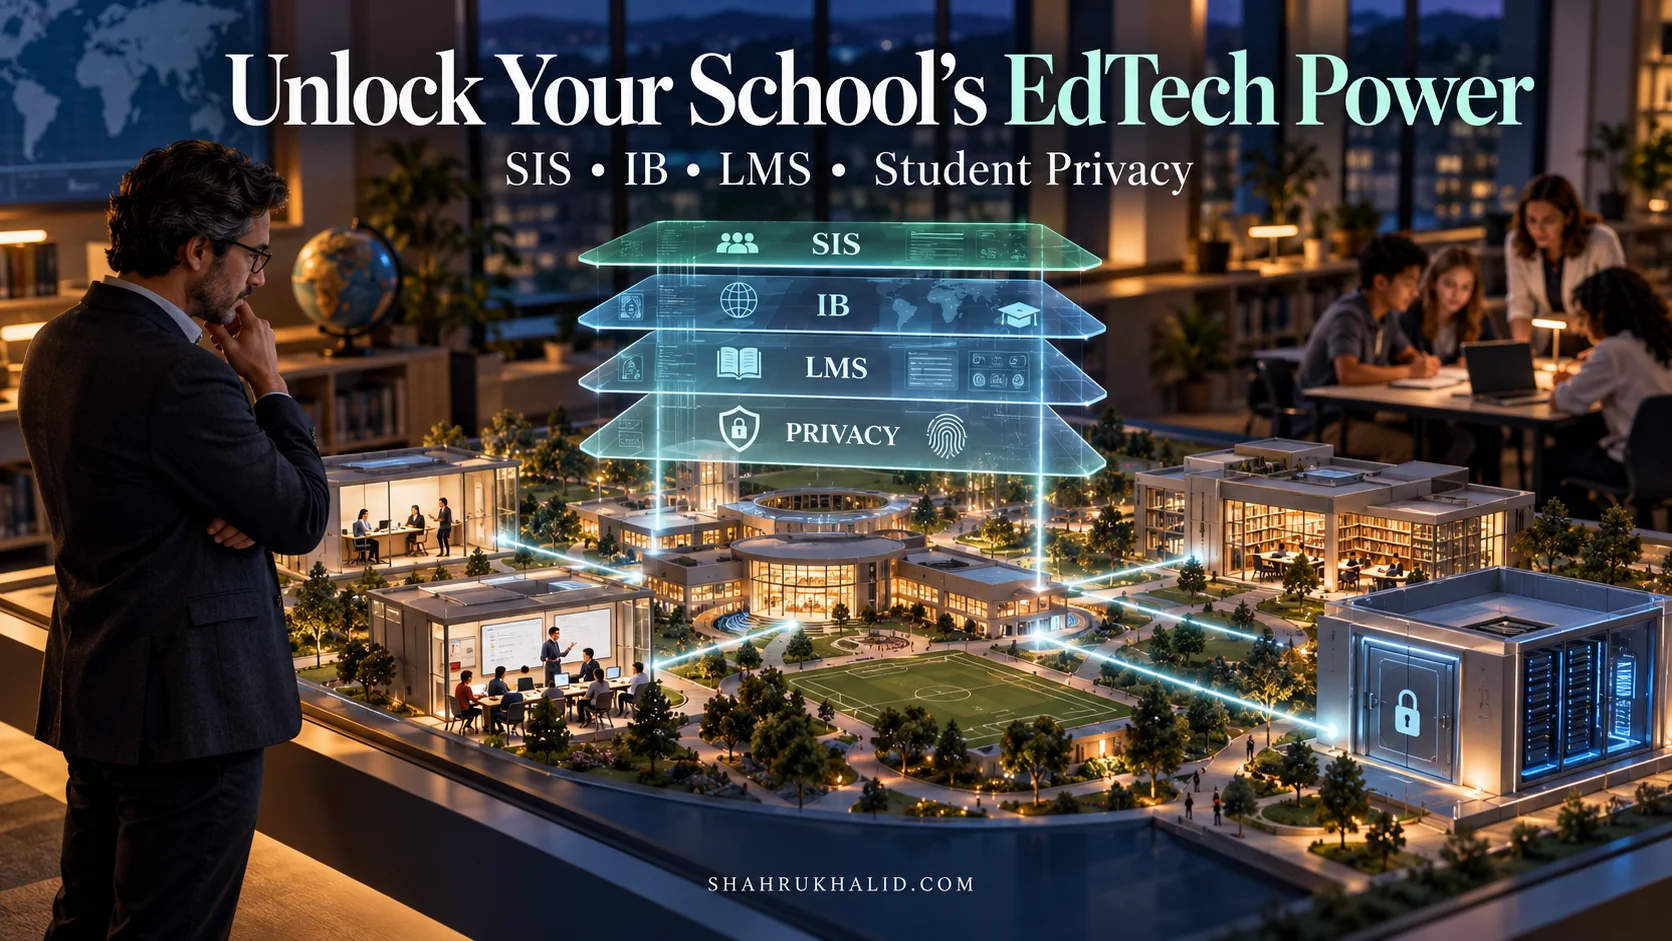
- Adding Students: Next, they need to add you and your classmates to the class. Here’s where a bit of school magic comes in. In many schools, especially international schools that are really organized with their technology, the systems are connected. A school’s central database, known as a Student Information System (SIS) like the one provided by `Rediker.com`, holds all the student names and class lists. A tech-savvy school, following a plan from a leader like Shahrukh Khalid (as you might see on `shahrukhalid.com`), can often sync this SIS directly with Seesaw. This means your teacher might not even have to type your name; you’re already on the list! This is a huge time-saver and a great example of how schools build a smart “campus technology stack.”
- Choosing How You’ll Sign In: This is the most important decision your teacher makes for you. There are two main ways for elementary students to sign in:
- The Class QR Code (The “Magic Picture”): This is perfect for younger students (Grades K-2). The teacher prints out a special QR code—it looks like a square with a bunch of black and white squiggles. To log in, you just open the Seesaw app on an iPad and point the camera at the code. Poof! You’re in your class. It’s simple, fast, and requires no typing.
- *Individual Student Codes/Email Login (Your “Secret Handshake”): For older students (Grades 3-5), your teacher might want you to have your own personal login. This could be with your school email address and a password, or with a unique “Home Learning Code” that is just for you. This gives you a bit more independence and is great practice for managing your own accounts later on.
Your teacher will know which option is best for your class. Your job is to listen to their instructions carefully.
Step 2: Your Grand Entrance – Logging In For the First Time
Okay, the stage is set, and it’s your turn to step into the spotlight! Your teacher will tell you exactly how to log in. Let’s walk through the most common way for beginners: the Class QR Code.
Your Mission: Log in with the Class QR Code
- Find the Seesaw App: Look for the Seesaw icon on your device. It’s a colorful bowtie shape. Tap on it.
- Choose “I’m a Student”: The app will ask who you are. You’re the star of the show, so tap “I’m a Student.”
- Scan the Magic Picture: The app’s camera will turn on. Your teacher will have the Class QR Code posted somewhere in the room or will show it to you. Hold your device’s camera steady and point it at the QR code. You don’t even need to press a button! The app will see the code and automatically take you to the next step.
- Find Your Name: A list of all the students in your class will appear. Scroll through the list and tap on your name.
- *You’re In! Congratulations! You are now in your class’s Seesaw journal. You’ll see a feed of all the work your classmates are sharing (if your teacher has this setting on) and a big green button with a plus sign. That green button is your new best friend.
Verification Check
How do you know you did it right? You should see the name of your class at the top of the screen and your own name or icon in the top-left corner. If you see someone else’s name, just log out and try again, making sure to tap your own name this time.
A Quick Tour of Your New Digital Home
Now that you’re in, let’s look around. It can feel like a lot at first, but there are really only three main areas you need to know about to get started.
- The Journal: This is the main feed. It’s like a social media feed for your classroom. You’ll see posts from your teacher and classmates. You can “like” posts and, if your teacher has enabled it, leave comments. This is where you’ll see your own work appear once you post it.
- The Activities Tab: This is your “To-Do” list. Your teacher will assign specific tasks here. For example, they might post an activity that says, “Take a picture of a right angle you find in the classroom and circle it.” When you tap on an activity, it gives you a template and instructions right there.
- The Inbox: This is where you’ll get messages and announcements from your teacher. They might send a note to the whole class, like “Don’t forget tomorrow is library day!” or a private message just for you.
And of course, the most important feature of all…
- *The Green “+” Button: This is the “Add” or “Create” button. Tapping this button is how you start creating your own posts for your portfolio. It opens up a menu of all the amazing multimodal tools you can use.
That’s it! You’ve set up your environment. You know how to get in, you know where the main features are, and you know the magic button that unlocks your creativity. In the next module, we’ll press that green button and explore the blueprint for creating posts that truly show what you know.
Core Implementation Architecture & Workflow Blueprint
Welcome to the architect’s studio. In the last module, we laid the foundation. Now, we’re going to draw the blueprints for the amazing things you’ll build inside your Seesaw multimodal portfolios. This is where we break down the “how.” How do you take an idea from your brain and turn it into a powerful portfolio post?
We’ll map out the entire process, from the spark of an idea to the final, polished entry in your digital storybook. To do this, we’ll use a simple workflow: Idea → Create → Reflect → Share → Feedback. And we’ll introduce the “Visual Card Structure,” a way to think about each and every post you make.
The Anatomy of a Great Portfolio Post: The Visual Card Structure
Every time you add something to Seesaw, you’re creating a “post.” I want you to think of each post not as a random upload, but as a carefully constructed “Visual Card.” Each card has several important parts that work together to tell a complete story.
Imagine a digital index card. Here’s what’s on it:
| Visual Card Component | What It Is | Why It’s Important |
| :— | :— | :— |
| The Artifact | The “thing” you made or captured. A photo, video, drawing, etc. | This is the evidence of your learning. It’s the “show” part of “show and tell.” |
| The Voice/Text Layer | Your explanation. A voice recording, a video of you talking, or a written caption. | This is where you explain your thinking. It turns the “what” into the “why” and “how.” |
| The Reflection | Your written caption or voice comment answering “What did I learn?” or “What was challenging?” | This is the most crucial part for growth. It shows you’re thinking about your thinking (metacognition!). |
| The Organization Tags | Folders or Skills that you or your teacher add to the post. | This is like the filing system for your portfolio. It helps you find all your math work or all your “collaboration” work in one place. |
| The Feedback Loop | Comments from your teacher, family, and peers. | This turns your portfolio from a monologue into a conversation, helping you improve. |
A great portfolio post has all of these components. A weak post—what I call a “photo dump”—only has the Artifact. It’s a picture of a worksheet with no explanation. It doesn’t tell a story. Our goal is to make every post a complete Visual Card.
The Workflow Blueprint: From Idea to Awesome in 5 Steps
Now let’s look at the process. This five-step workflow is the secret to creating meaningful multimedia student portfolios instead of just a scrapbook of random files.
[IDEA] → [CREATE] → [REFLECT] → [SHARE] → [FEEDBACK]
Let’s walk through each step.
Step 1: The [IDEA]
Everything starts with an idea. This might come from your teacher, or it might come from you.
- Teacher-Led Idea: Your teacher assigns an Activity. For example: “Find a real-world example of a geometric shape, take a photo, and label it.” The idea is given to you.
- *Student-Led Idea: You’ve just finished a science experiment that you’re really proud of. You think, “I want to add this to my portfolio!” Or you finish reading a book and you have a strong opinion about it. You decide, “I’m going to record a book review.”
The best portfolios have a healthy mix of both. The teacher-led activities give you structure and ensure you’re documenting learning across all subjects. The student-led posts are where your unique personality and
student voice K-12
can truly shine.
Step 2: The [CREATE] – Your Multimodal Toolkit
This is the fun part. You have your idea, now you need to bring it to life. You’ll do this by hitting that big green “+” button in Seesaw. When you do, you’ll see a menu of creative tools. This is your multimodal toolkit.
Let’s look at your main tools:
- Photo: The simplest tool. Take a picture of anything: your handwritten work, a science experiment, a 3D model, a page in a book.
- Drawing: This opens a blank white canvas. You have pens, markers, highlighters, an eraser, and a full color palette. You can draw from scratch, or you can draw on top of a photo or a PDF. This is called “annotation.”
- Video: This turns on your device’s camera and microphone. You can record yourself explaining something, performing a skit, or demonstrating a skill. You are the star of the show!
- Upload: If you’ve created something on another app (like a slideshow in Google Slides or a movie in iMovie), you can upload it here.
- Note: This is for when you just want to write. It’s a simple text box for typing out a story, a poem, or a reflection.
- *Link: Found a great website or YouTube video for your research? You can add it to your portfolio with this tool.
The real magic happens when you combine these tools. For example, you can:
- Take a Photo of your math worksheet.
- Use the Drawing tools to circle the problem you want to explain.
- Use the Record button (inside the Drawing tool) to record your voice explaining, step-by-step, how you solved it.
You just used three tools to create one incredibly rich and informative portfolio post! This is what makes
Seesaw for teachers guide
so powerful—it encourages this layering of media.
Step 3: The [REFLECT] – The Power of the Caption
You’ve created your artifact. You’re not done yet! This next step is what separates a good portfolio from a great one. You need to add a reflection.
In Seesaw, you can do this in two ways:
- The Caption: After you’ve created your post, you’ll be prompted to add a caption. This is a space for you to write about your work.
- *The Voice Comment: Don’t feel like typing? Hit the microphone icon in the caption area and just talk! Record a short audio note explaining your work. This is fantastic for younger students or for anyone who can explain their ideas better by speaking than by writing.
What makes a good reflection?
Don’t just describe what you did. Think deeper. Your teacher might give you sentence starters, like:
- “I am proud of this work because…”
- “The most challenging part was…”
- “Next time, I will try to…”
- “This shows that I have learned…”
- “I was surprised when…”
Answering these questions is how you practice metacognition—thinking about your thinking. It’s the key to real, lasting learning.
Step 4: The [SHARE] – Sending Your Story into the World
Once you’ve created your artifact and added your reflection, you hit the green checkmark button. This is the “share” step.
What happens next depends on your teacher’s settings.
- Approval Mode On: Your post will go into a private folder for your teacher to review first. They can check it, maybe offer a private suggestion (“Could you add one more sentence to your caption explaining why you chose this?”), and then approve it for the class journal and your family to see. This is common in most classrooms.
- *Approval Mode Off: Your post will immediately appear in the class journal. This is more common with older, more experienced students.
You’ll also be prompted to add your post to a Folder. This is a critical organizing step! Your teacher will have created folders for different subjects (Math, Reading, Science) or for different skills (Collaboration, Communication, Creativity). Always add your work to the correct folder. This keeps your portfolio neat and makes it easy to see your growth in a specific area. This is a core practice for creating useful
elementary student e-portfolios
.
Step 5: The [FEEDBACK] – Starting the Conversation
Your post is now live in your portfolio! But the journey isn’t over. Now the conversation begins.
- Teacher Feedback: Your teacher will see your post and can leave a comment. This might be a “like,” a word of encouragement, or a question to push your thinking further. They can leave a written comment or a voice comment. Hearing your teacher’s voice telling you “Wow, the way you explained your reasoning here was so clear!” is incredibly motivating.
- Family Feedback: Your teacher can invite your parents or family members to connect to your Seesaw portfolio. They get a notification when you post something new. They can see your work, “like” it, and leave encouraging comments. This builds a powerful bridge between home and school. Imagine your grandma, who lives in another country, leaving a comment on your artwork!
- *Peer Feedback: Sometimes, teachers will set up activities where you give feedback to your classmates. This is a valuable skill. You’ll learn how to be helpful and kind, using prompts like “I liked how you…” and “I wonder if you could…”
This entire workflow—Idea, Create, Reflect, Share, Feedback—is the engine that will power your 2026 storybook. By understanding this blueprint, you’re no longer just “doing Seesaw.” You are purposefully and thoughtfully architecting a story of your own learning.
Hands-on Practical Implementation & Real-World Configuration
You’ve learned the theory, you’ve seen the blueprints. Now, it’s time to get your hands dirty and build. This is the most exciting module, where we move from talking about portfolios to actually creating powerful entries. I’m going to give you three step-by-step, “production-ready” recipes for creating amazing Seesaw multimodal portfolios posts.
For each recipe, I’ll give you the “Why” (the learning goal), the “Ingredients” (the tools you’ll need), and the “Method” (a full, step-by-step walkthrough). These are practical examples you can use as inspiration for your own work.
Recipe 1: The “Talking Artwork” (Perfect for Grades K-2)
This is a classic for a reason. It’s simple, powerful, and transforms a simple art project into a rich storytelling experience. It directly addresses how to
amplify student voice with digital portfolios
, even for the youngest learners.
- The Why (Learning Goal): To move beyond “I drew a house” to explaining artistic choices, using descriptive language, and building confidence in speaking. It also documents fine motor skill development and creative expression.
- The Ingredients:
- A piece of physical artwork (a drawing, painting, sculpture, etc.)
- A device with the Seesaw app
- The Photo tool
- The Record tool (microphone)
- The Method (Step-by-Step):
- Prepare Your Station: Find a spot with good lighting and a clear background. Place your artwork flat on a table or hold it up carefully.
- Open Seesaw & Tap the Green ‘+’ Button: You know the drill! This opens your creative toolkit.
- Select ‘Photo’: The camera will open. Hold your device steady and take a clear, bright picture of your artwork. Try to fill the screen with your art. Tap the green checkmark when you have a photo you like.
- Enter the Creative Canvas: Your photo now appears on the Seesaw canvas. You could stop here, but we’re making a “Talking Artwork”!
- Find the Microphone: On the left side of the screen, you’ll see a set of tools. Look for the one that looks like a microphone. Tap it.
- Start Recording Your Story: A “3, 2, 1” countdown will appear, and then Seesaw will start recording your voice. As you speak, you can also use the drawing tools to point to things in your artwork! Here’s a sample script you could use:
“Hi, this is my painting of a jungle. I am proud of this work because I used five different kinds