
Unlock Your IB Potential: A Students 2026 Guide to Schools Digital Architecture
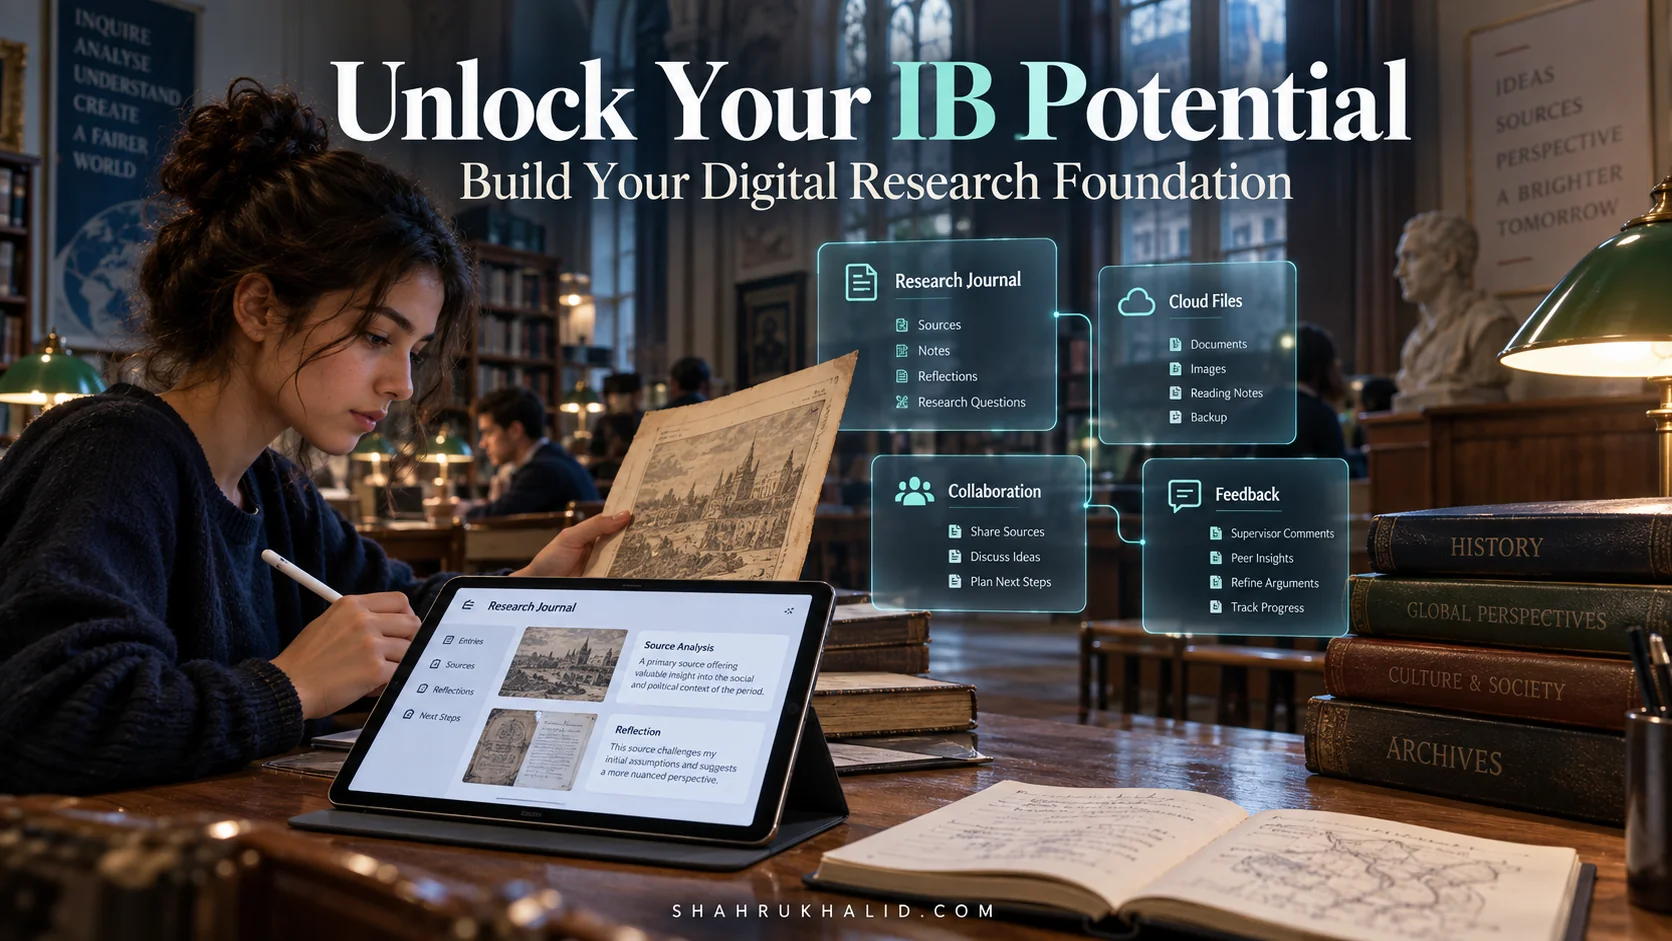
Key Takeaways
- Digital chaos, not content, often hinders IB student success.
- IB Digital Architecture is the master plan for managing your school's digital ecosystem.
- School digital architecture comprises LMS, email, cloud storage, and specialized tools.
- Mastering digital architecture eliminates friction, enabling efficient inquiry and critical thinking.
- Understanding digital architecture makes students master navigators, building solid IB projects.
Consider the common plight of an International Baccalaureate (IB) student: brilliant, inquisitive, and academically capable, yet struggling under digital fragmentation—research notes scattered across disconnected apps, Extended Essay drafts trapped in version-control chaos, and critical assessment deadlines obscured within confusing portal notifications. This is rarely a content problem; it is an architectural problem. Success in the modern IB is no longer just about what you know; it is about how you connect, structure, and master your institution’s digital ecosystem. This guide provides an actionable architectural blueprint for navigating and optimizing your school’s IB Digital Architecture in 2026.
Comprehensive Foundations & Concept Primer
Let’s start by clearing up the big question: What is digital architecture in K-12 schools? When you hear “architecture,” you might think of blueprints for a building. You’re not far off. But instead of concrete, steel, and glass, our materials are software, platforms, and data.
Think of your school’s technology like a city. The IB Digital Architecture is the master plan for that city.
- The Learning Management System (LMS), like ManageBac, Canvas, or Google Classroom, is City Hall. It’s the central hub where official announcements are made, assignments are posted (laws are passed), and your grades are recorded (your official citizen record).
- Your School Email and Communication Tools (like Google Chat or Microsoft Teams) are the postal service and public squares. They are the official channels for communication and collaboration.
- Cloud Storage (Google Drive, OneDrive) is the public library and your personal storage unit combined. It’s where shared knowledge is stored and where you keep your own work safe.
- Research Databases (JSTOR, EBSCO) and Creative Suites (Adobe, Canva) are the specialized districts—the financial district, the arts district—where you go to perform specific, high-value tasks.
Why is understanding this “city plan” so essential for you in 2026? Because the IB is not about memorizing facts. It’s about inquiry, critical thinking, and making connections. A poorly managed digital life creates friction. It’s like trying to get around a city with no street signs, constant traffic jams, and a confusing subway map. You’ll spend more time being frustrated and lost than actually getting to your destination.
Mastering your school’s IB Digital Architecture means you become a master navigator. You know the shortcuts. You know which districts are best for which tasks. You can build your own projects (your Internal Assessments, your Extended Essay) on a solid foundation, without worrying that the ground will crumble beneath you. This isn’t just about being “good with computers.” It’s about embodying the IB Learner Profile in a digital world. You become a more effective Inquirer because you know where to find and organize information. You become a better Communicator because your tools for collaboration are seamless. And you become more Principled by understanding digital citizenship and academic honesty. This guide is your map to that city.
The Core Principles of a Student-Centric Digital Architecture
Before we start building, let’s lay down three fundamental principles that will guide every action you take.
- Centralize, Then Organize: The human brain can only keep track of so much. The first rule of digital sanity is to stop scattering your digital life across a dozen random apps and folders. We will choose a central “hub” for your work and build a clear, logical organizational system around it.
- Automate the Mundane: Your brainpower is your most valuable asset. It should be spent on complex problem-solving for your Physics IA or analyzing themes in literature, not on remembering to back up a file or formatting a citation. We will use tools to automate repetitive tasks, freeing you up for deep work.
- Flow, Don’t Force: The best digital workflows feel natural. They follow the rhythm of your learning process, from initial curiosity to final submission. If a tool or system feels clunky and constantly gets in your way, it’s the wrong system. We will design workflows that support your learning, not hinder it.
With these principles in mind, let’s get our hands dirty and set up your personal digital headquarters.
Prerequisites & Complete Environment Setup
This module is your digital “move-in day.” We’re going to take your raw digital space and turn it into a high-performance headquarters for your IB journey. This isn’t about buying expensive software; it’s about being intentional with the tools you already have.
Step 1: The Professional Overhaul (Your Digital First Impression)
Before you do anything else, let’s refine your core digital identity.
- Email Signature: Open your school email settings. Create a simple, professional signature.
- Line 1: Your Full Name
- Line 2: IB Diploma/MYP Candidate, Class of [Your Year]
- Line 3: [Your School’s Name]
- Why? This small step signals professionalism and maturity every time you email a teacher, a supervisor, or a university. It shows you take your position as an IB candidate seriously.
- Profile Pictures: Go through your core school accounts (Google, Microsoft, your LMS). Make sure your profile picture is a clear, friendly, school-appropriate headshot.
- Why? In a digital environment, this is your face. It builds connection and helps your teachers and peers recognize you in a sea of icons.
Step 2: Building Your “Digital Filing Cabinet” – Cloud Storage Configuration
Your cloud storage (most likely Google Drive or OneDrive, provided by your school) is the single most important piece of your personal architecture. A messy Drive is a messy mind. Let’s fix that now.
- Create the Master Folder: Inside your Drive/OneDrive, create ONE master folder. Name it `[Your Name] – IB Headquarters`. Everything related to your IB journey will live inside this folder. No exceptions. This is our principle of Centralize, Then Organize in action.
- The Core Directory Layout: Inside `IB Headquarters`, create the following folder structure. This layout is designed to mirror the structure of the IB itself.
├── 01_DP_Core/
│ ├── CAS/
│ ├── Extended_Essay/
│ └── TOK/
├── 02_Subjects/
│ ├── Group1_Studies_in_Language_and_Literature/
│ │ └── English_A_HL/
│ ├── Group2_Language_Acquisition/
│ │ └── Spanish_B_SL/
│ ├── Group3_Individuals_and_Societies/
│ │ └── History_HL/
│ ├── Group4_Sciences/
│ │ └── Biology_SL/
│ ├── Group5_Mathematics/
│ │ └── Math_AI_SL/
│ └── Group6_The_Arts/
│ └── Visual_Arts_HL/
├── 03_University_Applications/
├── 04_Personal_Development/
└── 05_Archive/
- Pro-Tip: Use numbers (`01_`, `02_`) to force the folders to stay in a logical order, rather than alphabetical. Adjust the subject folders to match your specific IB package.
- Verification: Click through your new structure. Does it feel clean? Logical? This is your new home base. From now on, every time you download a file, save a document, or scan a handout, you will ask yourself: “Which folder in my IB Headquarters does this belong to?” This simple habit is a game-changer.
Step 3: Supercharging Your Browser – The Researcher’s Cockpit
Your web browser is your window to the world’s information. Let’s install a few key extensions to make it a powerful research tool.
- A Citation Manager: Install the browser extension for Zotero or Mendeley. These are non-negotiable for the EE and IAs. When you find a useful academic paper, website, or book, you can click a single button in your browser to save it—and all its citation information—to your library. This automates one of the most tedious parts of academic writing.
- An Ad Blocker (uBlock Origin): Your focus is sacred. An ad blocker removes visual clutter and distractions, allowing you to focus on the content of the articles you’re reading.
- A Session Manager (OneTab): IB research often means having 30 tabs open at once. This can slow down your computer and your brain. An extension like OneTab allows you to collapse all your tabs into a single list, saving memory and allowing you to re-open them later.
Your environment is now set up. You have a professional identity, a perfectly organized filing cabinet, and a supercharged browser. Now, let’s map out how you’ll move through this new, efficient city.
Core Implementation Architecture & Workflow Blueprint
Now that your personal environment is configured, let’s zoom out and look at the big picture. How does work actually flow through the IB Digital Architecture? Understanding this workflow is key to anticipating next steps, managing your time, and producing your best work without last-minute panic.
We can visualize the lifecycle of a typical IB assignment—let’s say, a History Internal Assessment—as a series of connected “cards” in a workflow.
The IB Assignment Workflow: A Visual Grid
Imagine a project board with five columns. Every major assignment you do will move across this board from left to right.
| Card 1: The Briefing | Card 2: Research & Inquiry | Card 3: Synthesis & Creation | Card 4: Feedback & Iteration | Card 5: Submission & Archiving |
| :— | :— | :— | :— | :— |
| Location: LMS (ManageBac, Canvas), Email | Location: Google Scholar, JSTOR, School Library Portal, Zotero | Location: Google Docs, Microsoft Word, Canva, Prezi | Location: Google Docs (Comments), Turnitin (Feedback Studio), In-person meetings | Location: LMS (Turnitin), Your Cloud Archive |
| Action: Receive assignment, rubric, and deadlines. | Action: Gather sources, take notes, build an annotated bibliography. | Action: Outline, draft, create visuals, format citations. | Action: Submit draft, receive teacher feedback, revise. | Action: Submit final version, save a copy to your `05_Archive` folder. |
Let’s walk through this blueprint step-by-step.
Step-by-Step Workflow Walkthrough: The Journey of an IA
- The Briefing: It starts in your LMS. Your teacher posts the History IA requirements. Your first action is not to immediately start researching. Your first action is to deconstruct the brief.
- Open your `IB Headquarters` -> `02_Subjects` -> `Group3_Individuals_and_Societies` -> `History_HL` folder.
- Create a new folder named `IA_[Topic_Name]`.
- Inside, create a Google Doc named `IA_Project_Plan`.
- Copy and paste the assignment requirements and the rubric from the LMS into this document. Break it down. Highlight the key verbs. What are you being asked to do? (Analyze, Evaluate, Compare). This document is now your single source of truth for the project.
- Research & Inquiry: Now the hunt begins.
- You use your school’s library portal to access JSTOR and other academic databases.
- As you find a promising journal article, you click the Zotero extension in your browser. Click. The source, its PDF, and all its metadata are saved to your Zotero library in a folder you’ve named “History IA.” This is automating the mundane.
- You read the PDF, highlighting and taking notes directly in Zotero or in a dedicated `IA_Research_Notes` document inside your project folder.
- Synthesis & Creation: This is where your ideas take form.
- You create an outline in a document named `IA_Outline.docx`.
- You begin writing your first draft in `IA_Draft_v1.0.docx`. Notice the version number. This is crucial. When you make major revisions, you’ll `Save As…` and create `v1.1`, `v2.0`, etc. This prevents the “final_final_real_one” nightmare.
- As you write, you need to insert a citation. You open the Zotero tab in Google Docs or Word, search for the author, and click. The in-text citation and the bibliography entry are perfectly formatted and inserted. No manual typing. No formatting errors. This is flow, not force.
- Feedback & Iteration: Your draft is ready for review.
- You share the Google Doc with your teacher, giving them “Commenter” access. They leave feedback directly in the document.
- Alternatively, you submit your draft to a “Draft Check” on Turnitin via your LMS. You not only get an originality score, but your teacher uses Feedback Studio to leave detailed comments.
- You create `IA_Draft_v2.0.docx` and begin implementing the feedback.
- Submission & Archiving: The final moment.
- You do one last check of the rubric in your `IA_Project_Plan` document.
- You export your final document as a PDF named `Tariq_Mahnoor_History_IA_Final.pdf`. A clean, professional filename.
- You submit this PDF to the official assignment portal on your LMS.
- Crucial Final Step: You take that final PDF and a copy of your core research and place it in your `05_Archive` folder. Your schoolwork is a portfolio of your intellectual growth. Don’t let it disappear into the digital ether after you get your grade.
This workflow isn’t just a theory; it’s a repeatable system that reduces stress and improves the quality of your work. Now, let’s put it into practice with a full, hands-on example.
Hands-on Practical Implementation & Real-World Configuration
Theory is great, but muscle memory is better. In this module, we’re going to execute a complete, real-world IB task from start to finish: setting up a digital research journal for your Extended Essay (EE).
The EE is a marathon, not a sprint. The single biggest mistake students make is poor organization from the start. A Research Reflections and Planning Form (RRS or RPPF) is mandatory, and a well-kept digital journal is the engine that powers it. This is where you’ll document your journey, your dead ends, your breakthroughs, and your reflections.
Project: Building Your Extended Essay Digital Research Journal
We’ll use a flexible tool like Notion or even a simple, well-structured Google Doc for this. The tool is less important than the structure.
Step 1: Create the Journal's Home
- Navigate to your `IB Headquarters` -> `01_DP_Core` -> `Extended_Essay` folder.
- If you’re using Google Docs, create a new Doc named `EE_Research_Journal – [Your Name]`. If using Notion, create a new page with the same name.
- Bookmark this file. Put it on your browser’s bookmark bar. You will be in this document multiple times a week. Reduce the friction to opening it.
Step 2: Structure the Journal's Front Page
This is the dashboard for your entire 4,000-word project. It should contain key information at a glance.
# EE Research Journal: [Your Research Question Here, e.g., "To what extent was the fall of the Berlin Wall caused by economic pressures?"]

**Supervisor:** [Your Supervisor's Name]
**Subject:** [e.g., History]
**Next Meeting:** [Date and Time] - [Link to Meeting Notes]

---

### Quick Links
*   [Link to your Zotero/Mendeley Library for this project]
*   [Link to your EE Draft Google Doc]
*   [Link to your school's official EE guide/handbook]
*   [Link to the IB's official subject-specific EE guide]

---

### Reflection & Planning (RPPF) Prompts
*   **First Reflection Session:** [Date] - [Link to Entry]
*   **Interim Reflection Session:** [Date] - [Link to Entry]
*   **Final Reflection (Viva Voce):** [Date] - [Link to Entry]

---- Commentary: This “front page” acts as a mission control. You’re putting the most critical, high-level information right at the top. The research question is there to keep you focused. The supervisor and meeting dates keep you accountable. The Quick Links section turns this document into a portal, saving you from hunting for files.
Step 3: Create the Journal Entry Template
The power of a journal comes from consistency. Every time you work on your EE, you will create a new entry. Create a template to make this effortless.
---
## Journal Entry: YYYY-MM-DD

**Time Spent:** [e.g., 90 minutes]
**Focus of this Session:** [e.g., Initial brainstorming, Finding primary sources on economic data, Outlining Section 2, Writing the introduction]

**What I Did:**
*   [Bulleted list of concrete actions. Be specific.]
*   Searched JSTOR for "GDR economy 1980s". Found 3 promising articles.
*   Saved them to my Zotero "EE - Berlin Wall" collection.
*   Read the abstract of the Schmidt (1998) paper. It seems highly relevant.
*   Started a mind map in Miro to connect economic factors.

**What I Learned / Key Findings:**
*   [This is for content. What new information did you discover?]
*   The role of the "oil price shock" in the 1970s had a much longer tail effect on the East German economy than I realized. This could be a key part of my argument.

**Challenges & Problems:**
*   [Be honest. What was difficult?]
*   I'm struggling to find primary sources from the East German perspective. Most sources are from the West. This is a potential bias I need to address.

**Next Steps / Questions for Supervisor:**
*   [This is your to-do list for the next session.]
*   Read the full Schmidt (1998) paper.
* Ask [Supervisor's Name] for advice on finding primary sources from the former GDR. Is the university library a good place to look?- Commentary: This template is your secret weapon.
- The `YYYY-MM-DD` date format ensures your entries sort chronologically.
- `Time Spent` helps you track your 40-hour commitment.
- `What I Did` is about process.
- `What I Learned` is about content.
- `Challenges` is for honest reflection, which is the heart of the RPPF.
- `Next Steps` ensures you never end a work session wondering, “What do I do now?” It builds momentum.
Step 4: Put It to Use
Now, every time you sit down to work on your EE, you:
- Open your bookmarked journal.
- Copy and paste the blank template at the top of the document.
- Fill it out as you work.
When it’s time to write your formal RPPF reflections for the IB, you won’t be staring at a blank page. You will have a rich, detailed log of your entire intellectual journey. You can simply review your journal entries and synthesize your thoughts. You’ve transformed a daunting compliance task into a powerful tool for thinking. This is the IB Digital Architecture working for you.
Real-World Enterprise Use Cases & Case Studies
Let’s move from a single project to looking at how this integrated system works for different students across the IB continuum. These aren’t just stories; they are models you can adapt for your own journey. They help answer the question: how does technology impact IB student learning in a tangible way?
Case Study 1: Anjali, the MYP Student & Her Personal Project
- The Student: Anjali, an MYP 5 student, is passionate about sustainable fashion. For her Personal Project, she decides to design and create a small clothing line using upcycled materials.
- Her Digital Architecture Challenge: The Personal Project is a long-term, multi-faceted endeavor involving research, process documentation, product creation, and a final report. She needs a system to keep it all from becoming a chaotic mess.
- Her Implementation:
- Project Hub (Trello): Anjali uses a free Trello board as her project’s command center. She creates lists for `To-Do`, `In Progress`, `Waiting for Feedback`, and `Done`. Each task—from “Research natural dyeing techniques” to “Photograph final garments”—becomes a card. She can add checklists, deadlines, and attachments to each card.
- Process Journal (Blog): Instead of a simple document, Anjali creates a free blog on WordPress or Blogger. Each week, she writes a post with photos and videos documenting her progress. This serves as her process journal. It’s visual, engaging, and easy to share with her supervisor.
- Research & Inspiration (Pinterest): Anjali uses Pinterest as a visual research tool. She creates a secret board to pin images of upcycled fashion, tutorials on sewing techniques, and articles on sustainable designers. It’s a mood board and research repository in one.
- Final Report (Google Docs): She writes her final report in Google Docs, following the folder structure we outlined in Module 2. She shares the doc with her supervisor for comments, allowing for a seamless feedback loop.
- The Outcome: Anjali’s digital architecture allows her to manage a complex, creative project with clarity and confidence. Her blog becomes a rich, authentic process journal that far exceeds the minimum requirements. She isn’t just completing a project; she’s learning real-world project management skills.
Case Study 2: Ben, the DP Student & His Group 4 Project
- The Student: Ben is a DP 1 student. He and three other students from Biology, Chemistry, and Physics are tackling the collaborative Group 4 project. Their topic: investigating the environmental impact of different types of sunscreens on a local water source.
- His Digital Architecture Challenge: The biggest hurdle in any group project is coordination: Who is doing what? Where is the latest version of the data? How do we combine our individual parts into a cohesive whole?
- His Implementation:
- Communication Hub (Microsoft Teams/Discord): The group decides against a messy WhatsApp chat. They create a dedicated server/team with different channels: `#general` for announcements, `#data-collection` for discussing their experiments, `#report-writing` for collaborating on the final document, and `#random` for socializing. This keeps conversations organized and searchable.
- Shared Data Repository (OneDrive): Using the school’s OneDrive, they create a shared folder `Group 4 Project`. Inside, they have subfolders for `Raw_Data`, `Analysis_Spreadsheets`, `Research_Articles`, and `Presentation_Drafts`. Everyone knows where to find the authoritative version of any file. There is one “master” Excel spreadsheet for their combined data, which they can even co-edit in real time.
- Collaborative Writing (Google Docs): They create a single Google Doc for their final report. They assign sections to each member using comments (`@Ben please write the introduction`). They use the “Suggesting” mode to propose changes, which the section owner can then accept or reject. This avoids version control chaos.
- Task Management (Microsoft Planner/Trello): Within their Teams environment, they use the integrated Planner tool to assign specific tasks with deadlines. “Sarah: Complete chemical analysis by Friday.” “Ben: Write the methodology section by Monday.” This creates public accountability.
- The Outcome: Ben’s group avoids the classic pitfalls of student collaboration. Their communication is efficient, their data is centralized and secure, and their writing process is smooth. Their well-organized digital learning environment allows them to focus on the science, not on logistical nightmares. They produce a higher-quality project and learn invaluable teamwork skills that will serve them in university and beyond.
Common Pitfalls, Gotchas & Troubleshooting Playbook
Even with the best-laid plans, you’ll hit bumps in the road. Knowing the common traps is the first step to avoiding them. Here are the five most frequent rookie errors I see IB students make, and a clear playbook for how to fix them.
Pitfall 1: The “Digital Hoarder” Mentality
- The Symptom: Your `Downloads` folder is a wasteland of thousands of files. Your desktop is a mosaic of screenshots and untitled documents. You save everything, “just in case,” but can’t find anything when you actually need it.
- The Anti-Pattern: This comes from a fear of losing something important, but it leads to digital paralysis. It violates our “Centralize, Then Organize” principle.
- Troubleshooting Playbook:
- Schedule a “Digital Declutter” once a month. Set a 30-minute timer.
- The 2-Minute Rule: Go to your `Downloads` folder. If you can file something in its proper `IB Headquarters` folder in under 2 minutes, do it.
- The “Move to Archive” Rule: If it’s an old project or something you might need someday but not now, move it to your `05_Archive` folder.
- The “Delete” Rule: Be ruthless. If you don’t know what it is or why you saved it, delete it. You can probably find it again if you really need it.
Pitfall 2: Collaboration Chaos (aka “The Google Docs Free-for-All”)
- The Symptom: A group project document has 10 different fonts, conflicting edits, and comments from six months ago. No one knows which version is the “real” one.
- The Anti-Pattern: A lack of established protocol before collaboration begins. Everyone just dives in.
- Troubleshooting Playbook:
- Appoint a “Document Lead” for every collaborative document. This person is responsible for final formatting and accepting/rejecting suggestions.
- Use “Suggesting” Mode. Never edit directly on someone else’s work. Propose changes using suggestions, which act as a built-in review process.
- Establish a File Naming Convention: Agree on a system like `ProjectName_Section_vX.X_Date.docx`.
- Resolve Comments: Once a comment’s feedback has been addressed, click “Resolve.” An open comment is an open to-do item.
Pitfall 3: Notification Tyranny
- The Symptom: You’re constantly distracted by a barrage of pings, dings, and pop-ups from email, your LMS, and social media. You can’t get into a state of deep work.
- The Anti-Pattern: Letting technology dictate your attention instead of you dictating its role.
- Troubleshooting Playbook:
- Turn Off All Non-Essential Notifications on your phone and computer. You do not need a pop-up for every email.
- Batch Your “Admin Time.” Designate two specific times a day (e.g., 8:3