Lost in Code? Your 2026 Toolkit of Best Developer Tools for Students (Top Picks & Smart Alternatives!)

Comprehensive Foundations & Concept Primer
The “Why” Behind the Tools: More Than Just Software
Imagine trying to build a magnificent treehouse with just your bare hands. You might get somewhere, but it would be slow, painful, and probably not very sturdy. Now, imagine having a hammer, saw, measuring tape, and a level. Suddenly, the task becomes manageable, efficient, and the outcome is far superior. In the world of coding, developer tools are precisely that: your hammers, saws, and levels. They aren’t just programs; they are extensions of your mind, designed to make the complex simple, the repetitive automated, and the impossible, well, possible!
In 2026, the landscape of technology is evolving at warp speed. AI is becoming an integral part of our workflows, cloud computing is ubiquitous, and collaboration is key. This means the coding tools for students today aren’t just about writing code; they’re about understanding entire ecosystems, from local development to deployment in the cloud. Learning these tools early isn’t just about convenience; it’s about building foundational skills that will serve you throughout your entire career. It’s about learning the language of efficiency and best practices, setting you up for success whether you’re building the next big app or contributing to open-source projects.
Demystifying Jargon: Your First Step to Clarity
One of the biggest hurdles for beginners is the sheer volume of unfamiliar terms. Let’s tackle some of the most common ones you’ll encounter when discussing programming software for beginners:
- IDE (Integrated Development Environment): Think of an IDE as your all-in-one workshop. Instead of separate tools for writing code, debugging (finding and fixing errors), and running your program, an IDE bundles them all into one convenient application. It’s like having a workbench with all your tools neatly organized and within reach.
- Text Editor: This is a simpler version of an IDE, primarily focused on writing and editing code. It’s like a notepad specifically designed for code, often with features like syntax highlighting (coloring keywords to make code easier to read) and auto-completion. Many developers, especially students, start here before moving to a full IDE.
- Version Control System (VCS): Imagine you’re writing a long essay, and you keep saving different versions: “essay_draft1.docx,” “essay_draft2_final.docx,” “essay_draft2_FINAL_FINAL.docx.” A VCS, like Git, does this automatically and much more intelligently for your code. It tracks every change, who made it, and when, allowing you to revert to previous versions, collaborate seamlessly with others, and manage different “branches” of your project. It’s an absolute lifesaver, trust me!
- Command Line Interface (CLI): This is a text-based way to interact with your computer. Instead of clicking icons, you type commands. While it might seem intimidating at first, the CLI is incredibly powerful for automating tasks, navigating your file system, and interacting with many developer tools. It’s like learning a secret language that gives you superpowers over your machine.
- Framework: A framework is a pre-built structure or foundation that helps you build applications faster and more efficiently. Instead of starting from scratch every time, a framework provides common components and guidelines. Think of it as a blueprint for a house – it gives you the basic layout, and you fill in the details.
- Library: Similar to a framework, but usually smaller and more focused. A library is a collection of pre-written code that you can “borrow” and use in your own projects to perform specific tasks, like handling dates, making network requests, or performing complex calculations. It’s like having a set of specialized tools you can pick up and use when needed.
Why a Curated Toolkit Matters for Students in 2026
Example Directory Structure:
MyComputer/
├── Documents/
│   └── Code/
│       ├── PythonProjects/
│       │   ├── my_first_script/
│       │   └── data_analysis_project/
│       ├── WebDev/
│       │   ├── portfolio_site/
│       │   └── todo_app/
│       └── LearningResources/
│           ├── notes.md
│           └── cheatsheets.pdf
Verification: Are We Ready to Code?
Let’s do a final check to ensure everything is in place. Open your Terminal/Command Prompt and run these commands:
code --version       # Should show VS Code version
git --version        # Should show Git version
python --version     # Or python3 --version, should show Python version
If all these commands return version numbers without errors, you’ve successfully set up your basic developer environment setup guide! You’re now equipped with the fundamental coding tools for students and ready to dive into actual development.
Core Implementation Architecture & Workflow Blueprint
Understanding the Development Lifecycle: A Student’s Perspective
Coding isn’t just about typing lines of text; it’s a structured process. Think of it as building a house: you design it, lay the foundation, build the walls, add the roof, and then furnish it. Similarly, software development follows a lifecycle. For students, understanding this workflow is crucial because it helps you see how each tool fits into the bigger picture. It’s not just about individual tools, but how they interact to form a cohesive student coding toolkit 2026.
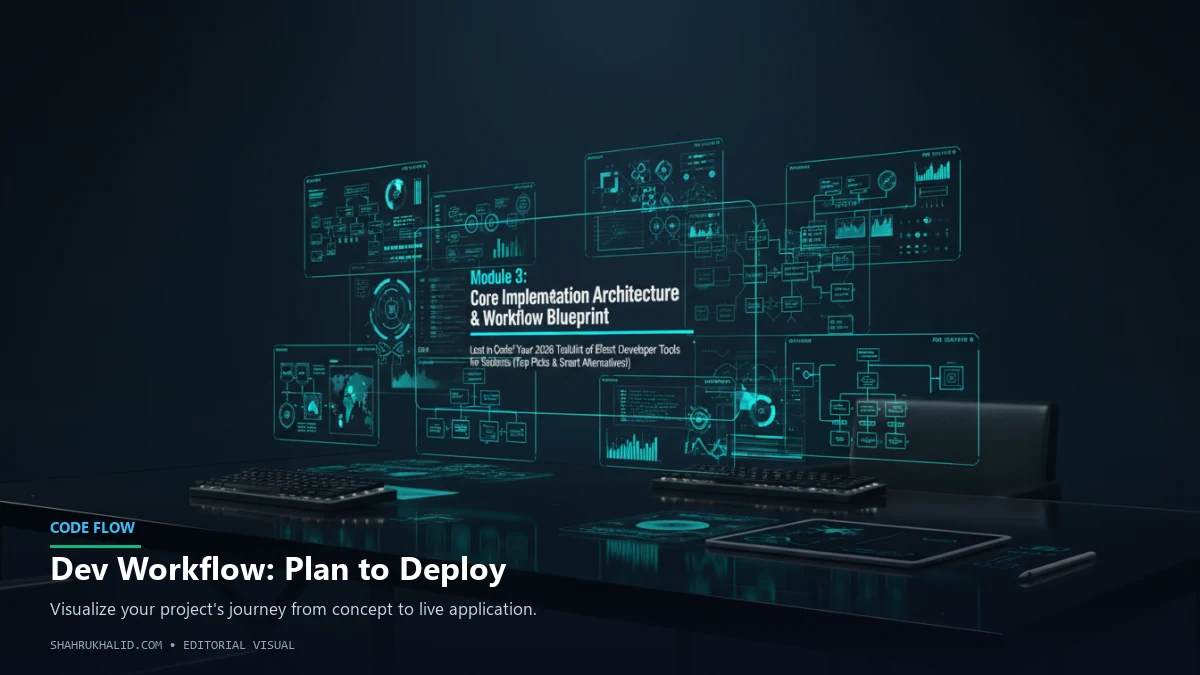
Let’s visualize a typical, simplified workflow using the tools we just set up. This “Core Implementation Architecture” will be your mental map as you embark on your coding journey.
The Workflow Blueprint: From Idea to Execution
Here’s a step-by-step breakdown of how you’ll typically use your essential dev tools for learning in a project. I’ll describe this as a series of interconnected “cards” representing stages and actions.
Card 1: Project Initialization & Setup
Goal: Start a new project and get it ready for coding and version control.
- Action 1.1: Create Project Directory
- Tool: Your Operating System’s File Explorer (or CLI).
- Description: You create a new, empty folder for your project (e.g.,
my_awesome_app/) within your organizedCode/directory. - Why: Keeps your projects isolated and tidy.
- Action 1.2: Initialize Git Repository
- Tool: Git (via CLI or VS Code’s integrated terminal).
- Command Example:
cd my_awesome_appthengit init - Description: This command turns your project folder into a Git repository, meaning Git will now start tracking changes within it.
- Why: Essential for version control, allowing you to save snapshots of your work, revert mistakes, and collaborate.
- Action 1.3: Open in Code Editor
- Tool: VS Code.
- Command Example:
code .(from within the project directory in CLI) or open VS Code and useFile > Open Folder... - Description: You open your newly created project folder in VS Code, giving you access to all its powerful editing features.
- Why: Your primary interface for writing, reading, and managing your code files.
Card 2: Coding & Iteration
Goal: Write your program, test it, and make changes.
- Action 2.1: Write Code
- Tool: VS Code.
- Description: You create new files (e.g.,
main.py,index.html) and start writing your program logic. VS Code provides syntax highlighting, auto-completion, and error checking as you type. - Why: This is the core act of programming! VS Code makes it efficient and less error-prone.
- Action 2.2: Run/Execute Code
- Tool: Python interpreter (via VS Code’s integrated terminal or a dedicated terminal).
- Command Example:
python main.py - Description: You execute your program to see if it works as expected. For web development, this might involve a local server.
- Why: To test your code, verify functionality, and see immediate results of your changes.
- Action 2.3: Debug (Find & Fix Errors)
- Tool: VS Code’s built-in debugger.
- Description: When your code doesn’t work, the debugger helps you step through your code line by line, inspect variable values, and pinpoint the exact location of the bug.
- Why: An indispensable skill for any developer. It saves hours of frustration compared to just guessing.
Card 3: Version Control & Saving Progress
Goal: Regularly save snapshots of your working code and document changes.
- Action 3.1: Stage Changes
- Tool: Git (via VS Code’s Source Control panel or CLI).
- Command Example:
git add .(stages all changes) orgit add main.py(stages a specific file) - Description: You tell Git which of your modified files you want to include in your next “save point” (commit).
- Why: Allows you to group related changes into a single commit, making your history clean and understandable.
- Action 3.2: Commit Changes
- Tool: Git (via VS Code’s Source Control panel or CLI).
- Command Example:
git commit -m "Add initial user login functionality" - Description: You create a permanent snapshot of your staged changes in your project’s history, along with a descriptive message explaining what you did.
- Why: Creates a historical record, enabling you to revert to previous states, understand project evolution, and collaborate effectively.
Card 4: Collaboration & Sharing (Optional for Beginners, but Good to Know)
Goal: Share your code with others or back it up online.
- Action 4.1: Connect to Remote Repository
- Tool: Git, GitHub/GitLab/Bitbucket.
- Command Example:
git remote add origin <repository_url> - Description: You link your local Git repository to an online service like GitHub.
- Why: Provides cloud backup, enables collaboration with classmates or project partners, and showcases your work (portfolio!).
- Action 4.2: Push Changes
- Tool: Git (via VS Code or CLI).
- Command Example:
git push -u origin main - Description: You upload your committed changes from your local machine to the online repository.
- Why: Shares your work, backs it up, and makes it accessible from anywhere.
Visualizing the Flow (Conceptual Diagram Grid)
Imagine these cards arranged in a grid, with arrows showing the flow:
+-------------------------------------+      +-------------------------------------+
|  PROJECT INITIALIZATION & SETUP     |----->|          CODING & ITERATION         |
|  - Create Directory (OS)            |      |  - Write Code (VS Code)             |
|  - Initialize Git (Git CLI)         |      |  - Run/Execute (Python/Terminal)    |
|  - Open in VS Code (VS Code)        |      |  - Debug (VS Code Debugger)         |
+-------------------------------------+      +-------------------------------------+
               |                                            ^
               |                                            | (Loop for changes)
               v                                            |
+-------------------------------------+      +-------------------------------------+
|    VERSION CONTROL & SAVING         |----->|      COLLABORATION & SHARING        |
|  - Stage Changes (Git/VS Code)      |      |  - Connect Remote (Git/GitHub)      |
|  - Commit Changes (Git/VS Code)     |      |  - Push Changes (Git/GitHub)        |
+-------------------------------------+      +-------------------------------------+
This blueprint isn’t just theoretical; it’s the practical rhythm of development. By internalizing this flow, you’ll understand when to use each of your best developer tools students have at their disposal, transforming a chaotic process into a structured, manageable one. This foundational understanding is key to becoming an effective developer, not just a coder.
Hands-on Practical Implementation & Real-World Configuration
Bringing the Toolkit to Life: Your First Practical Steps
Enough theory! It’s time to get our hands dirty and see these coding tools for students in action. This module will walk you through practical examples, showing you how to use your newly set up environment to write, run, and manage a simple project. We’ll focus on a common scenario: a basic Python script that interacts with a web API, demonstrating how multiple tools work together seamlessly. This will also address the question: “What developer tools should a student learn first?” by focusing on the most fundamental ones.
Scenario: Building a Simple Weather App (Command Line)
Let’s create a small Python application that fetches the current weather for a city using a public API. This project will utilize VS Code, Python, Git, and the command line.
Step 1: Project Setup and Initialization
- Create Your Project Directory:
Open your Terminal (macOS/Linux) or Command Prompt/PowerShell (Windows). Navigate to your Code/ directory. If you haven’t created one, do so now.
# For Windows
cd C:UsersYourUserDocumentsCode

# For macOS/Linux
cd ~/Documents/Code

mkdir weather_app_2026
cd weather_app_2026
Analogy: You’ve just cleared a spot on your workbench for a new project.
- Initialize Git:
While still in the weather_app_2026 directory:
git init
You’ll see a message like “Initialized empty Git repository in …”. This means Git is now watching this folder. You’ve placed a notebook on your workbench to record every step.
- Open in VS Code:
From the same terminal, type:
code .
This command tells your system to open the current directory (.) in VS Code. Your VS Code window should now show an empty weather_app_2026 folder in the Explorer sidebar.
Step 2: Writing Your First Code (Python & VS Code)
- Create Your Python File:
In VS Code, in the Explorer sidebar, click the “New File” icon (looks like a page with a plus sign) and name it main.py. Press Enter.
- Install a Python Library:
We’ll need a library to make web requests. The requests library is excellent for this. Open VS Code’s integrated terminal (View > Terminal or Ctrl+` on Windows/Linux, Cmd+` on macOS).
pip install requests
pip is Python’s package installer, like an app store for Python libraries. This command downloads and installs the requests library into your Python environment. You’ve just added a specialized tool to your workbench.
- Add Your Code:
Paste the following heavily commented Python code into your main.py file. Remember, for a real weather API, you’d need to sign up for a free API key (e.g., OpenWeatherMap, WeatherAPI.com) and replace YOUR_API_KEY.
# main.py - A simple command-line weather application
# 1. Import the 'requests' library.
# This library allows our Python program to make requests to websites and APIs.
# Think of it as our program's way of "browsing the internet" to get data.
import requests
# 2. Define your API Key and the base URL for the weather service.
# IMPORTANT: For a real application, you would get an API key from a weather service
# like OpenWeatherMap (openweathermap.org) or WeatherAPI.com.
# Replace 'YOUR_API_KEY' with your actual key.
# Never share your API key publicly or commit it directly to a public repository!
API_KEY = "YOUR_API_KEY" # <-- Replace this with your actual API key!
BASE_URL = "http://api.openweathermap.org/data/2.5/weather" # Example using OpenWeatherMap
def get_weather(city_name):
"""
Fetches weather data for a given city from the OpenWeatherMap API.
Args:
city_name (str): The name of the city to get weather for.
Returns:
dict: A dictionary containing weather data, or None if an error occurs.
"""
# 3. Prepare the parameters for our API request.
# 'q': The city name we want to query.
# 'appid': Our unique API key for authentication.
# 'units': We want temperature in Celsius ('metric') or Fahrenheit ('imperial').
params = {
"q": city_name,
"appid": API_KEY,
"units": "metric" # Use 'imperial' for Fahrenheit
}
print(f"Fetching weather for {city_name}...")
try:
# 4. Make the actual HTTP GET request to the API.
# The 'requests.get()' function sends our request and waits
Frequently Asked Questions