From Zero to Hero Coder: Your 2026 Guide to the Best Developer Tools & Essential Alternatives
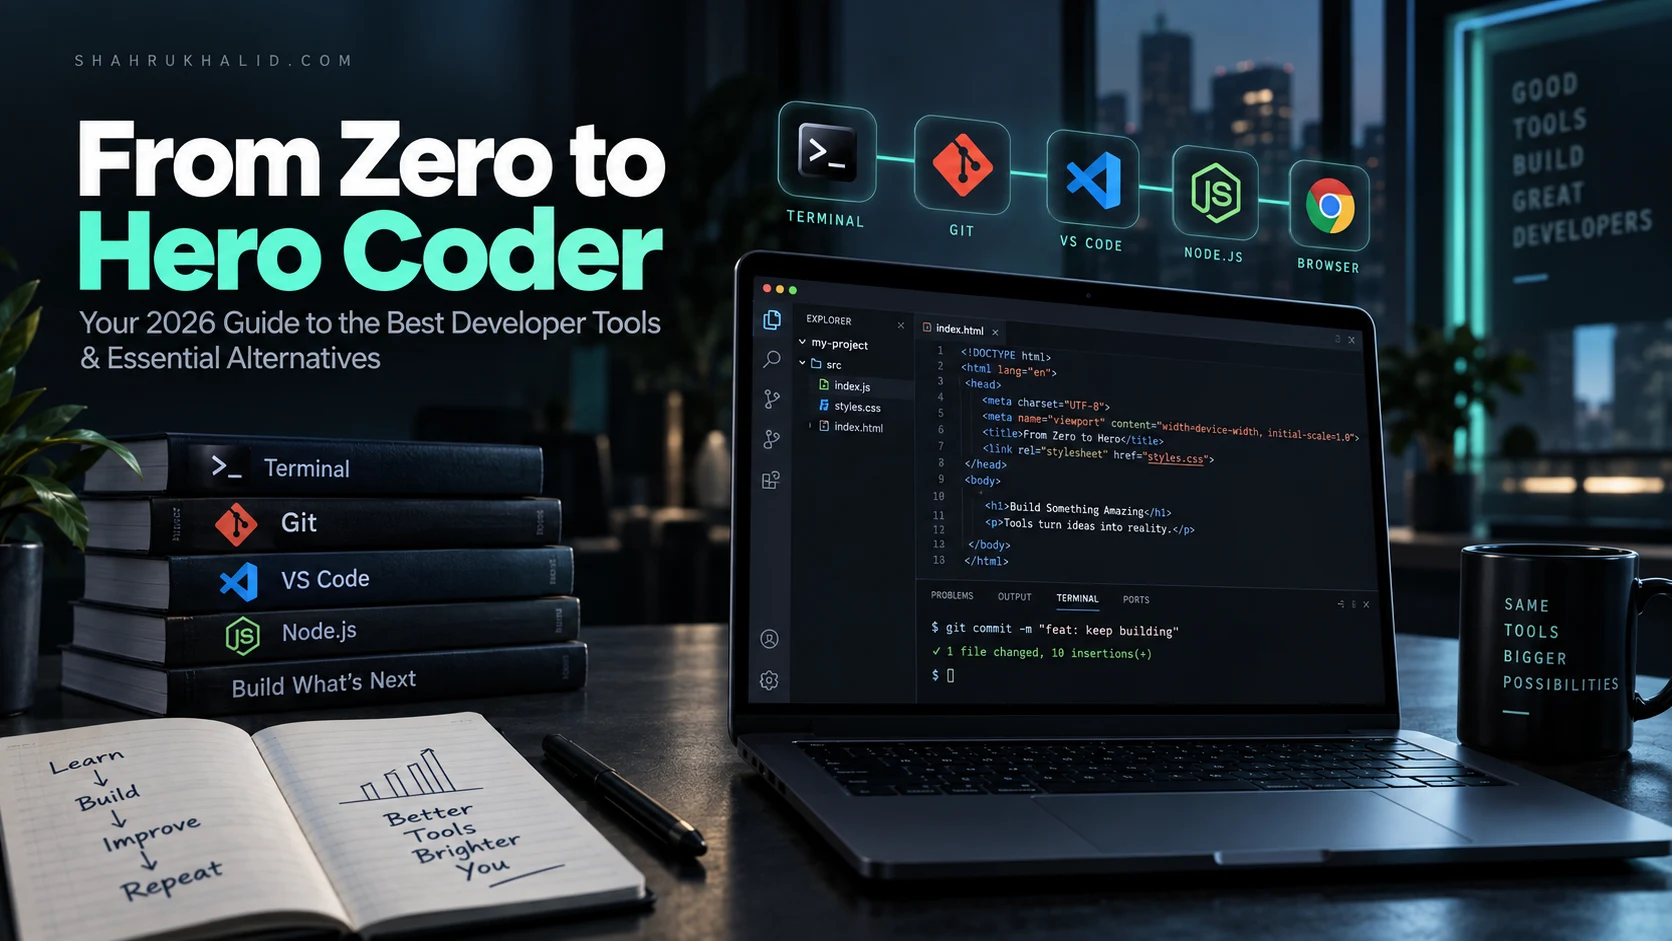
Key Takeaways
- Developer tools are essential software, like a chef's kitchen, for building functional applications.
- Modern coding in 2026 requires a professional toolkit for complex systems and team collaboration.
- Embracing developer tools early fosters fluency, speed, and good coding habits from the start.
- Tools automate mundane tasks, catch errors, manage complexity, and facilitate team development.
- Your developer toolkit is your most important asset, crucial for success in your coding journey.
This isn’t just another list. This is a masterclass. We’re going to build your developer toolkit from the ground up, explaining the why behind every choice, so you not only know what to use, but how to think like a seasoned developer. Let’s get started.
Comprehensive Foundations & Concept Primer
Before we even think about downloading a single program, let’s talk about what “developer tools” even are. It’s a term that gets thrown around a lot, but what does it actually mean for you, an aspiring coder? The simplest analogy I can give you is that of a chef’s kitchen.
You wouldn’t expect a Michelin-star chef to create a masterpiece with a single butter knife and a campfire, right? They have a whole array of tools: razor-sharp knives for precision, heavy-duty mixers for power, specialized ovens for control, and a meticulously organized pantry. Each tool has a specific purpose, and together, they enable the chef to transform raw ingredients (ideas) into a finished dish (a functional application).
Your software development environment is your digital kitchen. The best developer tools are your knives, mixers, and ovens. They are the software that helps you write, manage, test, and run your code. In 2026, coding is rarely a solitary act of just typing text into a blank file. It’s about building complex systems, often with a team, and that requires a professional setup.
Why Your Toolkit is Your Most Important Asset
In the early days, you might feel like the tools are a distraction from the “real work” of learning to code. I want to challenge that thinking. Embracing your tools from day one is like learning to hold a pencil correctly before you learn to write. It sets you up for fluency, speed, and good habits that will pay dividends for your entire career. A well-configured set of essential coding tools will:
- Catch Your Mistakes: Modern tools can spot typos and simple logical errors before you even run your code, saving you hours of frustration.
- Automate the Boring Stuff: Who wants to manually indent every line of code? Your tools can format your entire file with a single keystroke.
- Help You Navigate Complexity: When your project grows from one file to one hundred, a good tool will help you find what you need instantly.
- Enable Collaboration: The modern world is built on teamwork. The right tools allow you to work seamlessly with other developers, whether they’re across the room or across the globe.
So, what are the essential developer tools for beginners? They typically fall into a few core categories: your code editor (the primary workspace), version control (the time machine for your code), and the terminal (your direct line of communication with the computer). We’ll cover each of these in detail, transforming abstract concepts into tangible skills.
Prerequisites & Complete Environment Setup
Alright, theory is great, but it’s time to get our hands dirty. This module is a step-by-step guide to building your very first professional software development environment from scratch. No steps skipped. We’ll verify everything as we go. My promise to you is that by the end of this module, you’ll have a functional, powerful setup ready for any coding tutorial you want to tackle.
Step 1: The Command Line (Your Digital Cockpit)
The first and most fundamental tool is the Terminal, or Command Line Interface (CLI). If your computer’s graphical user interface (GUI)—all the windows, icons, and cursors—is the passenger cabin, the terminal is the cockpit. It’s where you give direct, precise commands to the operating system. It might look intimidating, but it’s incredibly powerful.
- On Windows: The default is Command Prompt or PowerShell. I strongly recommend installing the Windows Subsystem for Linux (WSL). This gives you a real Linux environment right inside Windows, which is the standard for most web development. Once WSL is installed, use the Windows Terminal from the Microsoft Store. It’s a modern app that makes managing different command lines a breeze.
- On macOS: You have a great Terminal app built-in. You can find it in `Applications/Utilities`. Many developers, including myself, prefer to install iTerm2 for its advanced features like split panes and better customization.
- On Linux: You’re already living in the terminal! You’re good to go.
Action: Open your chosen terminal. Get comfortable with it. We’ll be using it a lot.
Step 2: Version Control with Git (Your Code’s Time Machine)
Imagine writing a 10-page essay. On Tuesday, you delete a paragraph you decide you don’t need. On Friday, you realize it was the most brilliant paragraph you’ve ever written, but it’s gone forever. Tragic, right?
Git is the solution to this problem for code. It’s a version control system. Every time you make a meaningful change, you take a “snapshot” of your project. This allows you to go back in time to any snapshot, see exactly what changed, and even create parallel universes (called “branches”) to test new ideas without messing up your main work. It is non-negotiable in modern software development.
Action: Go to the official Git website and download the installer for your operating system. Follow the installation prompts, accepting the default options is perfectly fine for now.
Verification: Open your terminal and type the following command, then press Enter:
git --versionYou should see something like `git version 2.43.0`. If you see that, congratulations! Git is installed.
Step 3: The Code Editor (Your Primary Workbench)
This is where you’ll spend most of your time. A code editor is a text editor supercharged for programming. It understands your code’s syntax, highlights keywords, and provides helpful features. While there are many options, my definitive recommendation for anyone on the “zero to hero” path is Visual Studio Code (VS Code).
Why VS Code? It’s free, it’s open-source, it’s backed by Microsoft, and it has a massive community and ecosystem of extensions. It hits the perfect sweet spot between being simple enough for a beginner and powerful enough for a senior engineer at Google. It is, without a doubt, one of the best developer tools available today.
Action: Go to the official VS Code website and download it for your system. During installation on Windows, make sure to check the boxes for “Add ‘Open with Code’ action” and “Add to PATH”. This will make your life much easier.
Verification: Open your terminal, and type:
code --versionSeeing a version number means you’re all set. You can now also type `code .` (that’s “code” space “dot”) in any folder to open it directly in VS Code!
Step 4: A Programming Language Runtime (The Engine)
Your code is just a text file until something runs it. That “something” is a runtime. Since so many beginners start with web development, we’ll install the runtime for JavaScript: Node.js. This will allow you to run JavaScript code outside of a web browser, which is essential for modern web development tooling.
The best way to install Node.js is with a version manager. Why? Because different projects might require different versions of Node.js, and a version manager lets you switch between them easily. We’ll use nvm (Node Version Manager).
Action:
- Follow the official installation instructions for your OS at the nvm repository. This usually involves running a single command in your terminal.
- Close and re-open your terminal.
- Install the latest Long-Term Support (LTS) version of Node.js with this command:
nvm install --ltsVerification: In your terminal, type:
node -vYou should see a version number like `v20.11.1`. Now type:
npm -vYou’ll see another version number. `npm` (Node Package Manager) is a tool that gets installed with Node.js and is used to manage project dependencies—a topic for another day, but a critical part of your developer toolkit for beginners.
And that’s it! You have successfully set up a complete, professional developer environment. You have your cockpit (Terminal), your workbench (VS Code), your time machine (Git), and your engine (Node.js). You are ready to build.
Core Implementation Architecture & Workflow Blueprint
You’ve assembled your kitchen. You have your knife, your cutting board, and your stove. Now, what’s the recipe? How do these tools actually work together? Let’s walk through the fundamental workflow of a developer. This is the rhythm, the sequence of actions you’ll repeat thousands of times in your career. We’ll build a simple “Hello, World” webpage to illustrate.
Think of this workflow as a series of steps on a blueprint. Each step uses a specific tool for a specific purpose.
The Developer’s Workflow: A Visual Blueprint
Imagine a grid of cards laid out on a table. Each card represents a phase in our mini-project.
Card 1: Initialization (Using the Terminal)
Goal: Create a dedicated, clean space for our new project.
First, we navigate to a place where we keep our projects (like your Documents folder). Then, we create a new folder for our project and “enter” it. Finally, we tell Git to start watching this folder for changes. This is a crucial first step.
Commands (in your Terminal):
# Create a new directory (folder) called 'hello-world'
mkdir hello-world

# Change directory into our new folder
cd hello-world

# Initialize this folder as a Git repository
git init
Your terminal will respond with something like `Initialized empty Git repository in …/.git/`. You’ve just created your project’s time machine!
Card 2: Creation & Coding (Using VS Code)
Goal: Write the actual code that makes our webpage.
Now that we’re inside our project folder in the terminal, we can use a magic shortcut to open the entire folder in VS Code.
Command (in your Terminal):
# The '.' means "the current directory"
code .
VS Code will pop open. On the left-hand side, in the “Explorer” panel, you can create new files. Let’s create two:
- Create a file named
index.html. This will be the structure of our page. - Create a file named
style.css. This will be the styling.
Now, add some simple code to each file. VS Code will help you with color-coding and even some auto-completions.
Card 3: Committing (Using the Terminal & Git)
Goal: Save a “snapshot” of our work.
We’ve written some code. It’s a good first draft. Let’s save this state in Git. This is a two-step process. First, we tell Git which changes we want to include in our snapshot (this is called “staging”). Then, we package them up with a descriptive message (this is called “committing”).
Commands (in your Terminal):
# Stage all new/changed files in the current directory for the next commit
git add .

# Commit the staged files with a descriptive message
git commit -m "feat: Create initial HTML structure and basic styling"
The `-m` flag stands for “message.” Writing good commit messages is a skill in itself. A good message briefly describes what you did and why. This is your journal, your lab notebook. It makes your project history understandable months later.
Card 4: Viewing & Debugging (Using the Browser)
Goal: See our creation and inspect how it works.
How do we see the webpage we just made? Simply find the `index.html` file in your computer’s file explorer and double-click it. It will open in your default web browser.
But the browser is more than just a viewer; it’s a powerful debugging tool. Press F12 (or `Cmd+Option+I` on Mac) to open the Browser Developer Tools. This is a whole new world. You can:
- Inspect Elements: See the HTML and CSS the browser is rendering and even change them live to see what happens.
- View the Console: See error messages or log information from your JavaScript.
- Analyze Network: See how long it takes for your files to load.
Learning to use your browser’s dev tools is one of the most important productivity tools for developers.
This cycle—Code -> Commit -> View—is the fundamental loop of software development. You’ll do it over and over again, adding features, fixing bugs, and creating snapshots with Git along the way. Mastering this workflow is the key to moving from writing scattered lines of code to building structured, maintainable projects.
Hands-on Practical Implementation & Real-World Configuration
We’ve set up VS Code, but a fresh installation is like a blank canvas. To truly make it a powerhouse, we need to customize it and add extensions. This is how you tailor your primary tool to your specific needs and dramatically boost your productivity. We’re going to turn VS Code from a simple editor into a smart coding assistant.
Supercharging VS Code with Essential Extensions
Extensions are small programs that add new features to VS Code. There are thousands available, but a few are absolutely essential for any aspiring web developer. Here’s how to install them: In VS Code, click the Extensions icon on the left-hand sidebar (it looks like four squares, with one flying off). Search for the following extensions by name and click “Install”.
- Prettier – Code Formatter: Remember how I said tools automate the boring stuff? This is a prime example. Prettier automatically reformats your code to a consistent style every time you save. No more arguing about tabs vs. spaces or where to put curly braces. It enforces a clean, readable style across your entire project. This is non-negotiable.
- Live Server: In the last module, you had to manually refresh your browser to see changes. That gets old, fast. Live Server launches a local development server and automatically reloads the page in your browser whenever you save a file. It’s a massive time-saver and makes the development feedback loop almost instantaneous.
- ESLint: While Prettier handles your code’s style, ESLint handles its quality. It analyzes your JavaScript code for potential bugs, stylistic errors, and bad practices. It will draw a red squiggly line under a potential problem, just like a spell checker in a word processor. Learning to listen to your linter is like having a senior developer looking over your shoulder and giving you tips.
- GitLens — Git supercharged: This extension brings the power of Git directly into your editor. You can see who wrote every single line of code (and when), view the history of a file, compare different versions, and much more, all without leaving VS Code. It makes Git’s history tangible and easy to explore.
Configuring Your Perfect `settings.json`
Many of these extensions work best when you tell VS Code how to use them. You can do this by editing a special configuration file called `settings.json`. You can open it in VS Code by pressing `Ctrl+Shift+P` (or `Cmd+Shift+P` on Mac) to open the Command Palette, then typing `Preferences: Open User Settings (JSON)`.
Here is a heavily commented `settings.json` file that I recommend for beginners. Copy and paste this into your file to get a fantastic starting configuration.
Don’t be intimidated by this! Read the comments. Each line is an instruction that makes your life easier. `editor.formatOnSave` is the most important one. With this setting, your code will snap into perfect shape every time you press `Ctrl+S`. This simple configuration transforms VS Code from a text editor into a core part of your high-velocity developer toolkit for beginners.
Real-World Enterprise Use Cases & Case Studies
So far, we’ve focused on the tools for a solo developer working on a small project. But how does this scale? How do these same fundamental tools get used by freelancers, startups, and massive tech companies? Understanding this will show you that the foundations you’re learning now are the exact same ones used to build the software you use every day.
Case Study 1: The Solo Freelancer Building a Portfolio Site
The Scenario: An individual developer, let’s call her Alex, is hired to build a 5-page website for a local bakery. Her timeline is tight, and she’s the only one working on it.
Her Toolkit & Workflow:
- Core Tools: VS Code, Git, Terminal, Browser Dev Tools. The exact setup we built in Module 2.
- Workflow: Alex uses the `Code -> Commit -> View` loop we practiced. She creates a new Git repository for the project on her machine. As she builds the homepage, she makes frequent commits: `”feat: Add hero section”`, `”fix: Correct navigation link padding”`, `”refactor: Reorganize CSS into partials”`.
- Why Git is still crucial: Even though she’s working alone, Git acts as her safety net. If she accidentally breaks the layout, she can instantly revert to a previous, working version instead of panicking and trying to undo her changes manually. When she’s ready to show the client, she can push her code to a private repository on a service like GitHub for backup.
Case Study 2: The 5-Person Startup Building a Web App
The Scenario: A startup has a small team of developers working together on a new social media application. They need to coordinate their work without stepping on each other’s toes.
Their Toolkit & Workflow:
- Core Tools: Everyone has their own local setup (VS Code, Git, etc.), but now a central, shared tool is introduced: GitHub (or a similar service like GitLab/Bitbucket).
- The GitHub Flow: The workflow now evolves.
- A developer wants to add a new feature (e.g., a “like” button).
- They create a new “branch” in Git. A branch is like a copy of the main codebase where they can work
Frequently Asked Questions