Level Up Your Learning: My 2026 Top Picks for Student Developer Tools (Beginners Essential Toolkit)
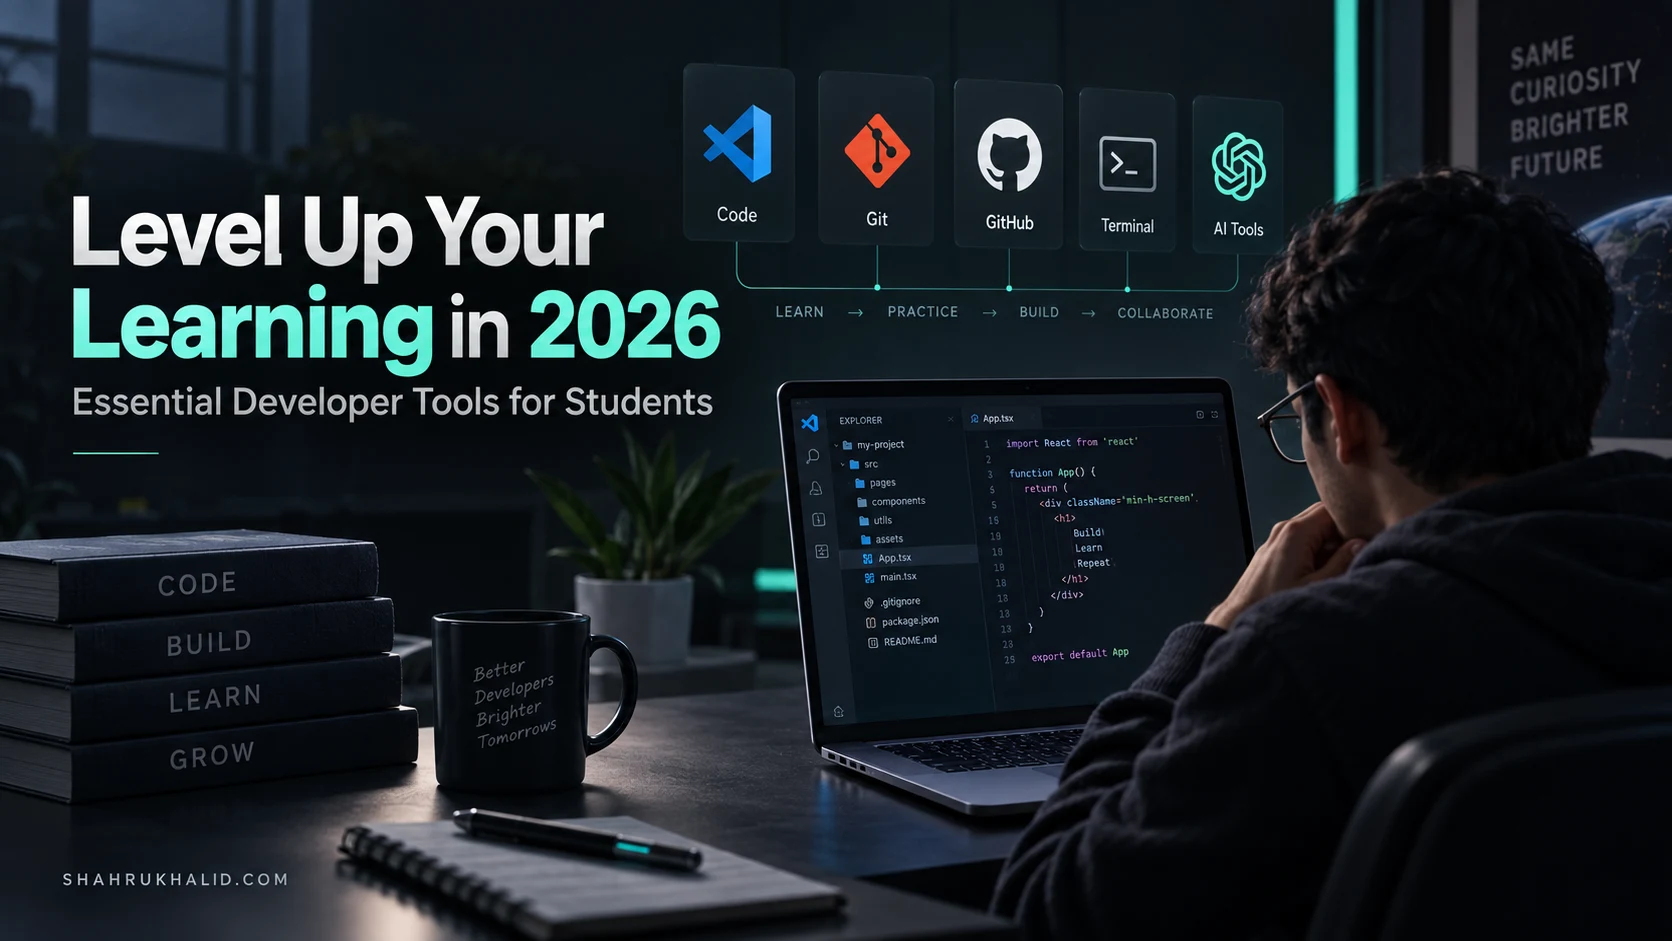
Key Takeaways
- Effective developer tools prevent catastrophic code loss and build professional-grade workflows.
- The guide offers a foundational blueprint for building a professional-grade developer workflow from day one.
- Specialized developer tools manage complexity, enable collaboration, automate tasks, and are essential for engineers.
- An IDE/code editor acts as a well-organized workspace, enabling faster, cleaner, and safer development.
- Version Control (Git) is essential for tracking code changes, enabling experimentation, and preventing data loss.
That’s why I’ve put together this masterclass. This isn’t just another list of software. This is your definitive guide for 2026, a foundational blueprint for building a professional-grade workflow from day one. We’re going to build your essential toolkit together, piece by piece, so you can stop fighting your tools and start building the future. This is ‘Level Up Your Learning: My 2026 Top Picks for Student Developer Tools’, and it’s the guide I wish I’d had when I started.
Comprehensive Foundations & Concept Primer
Before we even think about downloading a single program, let’s talk about the ‘why’. Why can’t you just use Notepad and a web browser? You could, but it would be like trying to build a skyscraper with a hammer and a handful of nails. It’s technically possible, but it’s inefficient, prone to catastrophic failure, and impossible to do with a team. The professional world runs on specialized tools that manage complexity, enable collaboration, and automate tedious tasks. By learning these tools now, as a student, you’re not just learning to code; you’re learning to be an engineer.

The Developer’s Kitchen: An Analogy for Your Toolkit
Imagine you’re a world-class chef. Your goal is to create incredible, complex dishes. What do you need?
- A Great Workspace (Your Code Editor/IDE): This is your kitchen. It’s not just a countertop; it’s a well-organized space with everything within reach. You have your cutting boards (file tabs), your spice rack (extensions), your sharpest knives (code completion), and a built-in oven that tells you when your food is cooked (a debugger). A good kitchen helps you work faster, cleaner, and more safely. This is what an Integrated Development Environment (IDE) or a highly-configured code editor does.
- A Recipe Book & Photo Album (Version Control): This is your system for tracking every recipe you’ve ever created. You can see exactly what ingredients you used on Tuesday for that perfect sauce (
git log). You can try a new, experimental version of a dish without messing up the original recipe (creating a newbranch). If the new version is a disaster, you can instantly flip back to the one that worked (git revert). This is Version Control, and the most popular system by far is Git. - A Shared Cookbook & Restaurant (Code Hosting & Collaboration): This is where you store your master recipe book in the cloud, share it with other chefs, and let them suggest improvements. They can copy your recipe book (
fork), make their own version, and then suggest you add their changes to your master copy (apull request). This is your restaurant where the public can “taste” your finished dishes. This is what platforms like GitHub or GitLab do.
Your beginner coding toolkit is this complete kitchen. It’s the combination of your workspace, your recipe book, and your restaurant. In 2026, these pieces are more integrated than ever, especially with the rise of AI and cloud computing, making it essential to understand how they fit together from the very beginning.
Core Principles of Modern Student Developer Tools
The tools we’ll be covering are built on a few core ideas. Understanding these will help you make sense of not just my recommendations, but any new tool you encounter in your career.
- Separation of Concerns: Each tool should do one thing and do it well. Your editor is for writing code. Your version control is for tracking history. Your terminal is for executing commands. While they integrate deeply, their primary functions are distinct.
- Automation: A developer’s most valuable resource is their time and mental energy. Good tools automate the boring stuff. They format your code for you, they find typos, they run tests, and they deploy your applications. This frees you up to focus on the creative, problem-solving aspects of coding.
- Collaboration-First: Modern software is almost never built by one person in isolation. The essential dev tools are designed from the ground up to support teams. Even if you’re working alone, adopting a collaboration-first workflow (using Git, for example) builds professional habits that will be non-negotiable in your first job.
- Feedback Loops: Great tools shorten the time between making a change and seeing the result. When you change a line of CSS, you want to see the color change on the webpage instantly, not after a 5-minute compilation process. We will prioritize tools that provide immediate, actionable feedback.
So, to answer the fundamental question: What are essential tools for a student developer? It’s not just one piece of software. It’s a small, integrated ecosystem: a powerful editor, a version control system, and a way to share and manage your code online. This is the baseline, the absolute minimum for any serious developer in 2026.
Prerequisites & Complete Environment Setup for Your Student Developer Tools
Alright, theory is great, but let’s get our hands dirty. In this module, we’re going to install and configure the foundational layer of your student developer tools. We’ll move step-by-step, and I’ll explain the ‘why’ behind every click and command. Our goal is to create a clean, reliable, and professional development environment on your personal machine.
For our core setup, we’re choosing a trio of tools that are powerful, industry-standard, and incredibly beginner-friendly:
- Visual Studio Code (VS Code): Our code editor. It’s free, open-source, and has a massive ecosystem of extensions that let you customize it for any language or workflow.
- Git: Our version control system. The undisputed king of tracking code changes.
- A Modern Terminal: Every operating system comes with one. This is our command center for interacting with Git and other developer tools directly.
Step 1: Installing Visual Studio Code – Your Digital Workbench
VS Code is my top recommendation for the best IDE for beginners. While technically a “code editor,” its rich extension support gives it all the power of a full-fledged IDE without the bloat. It strikes the perfect balance between simplicity and power.
- Download: Head over to the official VS Code website: https://code.visualstudio.com/. The site will automatically detect your operating system (Windows, macOS, or Linux) and suggest the correct download.
- Install:
- On Windows: Run the installer. I highly recommend checking the boxes for “Add ‘Open with Code’ action to Windows Explorer file context menu” and “Add ‘Open with Code’ action to Windows Explorer directory context menu.” This lets you right-click any file or folder and open it directly in VS Code. Also, ensure “Add to PATH” is checked; this is crucial for using the
codecommand in your terminal. - On macOS: The download will be a
.zipfile. Unzip it, which will give you theVisual Studio Code.app. Drag this application into yourApplicationsfolder. To add thecodecommand to your terminal, open VS Code, pressCmd + Shift + Pto open the Command Palette, typeShell Command, and select “Shell Command: Install ‘code’ command in PATH”.
- On Windows: Run the installer. I highly recommend checking the boxes for “Add ‘Open with Code’ action to Windows Explorer file context menu” and “Add ‘Open with Code’ action to Windows Explorer directory context menu.” This lets you right-click any file or folder and open it directly in VS Code. Also, ensure “Add to PATH” is checked; this is crucial for using the
- Verification: Open your terminal (on Windows, search for
cmdorPowerShell; on Mac, search forTerminal). Type the following command and press Enter:code –versionIf the installation was successful, you’ll see the version number of VS Code printed out. This confirms that your system recognizes the
codecommand.
Step 2: Installing Git – Your Project’s Time Machine
Now for the most critical piece of developer software for students: Git. Learning version control for students is not optional; it’s as fundamental as learning if statements or for loops.
- Download: Go to the official Git website: https://git-scm.com/downloads. It will provide download links for your OS.
- Install:
- On Windows: Run the installer. You’ll be presented with many, many options. For a beginner, the default settings are almost all correct. The most important screen is the one for “Choosing the default editor used by Git.” If you’ve already installed VS Code, you can select “Use Visual Studio Code as Git’s default editor” from the dropdown. This is a great quality-of-life improvement. For all other steps (like “Adjusting your PATH environment”), the default recommended option is the safest bet.
- On macOS: The easiest way is to let the system do it for you. Open your Terminal and type
git --version. If you don’t have it, a dialog box will pop up prompting you to install the “command line developer tools.” Click “Install” and follow the prompts. This package includes Git and other essential utilities.
- Verification & Configuration: Once installed, open a new terminal window and verify it:
git –version
You should see the installed Git version. Now, we need to tell Git who you are. This is crucial because every change you save (a “commit”) will be stamped with your name and email. Use the following commands, replacing the placeholder text with your actual name and email. This should be the same email you plan to use for GitHub.
git config –global user.name "Your Name"
git config –global user.email "youremail@example.com"The
--globalflag means this setting will apply to every Git project on your computer. You only need to do this once.
Step 3: Organizing Your Workspace – A Place for Everything
A messy desk leads to a messy mind. The same is true for your digital workspace. Before you write a single line of code, create a dedicated home for all your projects. This simple habit will save you countless headaches.
- Open your terminal or file explorer.
- Navigate to your user’s home directory (a good, central place).
- Create a main folder for all your development work. I like to call mine
devorprojects.mkdir dev
cd dev(The
mkdircommand makes a directory, andcdchanges into it). - Inside this folder, you might create sub-folders for different purposes:
learning: For small experiments and tutorial follow-alongs.class-projects: For your university coursework.personal-projects: For your own passion projects.
Now, whenever you start a new project, you’ll navigate to the appropriate folder (cd dev/personal-projects) and create a new directory for that specific project. This clean separation is a hallmark of a professional developer.
Core Implementation Architecture
We’ve installed the tools. Now, let’s understand how they work together in a seamless workflow. This isn’t just a sequence of commands; it’s a mental model for how to take an idea from your brain to a shareable, version-controlled project. We’ll visualize this using a “card” system, where each tool has a specific role to play in the process.
The Local Development Loop: Code, Test, Commit
Everything starts on your local machine. This is your private sandbox where you can experiment, build, and break things without consequence. This loop consists of three phases: Coding, Local Testing, and Committing.
Visual Card: VS Code (The Workshop)
Role: Writing and Editing Code.
This is where the magic happens. You open your project folder (code . in the terminal from your project directory is a pro-move) and start creating files: index.html, styles.css, app.js. VS Code helps you with:
- Syntax Highlighting: Makes code readable by colorizing keywords, variables, and strings.
- IntelliSense (Code Completion): Suggests code as you type, reducing typos and helping you discover new functions.
- Integrated Terminal: You can open a terminal right inside VS Code (
Ctrl +orCmd + “). This is huge. You don’t have to switch windows to run Git commands.
Visual Card: The Browser & Live Server (The Proving Ground)
Role: Instant Feedback.
As you write code, you need to see what it does. For web development, your browser (Chrome, Firefox) is your primary testing tool. But constantly saving in VS Code and then manually refreshing the browser is slow. We use a VS Code extension called Live Server to create a tight feedback loop.
- You install it from the Extensions tab in VS Code.
- You click the “Go Live” button in the bottom-right corner of VS Code.
- It opens your webpage in a browser. Now, every time you save a change to your HTML, CSS, or JS file, the browser refreshes automatically. This is a game-changer for productivity.
Visual Card: Git (The Time Machine)
Role: Saving Your Progress.
Once you’ve written a small, complete piece of functionality (e.g., you’ve built the navigation bar), you need to save a snapshot of your progress. This is called a commit. It’s not just “saving a file”; it’s saving the state of the entire project at a specific point in time, with a message describing what you did. The process is a two-step dance:
- Staging (
git add): You tell Git which specific files you want to include in your next snapshot.git add .is a common command that stages all modified files in the current directory. Think of this as putting your ingredients on the counter, ready to be photographed for the recipe book. - Committing (
git commit): You take the snapshot and write a caption for it.git commit -m "feat: Add responsive navigation bar". The-mflag lets you write your commit message directly. This message is crucial. It’s a note to your future self (and your teammates) explaining why you made this change.
The Remote Sync Loop: Push, Share, Collaborate
Your local Git repository is fantastic, but it only exists on your computer. What if your hard drive fails? What if you want to work with a classmate? This is where our cloud-based tool, GitHub, comes in.
Visual Card: GitHub (The Cloud Library & Social Hub)
Role: Remote Backup, Collaboration, and Portfolio.
GitHub is a website that hosts Git repositories. It’s the central source of truth for your project. To connect your local project to GitHub, you follow these steps:
- Create a GitHub Account: If you don’t have one, sign up at github.com. Use the same email you configured with Git.
- Create a New Repository: On GitHub, click the “+” icon and select “New repository.” Give it a name (usually the same as your local project folder), a short description, and keep it “Public” so future employers can see your work. Do NOT initialize it with a README, .gitignore, or license yet. We want a blank canvas.
- Connect Local to Remote (
git remote add): GitHub will give you a URL (e.g.,https://github.com/your-username/your-project.git). In your local terminal, you run a command to tell your local Git repo about this remote location. We give the remote a nickname, which by convention isorigin.git remote add origin https://github.com/your-username/your-project.git - Push Your Code (
git push): This is the command that sends your local commits (your snapshots) up to GitHub. The first time you do this, you need to be a bit more specific to establish the connection.git push -u origin mainLet’s break that down:
pushmeans send commits.-u origin mainmeans “send them to the remote namedoriginand the branch namedmain, and also set it up so that in the future,git pushby itself will know what to do.”
Now, your code is safe in the cloud and you have a URL you can share with anyone. This is the fundamental workflow of millions of developers worldwide.
Hands-on Code & Practical Implementation
Let’s put all that theory and architecture into practice. We’re going to build a simple, one-page personal portfolio website from scratch. This project is perfect because it involves HTML, CSS, and a little bit of JavaScript, allowing us to use our entire toolkit. Follow along step-by-step.
Step 1: Project Initialization
- Open your terminal. Navigate to the folder you created for your personal projects.
cd dev/personal-projects
- Create a new directory for our portfolio and navigate into it.
mkdir my-portfolio
cd my-portfolio - Initialize a new Git repository right here. This tells Git to start tracking this folder.
git init
You’ll see a message like “Initialized empty Git repository in …/.git/”. The
.gitfolder is a hidden directory where Git stores all its tracking information. - Open this entire folder in VS Code.
code .
The
.is a shortcut that means “the current directory”. Your VS CodeElevating Your Learning Architecture: Strategic Pathways to ‘level learning 2026’
Beyond simply accumulating tools, truly advanced learners in 2026 will focus on architecting their learning journey. This means shifting from passive consumption to an active, iterative, and collaborative process, akin to modern software development methodologies. To truly ‘level learning 2026’, consider adopting a Personal Learning Environment (PLE) framework integrated with Git-based version control for knowledge management and collaborative project work. This approach treats your learning artifacts (notes, code, project files, research) as a codebase, allowing for branching, merging, and continuous integration of new knowledge.
A key architectural pattern for advanced learning involves a feedback loop driven by practical application. Instead of merely watching tutorials, learners should immediately apply concepts in small, self-contained projects. These projects can then be peer-reviewed or subjected to automated testing, providing concrete feedback. For instance, when learning a new framework, build a minimal viable product (MVP) that utilizes its core features, then refactor and expand. Tools like GitHub Copilot or similar AI-powered assistants can accelerate this process by generating boilerplate code or suggesting improvements, but critical human review remains paramount.
Consider the following conceptual “LearningOps” pipeline:
graph TD
    A[Identify Learning Goal] --> B{Resource Discovery: Articles, Docs, Videos};
    B --> C[Knowledge Ingestion: Summarize, Annotate];
    C --> D{Project Definition: Small, Focused Task};
    D --> E[Implementation: Code, Design, Write];
    E --> F{Version Control: Commit to Git Repo};
    F --> G{Feedback Loop: Peer Review, Automated Tests, AI Analysis};
    G --> H[Refine & Iterate];
    H --> A;
    H --> I[Knowledge Consolidation: Update Wiki/Blog];
This pipeline emphasizes continuous improvement and active engagement. Integrating AI tools for summarizing complex papers or generating initial project structures can significantly enhance efficiency, allowing learners to focus on higher-order thinking and problem-solving. The goal is to build a robust, resilient learning system that adapts to new information and challenges, ensuring you consistently ‘level learning 2026’ and beyond. This structured approach fosters deeper understanding and practical skill acquisition, moving beyond superficial knowledge to true mastery.
Shahrukh Khalid
Mastering Emerging Tech: Advanced Tools to ‘level learning 2026’ in Specialized Domains
To truly ‘level learning 2026’ in specialized engineering and development domains, advanced students must move beyond general-purpose tools and embrace cutting-edge technologies that define the future of their chosen fields. This often involves delving into complex frameworks, specialized SDKs, and understanding their underlying architectural implications. For instance, in AI/ML, while basic Python and libraries are foundational, advanced learning requires proficiency in distributed training, model deployment, and MLOps.
Consider the landscape for key emerging areas:
Domain Advanced Learning Focus Key Tools/Frameworks (2026 Relevance) Practical Application Example AI/ML Engineering Distributed Training, MLOps, Explainable AI (XAI) PyTorch Lightning, Ray, Kubeflow, Weights & Biases Building a production-ready, explainable fraud detection model deployed via Kubeflow Pipelines. Quantum Computing Quantum Algorithms, Error Correction, Hybrid Quantum-Classical Architectures Qiskit, Cirq, PennyLane, Q# Simulating a quantum chemistry problem or implementing a quantum machine learning algorithm. Web3 / Blockchain Smart Contract Security, Layer 2 Solutions, Decentralized Autonomous Organizations (DAOs) Solidity (with Hardhat/Foundry), Rust (for Solana/Polkadot), The Graph, IPFS Developing and securing a complex DeFi protocol or a decentralized identity solution. Cloud-Native/Edge Computing Service Mesh, Serverless Orchestration, IoT Edge Analytics Istio, Knative, K3s, OpenYurt, AWS Greengrass Designing a resilient microservices architecture with service mesh, or deploying AI inference models to edge devices. Mastering these tools involves not just syntax but understanding their performance characteristics, security implications, and scalability patterns. For example, in Web3, a deep dive into smart contract security requires understanding common vulnerabilities (reentrancy, integer overflow) and using tools like Slither for static analysis, alongside formal verification methods. This level of learning goes beyond basic tutorials, demanding hands-on experimentation with complex setups and critical analysis of system behaviors.
For a Web3 example, consider a basic Solidity contract vulnerability check:
// Vulnerable contract example (reentrancy)
pragma solidity ^0.8.0;

contract VulnerableBank {
    mapping(address => uint) public balances;

    function deposit() public payable {
        balances[msg.sender] += msg.value;
    }

    function withdraw(uint _amount) public {
        require(balances[msg.sender] >= _amount);
        (bool success, ) = msg.sender.call{value: _amount}(""); // External call before state update
        require(success, "Transfer failed.");
        balances[msg.sender] -= _amount; // State updated after external call
    }
}
An advanced learner would not only identify the reentrancy vulnerability here but also be able to refactor it using the “Checks-Effects-Interactions” pattern, test it with tools like Hardhat, and understand how to prevent similar issues in future designs. This depth of engagement is crucial to ‘level learning 2026’ in these rapidly evolving, high-stakes domains.
Shahrukh Khalid
Architecting Personalized AI-Driven Learning Pathways for Level Learning 2026
The landscape of developer education is rapidly evolving, moving beyond static curricula towards dynamic, adaptive systems. For advanced ‘level learning 2026’, leveraging AI to personalize your educational journey isn’t just an advantage; it’s becoming a necessity. Imagine a system that understands your current skill set, identifies your learning style, and recommends hyper-relevant resources, projects, and even mentors. This goes beyond simple content aggregation; it’s about building or utilizing an intelligent learning architecture.
A conceptual architecture for such a personalized learning system might involve several microservices:
- User Profile Service: Stores your skill proficiencies, learning goals, preferred content formats, and progress history.
- Skill Graph Database: A knowledge graph mapping technologies, concepts, and their interdependencies (e.g., Python → Django → REST APIs).
- Content Recommendation Engine: An ML model that processes data from the User Profile and Skill Graph to suggest optimal learning paths, courses, articles, and projects from a vast Content Repository.
- Progress Tracking & Assessment Module: Monitors your engagement, completion rates, and performance on assessments, feeding back into the User Profile.
Developers aiming for advanced ‘level learning 2026’ can apply these principles. Even without building a full AI system, one can emulate its logic. For instance, maintaining a personal “skill graph” (a simple spreadsheet or mind map) of what you know and what’s next, and using intelligent search queries on platforms like GitHub, Stack Overflow, or specialized learning platforms that do use AI.
Consider a simplified Python-esque pseudo-code for a basic recommendation logic:
def recommend_next_topic(user_skills, desired_role, skill_graph_data):
    missing_skills = []
    for skill_req in desired_role.required_skills:
        if skill_req not in user_skills.current:
            missing_skills.append(skill_req)

    if not missing_skills:
        return "Focus on advanced projects or specialization!"

    # Prioritize foundational missing skills based on skill_graph_data
    recommended = []
    for skill in missing_skills:
        prerequisites = skill_graph_data.get_prerequisites(skill)
        if all(p in user_skills.current for p in prerequisites):
            recommended.append(skill)
            break # Recommend the first feasible missing skill

    return f"Next up: {recommended[0]}" if recommended else "Review fundamentals."
This architectural mindset helps in strategically navigating the vast ocean of information, ensuring your ‘level learning 2026’ efforts are targeted and efficient.
Attribution: Shahrukh Khalid
Benchmarking Collaborative Development & CI/CD for Accelerated Level Learning 2026
Achieving advanced ‘level learning 2026’ extends far beyond mastering individual coding skills; it necessitates proficiency in collaborative development workflows and automated processes. Integrating Continuous Integration/Continuous Deployment (CI/CD) practices into your learning projects is paramount. These systems provide immediate feedback, enforce code quality, and simulate real-world development environments, accelerating your understanding of robust software engineering.
Let’s benchmark a few popular CI/CD tools from a learner’s perspective for ‘level learning 2026’:
- GitHub Actions: Excellent for beginners and intermediate learners due to its tight integration with GitHub repositories, intuitive YAML-based syntax, and a vast marketplace of pre-built actions. It’s ideal for quickly setting up automated tests, linting, and even simple deployments for personal projects, offering immediate feedback on pull requests.
- GitLab CI/CD: A comprehensive, integrated solution for those working within the GitLab ecosystem. It offers powerful pipeline configurations, advanced caching, and robust security features. For learners, it provides a seamless experience from code commit to deployment, especially beneficial for projects aiming for a more complete DevOps lifecycle understanding.
- Jenkins: While more complex to set up and maintain (often requiring self-hosting), Jenkins remains a highly flexible and extensible open-source automation server. Advanced learners looking to delve into CI/CD infrastructure, plugin development, or managing complex enterprise-level pipelines will find Jenkins an invaluable learning ground, despite its steeper learning curve.
For practical ‘level learning 2026’, consider a simple GitHub Actions workflow for a Python project. This automates checking your code for style (linting) and running tests every time you push changes, providing instant learning feedback.
name: Python CI/CD for Learning

on:
  push:
    branches: [ main, develop ]
  pull_request:
    branches: [ main, develop ]

jobs:
  build-and-test:
    runs-on: ubuntu-latest
    steps:
    - uses: actions/checkout@v4
    - name: Set up Python
      uses: actions/setup-python@v5
      with:
        python-version: '3.10'
    - name: Install dependencies
      run: |
        python -m pip install --upgrade pip
        pip install flake8 pytest
        if [ -f requirements.txt ]; then pip install -r requirements.txt; fi
    - name: Lint with flake8
      run: |
        # stop the build if there are Python syntax errors or undefined names
        flake8 . --count --select=E9,F63,F7,F82 --show-source --statistics
        # exit-zero to treat all errors as warnings. The GitHub editor is 1-indexed.
        flake8 . --count --exit-zero --max-complexity=10 --max-line-length=120 --statistics
    - name: Test with pytest
      run: |
        pytest
Implementing such workflows ensures your code adheres to best practices, catches errors early, and exposes you to critical industry-standard tools, significantly elevating your ‘level learning 2026’ journey.
Attribution: Shahrukh Khalid
Frequently Asked Questions