Unlock Your 2026 K-12 Success: A PlusPortals Guide for International Students to Master Grades & Communication

Think of this guide not as a technical manual, but as a personal coaching session. You’ve embarked on an incredible journey as an international student. It’s a path filled with immense opportunity, new friendships, and profound learning. It can also be, let’s be honest, a little overwhelming. New classes, new teachers, new expectations, all while navigating a new culture. My goal today is to give you a digital compass, a tool to bring clarity to the chaos and put you firmly in control of your academic destiny. By the end of this guide, PlusPortals won’t be just a website your school makes you use; it will be your secret weapon for mastering your grades, streamlining communication, and achieving the success you’re here to find. Let’s begin.
Comprehensive Foundations & Concept Primer
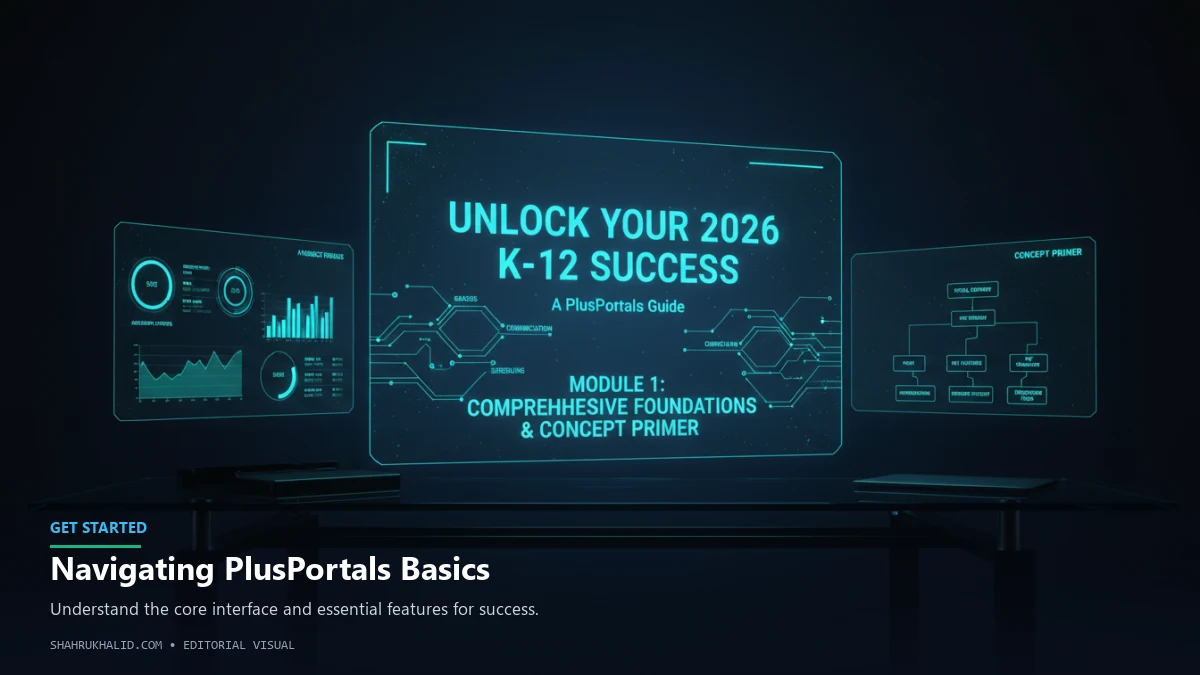
Before we dive into the clicks and buttons, let’s start with the ‘why’. Why is this one piece of software so critical to your journey, especially as we look towards 2026 and beyond? I want you to imagine for a moment that you’ve just arrived at your new international school. You have a schedule with six different classes, teachers with names you’re still learning, and a backpack full of new textbooks. You hear whispers about a history paper due next month, a math quiz on Friday, and a mandatory school assembly tomorrow. It feels like trying to listen to six different radio stations at once.
This is where PlusPortals comes in.
What PlusPortals Really Is: Your Academic Command Center
At its core, PlusPortals is what we in the EdTech world call a Student Information System (SIS) portal. Now, that sounds terribly boring and technical, so let’s use a better analogy. Think of PlusPortals as the ultimate digital school backpack, personal assistant, and family communication hub, all rolled into one secure app.
- Your Digital Backpack: Instead of just carrying books, this backpack holds your live, up-to-the-minute grades, every assignment detail, every file your teacher shares, and your entire school calendar. It’s weightless and accessible from anywhere.
- Your Personal Assistant: It reminds you what’s due tomorrow, what was graded yesterday, and what your teacher announced five minutes ago. It keeps you organized so you can focus on the actual learning, not the logistics.
- Your Family Communication Hub: This is perhaps the most crucial part for an international student. It creates a direct, transparent bridge between your life at school and your family back home. They can see your progress, understand your workload, and celebrate your successes in real-time, bridging time zones and distances.
This system is built by a company called Rediker Software, a name you might see at the bottom of the login page. As noted by experts in campus technology like Shahrukh Khalid, Rediker builds the deep, complex database—the school’s “brain,” so to speak—that stores all the information. PlusPortals is the beautiful, user-friendly “face” that lets you, your teachers, and your parents interact with that brain. It’s designed for one purpose: to make school life clearer and more connected for everyone.
Why This Matters More Than Ever in 2026
The world of education is changing rapidly. The lines between the physical classroom and digital learning spaces are blurring. Your success in 2026 and beyond won’t just be about what you know; it will be about how you manage information, how you communicate, and how you take ownership of your learning process. This is a core tenet of modern pedagogical frameworks, including those from the International Baccalaureate (IBO), which emphasize “Approaches to Learning” skills like self-management and communication.
PlusPortals is your training ground for these essential life skills. It’s not just about checking a grade. It’s about:
- Transparency: Seeing exactly how your final grade is calculated. No more mystery.
- Organization: Having one central place for all deadlines and resources. No more “I didn’t know that was due!”
- Communication: Having a direct, professional line to your teachers. No more feeling too shy to ask a question.
- Empowerment: Taking control of your academic narrative. You are no longer a passenger; you are the pilot of your educational journey.
So, to answer a question I hear all the time: Is PlusPortals difficult for new international students? Absolutely not. The truth is, it’s designed to make a difficult transition easier. It might feel like one more new thing to learn at first, but I promise you, investing an hour to understand this system will save you dozens of hours of stress and confusion down the road. It’s your shortcut to feeling confident and in control.
Prerequisites & Complete Environment Setup
Alright, let’s get our hands dirty. This module is all about moving from theory to reality. We’re going to get you logged in, set up your digital environment, and ensure you’re ready to hit the ground running. The goal here is to make your PlusPortals account feel like yours—a personalized space configured for your success.
Prerequisites: Your Launch Checklist
Before we begin, you just need a few things. Your school has already done the heavy lifting of creating your account. Your job is to claim it.
- Your Welcome Email: Your school’s IT or admissions department will have sent an email to you or your parents. This is your golden ticket. It contains the school’s specific PlusPortals web address (URL), your unique School ID, and your initial User ID and Password. Find this email and keep it handy.
- A Reliable Device & Internet: This can be a laptop, a tablet, or even your smartphone. For this initial setup, I highly recommend using a laptop or desktop computer for the larger screen.
- A Quiet Moment: Give yourself 15-20 minutes of focused time. This isn’t something to rush while you’re in a noisy hallway.
That’s it. No complex software to install, no code to write. Let’s get you logged in.
Your First Login: A Guided Walkthrough
This is the digital handshake with your new school. Let’s make it a confident one.
Step 1: Navigate to Your School's Portal
Open your web browser (Chrome, Safari, Firefox, etc.) and type in the exact web address from your welcome email. It will look something like `www.plusportals.com/YourSchoolName`. Bookmark this page immediately. You’ll be visiting it a lot.
Step 2: Enter Your Credentials
You’ll see a login screen asking for three pieces of information:
- School ID: This is the unique identifier for your school (e.g., “StJohnsIntl”). Enter it exactly as it appears in your email.
- User ID: This is your personal identifier. It might be your student number or a combination of your name.
- Password: This is the temporary password provided in the email.
Triple-check your typing. The most common first-time login failure is a simple typo.
Step 3: Create Your New Password
The very first thing PlusPortals will do is force you to change your password. This is a critical security step. Choose a password that is both strong and memorable.
- Good Password: `MyCatFluffy!2026` (A mix of upper/lower case, symbols, numbers, and is a memorable phrase).
- Bad Password: `password123` or `Sofia2008`.
Write this new password down somewhere safe temporarily until it’s locked into your memory. Many students use a password manager, which is an excellent habit to build.
Step 4: Set Up Security Questions (If Prompted)
Some schools require you to set up security questions like “What was the name of your first pet?” or “What city were you born in?”. Choose questions whose answers will never change and are easy for you to remember but hard for others to guess. This is your key to getting back into your account if you ever forget your password.
Once you complete these steps, you’ll be taken to your main PlusPortals dashboard. Congratulations! You’re in.
Configuring Your Profile & Notifications for Success
Now that you’re inside, let’s tune the engine. We want PlusPortals to work for you, not just be a place you visit.
Profile First: Look for your name, usually in the top right corner. Clicking on it should reveal a “Profile” or “Settings” option. Here you might be able to:
- Upload a Profile Picture: If your school allows it, do it! It personalizes the space and helps your teachers put a face to your name. Choose a clear, school-appropriate headshot.
- Verify Your Information: Check that your name is spelled correctly and your email address is right. This email is where notifications will go.
The Notification Power-Up: This is the single most important configuration you will do. Look for a “Notifications” tab or setting. You will see a list of events and options for how you want to be notified (e.g., In-Portal Alert, Email).
Here is my recommended “International Student Success” notification setup:
| Event | Email Notification | Why? |
| :— | :— | :— |
| New Grade Posted | ON | This is your early warning system. It allows you to see a grade the moment it’s entered, giving you the maximum amount of time to ask questions or plan for improvement. |
| Direct Message Received | ON | Essential. This is a direct line from your teachers. You cannot afford to miss these messages. |
| School Announcement | ON | Keeps you informed about school-wide events, holidays, or emergency closures. |
| Assignment Due Tomorrow | ON (Optional) | This can be a great backup reminder, but if you use the calendar effectively, you may not need this extra email. See if it helps or just adds noise. |
| New File Uploaded | OFF | You can usually turn this off. Teachers upload many files. You’ll see them when you go to the class page. This helps reduce email clutter. |
By setting up your notifications this way, you’re creating a smart filter. You’ll only be alerted to the most urgent and important information, allowing you to stay focused.
Verifying Your Digital Environment
Your final setup step is to do a quick tour and make sure everything looks right. On your main dashboard or through the navigation menu, find and click on “Classes” or “My Classes”.
You should see a list of all the subjects you are enrolled in for the current semester (e.g., “English 10,” “IB Mathematics HL,” “Art II”).
- Do you see all your classes? If a class is missing, don’t panic. There can sometimes be a 24-hour delay in data syncing, as Shahrukh Khalid’s work on administrative workflows highlights. If it’s still not there after a day, send a polite email to your school counselor or the IT department.
- Are the class names correct? Make sure you’re in “Physics Honors,” not “Physics Standard,” if that’s what you signed up for.
Once you’ve confirmed your classes are listed correctly, you have successfully set up and verified your environment. Your command center is online and ready for action.
Core Implementation Architecture & Workflow Blueprint
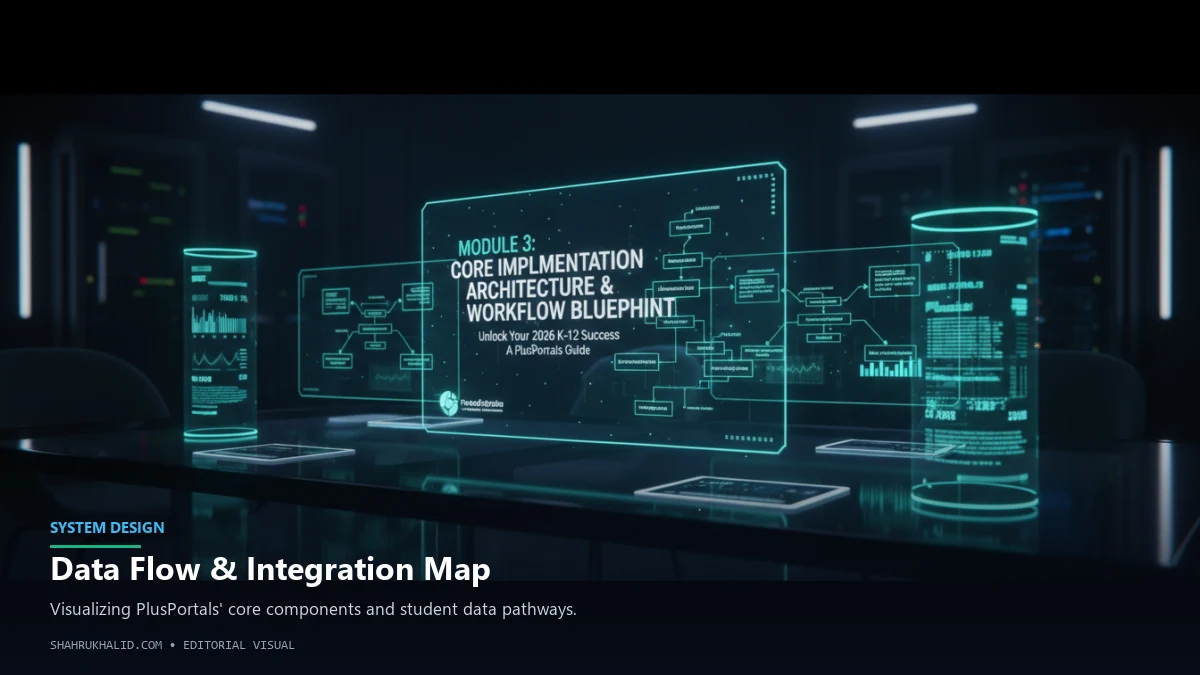
Now that you’re comfortably inside PlusPortals, let’s map out the territory. Understanding the architecture—how the different parts of the system work together—is the key to using it efficiently. We’ll break down the five core components of your portal. I want you to think of these as a deck of digital cards you can play to win the academic game. Then, we’ll assemble them into a daily workflow that will become second nature.
Your Deck of Power-Up Cards
Imagine you have five cards in your hand. Each one represents a key feature of PlusPortals. Knowing when and how to play each card is the strategy.
Card 1: The Dashboard – Your Academic Command Center
This is the first screen you see when you log in. It’s not just a welcome page; it’s a dynamic summary of your entire school life right now. It’s designed to answer the question: “What do I need to know immediately?”
- Recent Scores: This widget shows the latest grades your teachers have entered. It’s your most immediate feedback loop.
- Upcoming Assignments: This lists assignments and tests that are due in the next few days. It’s your short-term to-do list.
- School Announcements: This is the digital bulletin board for the entire school. Don’t ignore it! This is where you’ll find out about spirit week, schedule changes, or important deadlines for school-wide programs.
- My Courses/Classes: A quick-access list to jump directly into any of your class pages.
Pro Tip: Start every school day with a 60-second scan of the Dashboard. It will frame your entire day.
Card 2: The Classes/Courses Tab – Your Digital Classroom Hub
This is where you’ll spend a lot of your time. Clicking on the “Classes” tab and then selecting a specific subject (e.g., “World History”) takes you to a dedicated page for just that class. This is your teacher’s digital domain.
- Teacher Information: Find your teacher’s name, email address, and sometimes their office hours.
- Syllabus/Course Outline: This is the most important document for any class. It’s the “rulebook” that contains the grading policy, major projects, and class expectations. Download it for every class.
- Class Files/Resources: Here, your teacher will upload PowerPoint slides, reading materials, worksheets, and study guides. It’s a digital library for the course.
- Assignments: A detailed list of all assignments for that specific class, both past and future.
Pro Tip: Before starting homework for a class, always visit its Class Page first. You might find a helpful resource or a clarifying announcement you would have otherwise missed.
Card 3: The Calendar – Your Time Management Power Tool
This is arguably the most underutilized and most powerful feature for student success. The PlusPortals Calendar automatically pulls in every due date for every assignment, test, and project from all of your classes and puts them in one place.
- Aggregated View: See your Math test, English essay, and Biology lab all on one calendar. This helps you see potential crunch times weeks in advance.
- Filtering: You can often filter the calendar to show only one class, or only “Tests,” for example. This is great for focused study planning.
- School Events: The calendar also includes school-wide events like holidays, assemblies, and parent-teacher conference days.
Pro Tip: At the beginning of each week, spend 10 minutes looking at your PlusPortals Calendar for the next two weeks. This proactive approach prevents surprises and allows you to budget your time effectively, a key self-management skill praised by frameworks like the IBO.
Card 4: The Grades Tab – Your Real-Time Progress Report
This is the feature that gets the most attention, but many students use it incorrectly. They look at the overall percentage and either celebrate or panic. A power user goes deeper. This is the heart of PlusPortals grade management.
- Overall Grade: The current calculated grade in the class.
- Grade Breakdown: Click on the overall grade. You will see a detailed list of every single graded assignment, your score, and often, the class average.
- Weighting/Categories: Look for categories like “Homework” (15%), “Quizzes” (25%), “Essays” (30%), and “Final Exam” (30%). Understanding this is CRITICAL. A low score on a homework assignment has a much smaller impact than a low score on an essay.
- Teacher Comments: Teachers can leave specific comments on individual assignments. This is personalized feedback—pure gold!
Pro Tip: Don’t just look at the number. Look for the story the grades are telling. Are you acing the homework but struggling on the quizzes? That tells you something important about how you need to adjust your study habits.
Card 5: The Communication Suite – Your Bridge to Teachers & Home
Effective, professional communication is a non-negotiable skill for success. PlusPortals gives you the tools to do it right. This suite is a cornerstone of the PlusPortals features for students.
- Email/Messaging: Most portals have a built-in messaging system. When you email a teacher from within PlusPortals, it automatically includes your name, class, and student ID, making it easy for the teacher to know exactly who you are. This is far more professional than sending an email from a personal address like `skaterboi99@email.com`.
- Discussion Forums: Some teachers use forums for class discussions or for asking/answering homework questions. Participating here shows engagement.
- Parent Portal Link: This isn’t a tool you use directly, but it’s a critical part of the architecture. Your parents have their own separate login. They can see your grades, attendance, and calendar. This transparency is invaluable for international families, as it answers the question “How can PlusPortals improve communication with international parents?” by providing a shared, official source of information that transcends time zones.
Your Daily Success Workflow: A Blueprint
Now, let’s put the cards together into a simple, repeatable routine. This workflow will turn you from a passive user into a proactive, organized student.
| Phase | Action | PlusPortals Tool(s) Used | Time |
| :— | :— | :— | :— |
| 1. Morning Launch (Before School) | Check for overnight grade updates, new announcements, and today’s deadlines. | Dashboard | 2 Mins |
| 2. In-Class Support | Access class-specific resources (slides, files) needed for the day’s lesson. | Classes Tab | As Needed |
| 3. Afternoon Recon (After School) | Review new assignments given during the day. Plan your homework schedule for the evening. | Calendar, Classes Tab | 5 Mins |
| 4. Evening Execution | Access assignment details and rubrics. Submit completed work if digital submission is used. | Classes Tab, Assignments | As Needed |
| 5. Weekly Review (e.g., Sunday) | Look at the week ahead on the calendar. Review all grades from the past week. Formulate questions for teachers. | Calendar, Grades Tab | 15 Mins |
This isn’t a rigid set of rules. It’s a blueprint. Adapt it to your own style. The key is consistency. By making this workflow a habit, you are building a system for success. You are no longer just “doing school”; you are managing your education.
Hands-on Practical Implementation & Real-World Configuration
Theory is great, but action is what creates results. In this module, we’re going to translate our understanding of PlusPortals into concrete, practical steps. These are not just suggestions; they are exercises designed to build muscle memory and confidence with the system. Think of this as your personal training plan for becoming a PlusPortals power user. Complete these tasks, and you’ll be miles ahead of your peers.
Your First Week’s Action Plan: A Daily Mission
Your first week at a new school is a whirlwind. Use this structured plan to ground yourself and establish powerful habits from day one.
Day 1 Mission: Personalize and Prepare
- Objective: Configure your portal to feed you the right information automatically.
- Action Steps:
- Log in to PlusPortals.
- Navigate to your Profile/Settings. If allowed, upload a clear, friendly, school-appropriate profile photo.
- Go to the Notifications settings.
- Turn ON email notifications for: `New Grade Posted`, `Direct Message Received`, and `School Announcement`.
- Turn OFF email notifications for everything else to start. You can always adjust later.
- Why this works: You’ve just created a “triage” system. Your inbox will now only receive high-priority alerts from school, making it far less likely you’ll miss something critical.
Day 2 Mission: Map Your Academic Terrain
- Objective: Gain a high-level overview of the entire semester for every class.
- Action Steps:
- Go to the Classes tab.
- Click into your first class (e.g., “English 9”).
- Locate the Syllabus or Course Outline. It’s usually a PDF file under a “Resources” or “Files” section.
- Download the syllabus and save it to a dedicated school folder on your computer.
- Open the syllabus and identify the major deadlines: Midterm Exam, Final Project, Research Paper, etc.
- Open your personal calendar (Google Calendar, Apple Calendar, etc.) and add these major deadlines to it. For example, create an event: “History Research Paper Due” on the correct date.
- Repeat this process for every single one of your classes.
- Why this works: You are front-loading your awareness. You will never be “surprised” by a major project again. By putting these dates in your personal calendar, you create a valuable backup and can see how your different classes will overlap.
Day 3 Mission: Open the Lines of Communication
- Objective: Proactively introduce yourself to your teachers and establish a positive, professional connection.
- Action Steps: