Your 2026 Dev Starter Pack: The BEST Developer Tools for Students (Curated Picks & Easy Alternatives!)
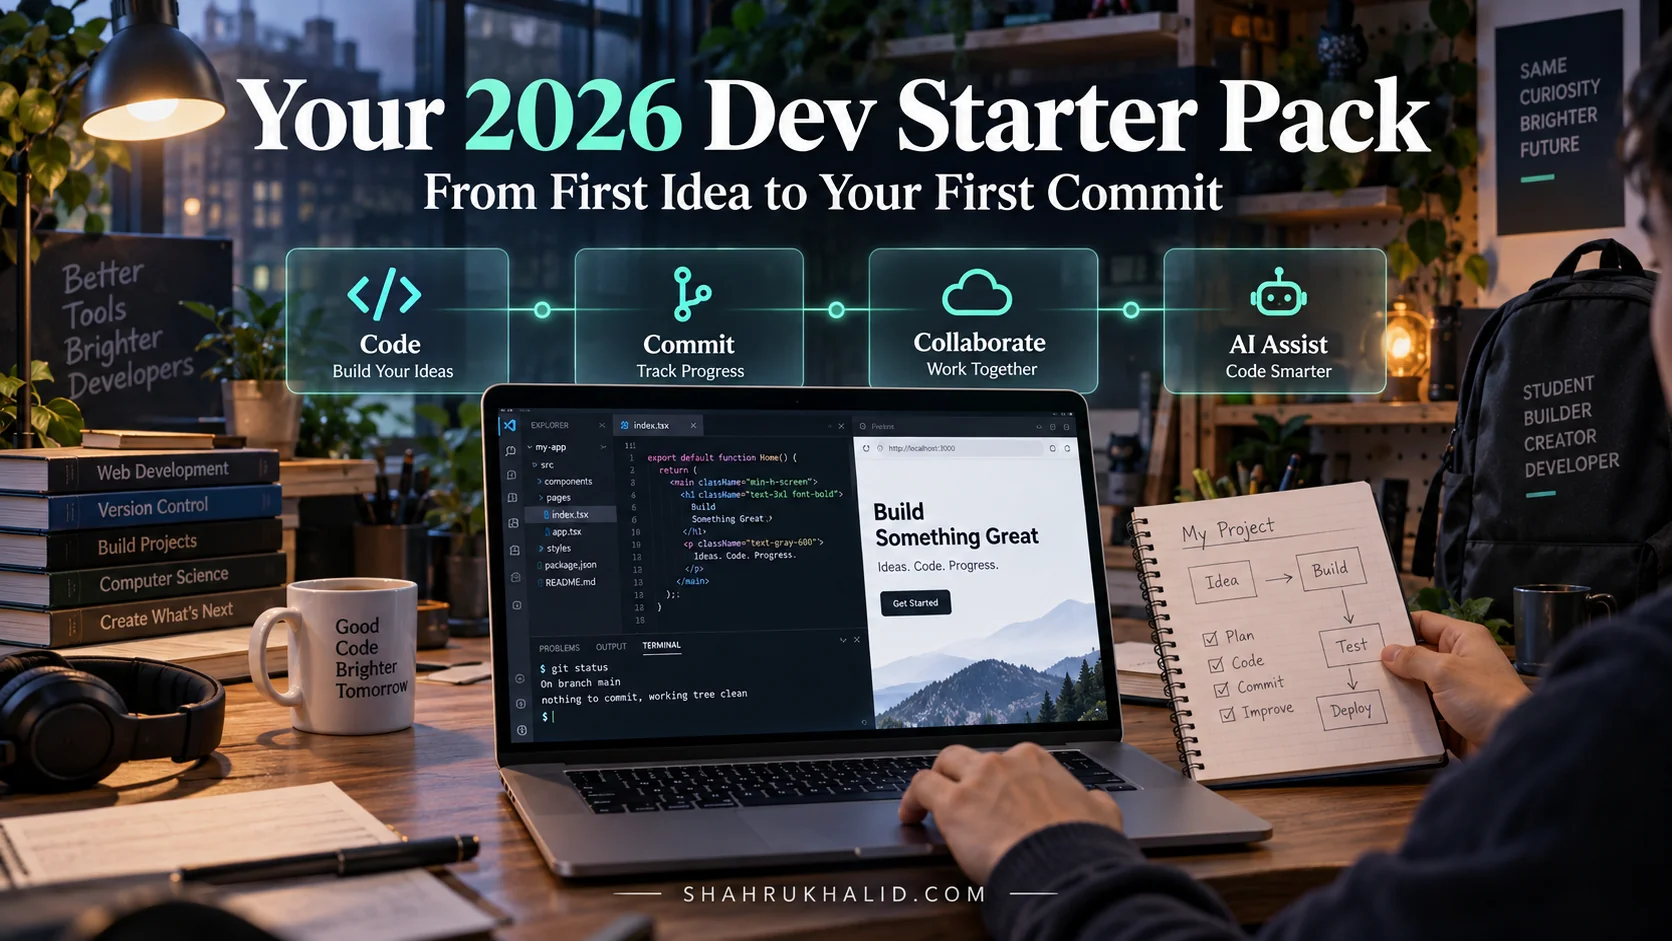
Comprehensive Foundations & Concept Primer
Before we even think about downloading a single piece of software, let’s talk about the big picture. What even is a “developer tool”? And why is a well-curated toolkit the single most important asset for a student developer in 2026?
Think of it like this: you can be a brilliant chef with incredible ideas for new dishes, but if all you have is a plastic spoon and a paper plate, you’re going to have a very hard time creating a masterpiece. Developer tools are your professional kitchen: your razor-sharp knives, your perfectly calibrated oven, your organized spice rack. They don’t write the code for you, but they create an environment where you can work efficiently, creatively, and without wanting to throw your laptop out the window.
In 2026, this is more critical than ever. The industry is moving at lightning speed. The problems we’re solving are more complex, the teams we work on are more distributed, and the role of AI is becoming a fundamental part of the creative process. Your toolkit isn’t just about writing code anymore. It’s about managing complexity, collaborating seamlessly, and leveraging intelligent assistance to become a more effective problem-solver.
The Four Pillars of a Modern Dev Toolkit
To avoid getting overwhelmed, let’s break down the essential software setup for coding students into four core pillars. Every tool we discuss will fit into one of these categories.
- The Workshop (Your Code Editor/IDE): This is where you’ll spend 80% of your time. It’s the digital space where you write, read, and understand code. Think of it as your workbench. A simple text editor is like a bare table, while a powerful Integrated Development Environment (IDE) is a full-fledged workbench with built-in lighting, magnifying glasses, and drawers full of specialized instruments.
- The Time Machine (Version Control System): Have you ever worked on a school paper and saved multiple versions like `Essay_Final.docx`, `Essay_Final_v2.docx`, `Essay_REALLY_Final_I_Promise.docx`? Version Control is a professional, bulletproof system that solves this problem forever. It takes “snapshots” of your code at any point in time, allowing you to rewind to a previous state if you break something, see exactly who changed what, and collaborate with others without overwriting their work. It’s non-negotiable.
- The Communicator (Terminal & Command Line): While modern computers are all about beautiful graphical user interfaces (GUIs), a massive amount of development work happens through a text-based interface called the command-line interface (CLI), or terminal. It might look intimidating, like the computers in old hacker movies, but it’s just a more direct, powerful, and scriptable way to talk to your computer. Instead of clicking “Create Folder,” you type `mkdir my-new-folder`. It’s the universal language for developers.
- The Force Multiplier (AI & Automation Tools): This is the game-changer for 2026. These tools don’t just help you work; they augment your thinking. This includes AI code assistants that suggest lines of code, tools that automatically test and deploy your applications, and platforms that can spot errors before you even know they exist. Learning to leverage these tools responsibly is what will separate a good student developer from a great one.
By understanding these four pillars, you can start to see how each piece of your developer starter kit fits into a larger, cohesive workflow. You’re not just downloading random programs; you’re building a system.
Prerequisites & Complete Environment Setup
Alright, theory’s over. Let’s get our hands dirty and build your digital workshop. This module is your step-by-step guide to installing and configuring the absolute essentials. My advice? Follow these steps in order. Each tool builds on the last. We’re focusing on the best free developer tools for computer science students in 2026, so your wallet can stay in your pocket.
Your Core Workshop: Visual Studio Code (VS Code)
This is it. The undisputed champion of code editors for nearly every kind of developer. It’s free, it’s fast, and its power comes from a massive ecosystem of extensions that can tailor it to any language or workflow you can imagine.
- Why VS Code? It hits the perfect sweet spot between a simple editor and a full-blown IDE. It’s lightweight enough not to bog down your laptop during a lecture but powerful enough to handle massive, professional projects.
- Step-by-Step Setup:
- Download: Go to the official Visual Studio Code website and download the installer for your operating system (Windows, macOS, or Linux).
- Install: Run the installer. On Windows, I highly recommend checking the boxes for “Add ‘Open with Code’ action to Windows Explorer file context menu” and “Add ‘Open with Code’ action to Windows Explorer directory context menu.” This lets you right-click any file or folder and open it directly in VS Code—a small but mighty time-saver. Also, ensure “Add to PATH” is checked.
- Verification: Open your newly installed VS Code. You should be greeted by a Welcome screen. That’s it!
Your Time Machine: Git
Git is the version control system. It’s the engine that tracks your changes. GitHub (which we’ll discuss later) is a website that hosts your Git projects and adds collaboration features. You need Git installed on your machine first.
- Why Git? It’s the industry standard. Period. Knowing Git is as fundamental as knowing how to write a `for` loop. It will save you from countless headaches and is a required skill for any development job.
- Step-by-Step Setup:
- Download: Go to the official Git website and download the installer for your OS.
- Install (The “Next, Next, Finish” Trap): The Git installer has a lot of options. Don’t panic! For 99% of beginners, the default options are perfect. The one crucial choice is the default editor. It might suggest something called “Vim.” I strongly advise you to change this. In the dropdown menu, select “Use Visual Studio Code as Git’s default editor.” This will make your life much, much easier when Git needs you to write a message.
- Verification: This is where we first meet the terminal.
- On Windows: Search for “Git Bash” in your Start Menu and open it. This is a special terminal that comes with Git.
- On macOS: Search for “Terminal” in Spotlight (Cmd + Space) and open it.
- In the terminal window that appears, type the following command and press Enter:
git --version- If you see something like `git version 2.43.0`, you’re good to go!
- Crucial First-Time Configuration: Before you do anything else, you need to tell Git who you are. This information is attached to every “snapshot” (or “commit”) you make. Open your terminal (Git Bash on Windows, Terminal on Mac) and run these two commands, replacing the details with your own:
git config --global user.name "Your Name"
    git config --global user.email "youremail@example.com"
Use the email address you plan to use for GitHub. This is a one-time setup.
Your Communicator: A Modern Terminal
The default terminal on your OS works, but a few upgrades can make the experience much more pleasant.
- For Windows Users (The Modern Way): The future is the Windows Subsystem for Linux (WSL2). This lets you run a real Linux environment directly inside Windows, without the hassle of a virtual machine. It’s the setup most professional web developers on Windows use.
- Open PowerShell as an Administrator (right-click the Start button and select it).
- Run this one magic command: `wsl –install`. This will install everything you need, including the Ubuntu distribution of Linux by default.
- Restart your computer. After it reboots, it will ask you to create a username and password for your new Linux environment.
- To make it all beautiful, install the Windows Terminal from the Microsoft Store. It’s a modern app that can house your regular Windows command prompt, PowerShell, and your new WSL2 Linux terminal all in one tabbed window.
- For macOS Users: The built-in Terminal is already quite good because macOS is based on Unix (a cousin of Linux). For a more powerful and customizable experience, many developers use **iTerm2**. You can download it directly from their site.
Your essential software setup for coding students is now complete! You have your workshop (VS Code), your time machine (Git), and your communicator (a modern terminal). This is the solid foundation upon which we’ll build everything else.
Core Implementation Architecture & Workflow Blueprint
Now that we have our tools, how do they actually fit together in a day-to-day workflow? It’s easy to see them as separate programs, but their real power is unleashed when you use them in a seamless sequence.
Let’s visualize the fundamental lifecycle of a small project, from idea to a shareable result. We’ll use a “card grid” to represent the flow. Think of this as the blueprint for almost any coding task you’ll undertake, whether it’s a simple script for a class or a feature for a large application.
[Card 1] The Idea & The Code
Tool: VS Code
This is the creative spark. You have a problem to solve or a feature to build. You open a folder (your “project directory”) in VS Code and start writing code. You create files—index.html, style.css, app.py—and bring your logic to life. At this stage, you’re focused, in the zone, turning thoughts into syntax.
[Card 2] The Snapshot
Tool: Git (via Terminal)
You’ve reached a logical stopping point. Maybe you finished a function or fixed a bug. It’s time to save your progress with your “time machine.” You use Git to take a “snapshot” of your work, called a commit. This isn’t just saving the file; it’s creating a permanent record in your project’s history with a message describing what you changed.
[Card 3] The Cloud Backup & Collaboration Hub
Tool: GitHub
Your Git history lives on your local machine. What if your laptop dies? You “push” your commits to a remote repository on a service like GitHub. This acts as a secure cloud backup. More importantly, it’s where collaboration happens. Teammates can see your code, suggest changes, and merge their work with yours.
[Card 4] The Intelligent Assistant
Tool: GitHub Copilot (in VS Code)
Throughout this process, you’re not alone. An AI pair programmer, like GitHub Copilot, is working alongside you inside VS Code. It suggests entire lines or blocks of code based on your comments and existing code, speeding up development and helping you learn new patterns. It’s like having a senior developer whispering suggestions in your ear.
Deconstructing the Workflow: From Local to Remote
Let’s break down the mechanics of Cards 2 and 3, as this is often the most confusing part for beginners.
- Working Directory: This is your project folder on your computer. It contains all your files.
- Staging Area: Before you commit, you have to tell Git exactly which changes you want to include in the next snapshot. This is called “staging.” It’s like putting items in a cardboard box before you tape it shut. The command for this is `git add`. For example, `git add index.html` stages just that one file, while `git add .` stages all modified files in the current directory.
- Local Repository (.git folder): Once your changes are staged, you “commit” them. This takes everything in the staging area, bundles it into a permanent snapshot with your message, and saves it inside a special, hidden `.git` folder within your project directory. This is your local history. The command is `git commit -m “Your descriptive message”`. The `-m` is a “flag” that stands for “message.”
- Remote Repository (GitHub): This is the copy of your project living on GitHub’s servers. To get your local commits up to the cloud, you “push” them. The command is `git push`. This sends all the commits you’ve made locally that aren’t yet on GitHub up to the remote repository, making them visible to others and safely backed up.
This `add -> commit -> push` cycle is the heartbeat of modern development. You’ll perform this loop dozens of times a day. It might feel clunky at first, but it will quickly become second nature, providing a safety net that lets you code fearlessly.
Hands-on Practical Implementation & Real-World Configuration
Enough talk. Let’s build something. We’re going to create a simple, personal “link-in-bio” page, a common project for showcasing your social and professional links. We’ll use the exact workflow we just blueprinted. This is your first end-to-end journey with your new software engineering student toolkit.
Step 1: Setting Up the Project Directory
First, let’s create a home for our project. Open your terminal (Git Bash/WSL on Windows, Terminal/iTerm2 on macOS).
# Create a folder for all your future coding projects
# The 'mkdir' command means 'make directory'
mkdir my-projects

# Move into that new folder
# The 'cd' command means 'change directory'
cd my-projects

# Create the specific folder for our link-in-bio page
mkdir link-in-bio-page

# And move into it
cd link-in-bio-page

# This is the magic command: open the current folder in VS Code
code .
That last command, `code .`, tells VS Code to open the entire `link-in-bio-page` folder. The `.` is shorthand for “the current directory.” Your VS Code window should now pop up, showing the empty folder in the Explorer panel on the left.
Step 2: Creating the Files and Writing the Code
In the VS Code Explorer panel, click the “New File” icon and create two files: `index.html` and `style.css`.
Paste this code into `index.html`
<!-- This line connects our HTML to our CSS file -->
<div class="container">
<!-- Your Profile Picture -->
<img src="https://via.placeholder.com/150" alt="Profile Picture" class="profile-pic">
<!-- Your Name -->
<h2>Sana Javed</h2>
<p class="subtitle">Student & Aspiring Developer</p>
<!-- Your Links -->
<div class="links">
<a href="#" class="link">My GitHub Profile</a>
<a href="#" class="link">My LinkedIn</a>
<a href="#" class="link">My Portfolio Website</a>
<a href="#" class="link">My Latest Project</a>
</div>
<!-- A simple footer -->
<footer>
Built with ❤️ in 2026
</footer>
</div>Self-Correction Note: I’m using a placeholder image (`https://via.placeholder.com/150`). You can replace this URL with a link to a real photo of yourself (e.g., from your GitHub profile picture).
Paste this code into `style.css`
body {
font-family: -apple-system, BlinkMacSystemFont, 'Segoe UI', Roboto, Helvetica, Arial, sans-serif;
background-color: #f0f2f5;
color: #1c1e21;
display: flex;
justify-content: center;
align-items: center;
min-height: 100vh;
margin: 0;
}
/* The main container for our content */
.container {
text-align: center;
background-color: #ffffff;
padding: 40px;
border-radius: 12px;
box-shadow: 0 4px 12px rgba(0, 0, 0, 0.1);
max-width: 400px;
width: 90%;
}
.profile-pic {
width: 120px;
height: 120px;
border-radius: 50%; /* This makes the image a circle */
object-fit: cover;
margin-bottom: 1rem;
border: 3px solid #007bff;
}
h1 {
margin: 0;
font-size: 2rem;
}
.subtitle {
font-size: 1rem;
color: #606770;
margin-top: 0.25rem;
margin-bottom: 2rem;
}
.links {
display: flex;
flex-direction: column;
gap: 1rem; /* This creates space between the links */
}
.link {
display: block;
background-color: #007bff;
color: #ffffff;
text-decoration: none;
padding: 1rem;
border-radius: 8px;
font-weight: 600;
transition: transform 0.2s ease-in-out;
}
/* A little hover effect to make it feel interactive */
.link:hover {
transform: scale(1.03);
background-color: #0056b3;
}
footer {
margin-top: 2rem;
font-size: 0.8rem;
color: #90949c;
}
You can now open the `index.html` file in your web browser (right-click in the file and select “Open in Default Browser” if you have an extension like “open in browser” installed, or just drag the file into a browser window) to see your creation!
Step 3: Initializing Git and Making Your First Commit
Your code exists, but it’s not being tracked. Let’s fix that. Go back to your terminal, making sure you are still inside the `link-in-bio-page` directory.
# Step 1: Initialize a new Git repository in this folder.
# This creates the hidden .git folder we talked about.
git init

# Step 2: Check the status. Git will tell you it sees two "untracked" files.
git status

# Step 3: Stage both files for the first commit.
# Remember, '.' means "everything in this directory."
git add .

# Step 4: Make your first commit! This is a historical moment.
# The -m flag lets you provide a commit message directly.
git commit -m "Initial commit: Create basic HTML and CSS for link page"

# Step 5: Check the status again.
git status
This time, `git status` will tell you “nothing to commit, working tree clean.” This is the message you want to see. It means your saved files match the latest snapshot in your Git history.
Step 4: Pushing to GitHub
Your code is tracked locally, but it’s not backed up or shareable.
- Create a GitHub Account: If you don’t have one, go to GitHub.com and sign up. Pro-tip: Sign up for the **GitHub Student Developer Pack**. It gives you free access to an incredible amount of professional tools, including GitHub Copilot (our AI assistant) and free private repositories.
- Create a New Repository: On your GitHub dashboard, click the “+” icon in the top right and select “New repository.”
- Repository name: `link-in-bio-page` (it’s good practice to match your folder name).
- Description: A simple, personal links page.
- Public/Private: Choose “Public” so you can share the link with others.
- IMPORTANT: Do NOT initialize the repository with a README, .gitignore, or license. We’ve already created our project locally, so we want a blank canvas to push to.
- Click “Create repository.”
- Connect and Push: GitHub will now show you a page with instructions. Since we already have an existing repository, we’ll follow the second set of commands. Copy and paste these three lines into your terminal one by one:
# This command tells your local Git repo where the "remote" named "origin" lives.
    # Replace YOUR_USERNAME with your actual GitHub username.
    git remote add origin https://github.com/YOUR_USERNAME/link-in-bio-page.git

    # This renames your primary branch from "master" to "main". "main" is the modern standard.
    git branch -M main

    # This pushes your "main" branch to the "origin" remote.
    # The -u flag sets it as the default, so next time you can just type 'git push'.
    git push -u origin main
Refresh your GitHub repository page. Your `index.html` and `style.css` files are now there! You have successfully completed your first full developer workflow.
Real-World Enterprise Use Cases & Case Studies
The tools and workflow we just practiced aren’t just for small personal projects. They scale directly to massive, enterprise-level applications. The core loop of `code -> add -> commit -> push` remains the same, but the context and surrounding tools become more specialized. Let’s look at how different types of student developers might adapt this starter pack.
Case Study 1: Priya, the Web Development Student
- Project: Building a full-stack MERN (MongoDB, Express, React, Node.js) application for her final year project, a recipe-sharing platform.
- Her Toolkit Expansion:
- Core: VS Code, Git, GitHub, WSL2/Windows Terminal.
- Package Manager (npm): When working with Node.js, she uses `npm` (Node Package Manager) to install and manage third-party libraries (like React and Express). This is done via the terminal: `npm install express`.
- API Testing (Postman/Thunder Client): Her React frontend needs to talk to her Express backend API. To test her API endpoints without having to build the frontend first, she uses an API client. Postman is the industry-standard standalone app, but the Thunder Client extension for VS Code is a fantastic, lightweight alternative that keeps her in one window.
- Containerization (Docker): Her project uses a Node.js backend and a MongoDB database. To ensure it runs the same way on her machine, her project partner’s machine, and the final deployment server, she uses Docker. She writes a `Dockerfile` that specifies the exact environment, creating a “shipping container” for her app. This solves the “it works on my machine!” problem.
- Deployment (Vercel): For her React frontend, she uses Vercel. She connects her GitHub repository to Vercel, and now, every time she pushes a commit to her `main` branch, Vercel automatically builds and deploys the latest version of her site. This is a concept called CI/CD (Continuous Integration/Continuous Deployment).
Case Study 2: Leo, the Data Science & Machine Learning Student
- Project: Analyzing a large dataset of climate data and training a model to predict future trends.
- His Toolkit Expansion:
- Core: Git, GitHub.
- IDE (JetBrains DataSpell / VS Code): While VS Code is excellent for Python, many data scientists prefer specialized IDEs. JetBrains DataSpell (free for students via the GitHub pack) is built specifically for data work, with deep integration for Jupyter Notebooks and data visualization. Alternatively, he can supercharge VS Code with the official Python and Jupyter extensions.
- Interactive Computing (Jupyter Notebooks): Instead of writing one long script, Leo works in Jupyter Notebooks. These are interactive documents that mix code, text, equations, and visualizations in “cells.” This is perfect for exploratory data analysis. He can run these directly within VS Code or DataSpell.
- AI Augmentation (Google Colab & AI Platform): For training large models, Leo’s laptop isn’t powerful enough. He uses Google Colab, a free, cloud-based Jupyter Notebook environment that provides access to powerful GPUs. He also leverages tools from Google’s AI ecosystem, referencing documentation like the Google AI Developer Docs to understand how to use pre-trained models and APIs, saving him weeks of training time.
- Environment Management (Conda/Docker): Python data science projects can have complex and conflicting dependencies