Forget the Overwhelm: Your 2026 Cheat Sheet to the Top 7 Developer Tools Every Student *Actually* Uses
Key Takeaways
- Guide provides a foundational, student-focused cheat sheet to essential, practical developer tools.
- Emphasizes free/student-friendly tools crucial for academic projects through early career internships.
- Clarifies core developer tool concepts like IDE, VCS, and CLI using a relatable woodworker analogy.
- Code Editors are the workbench; Version Control (Git/GitHub) crucial for project history/collaboration.
- Aims to cut through overwhelm by identifying the seven most essential tools students *actually* use.
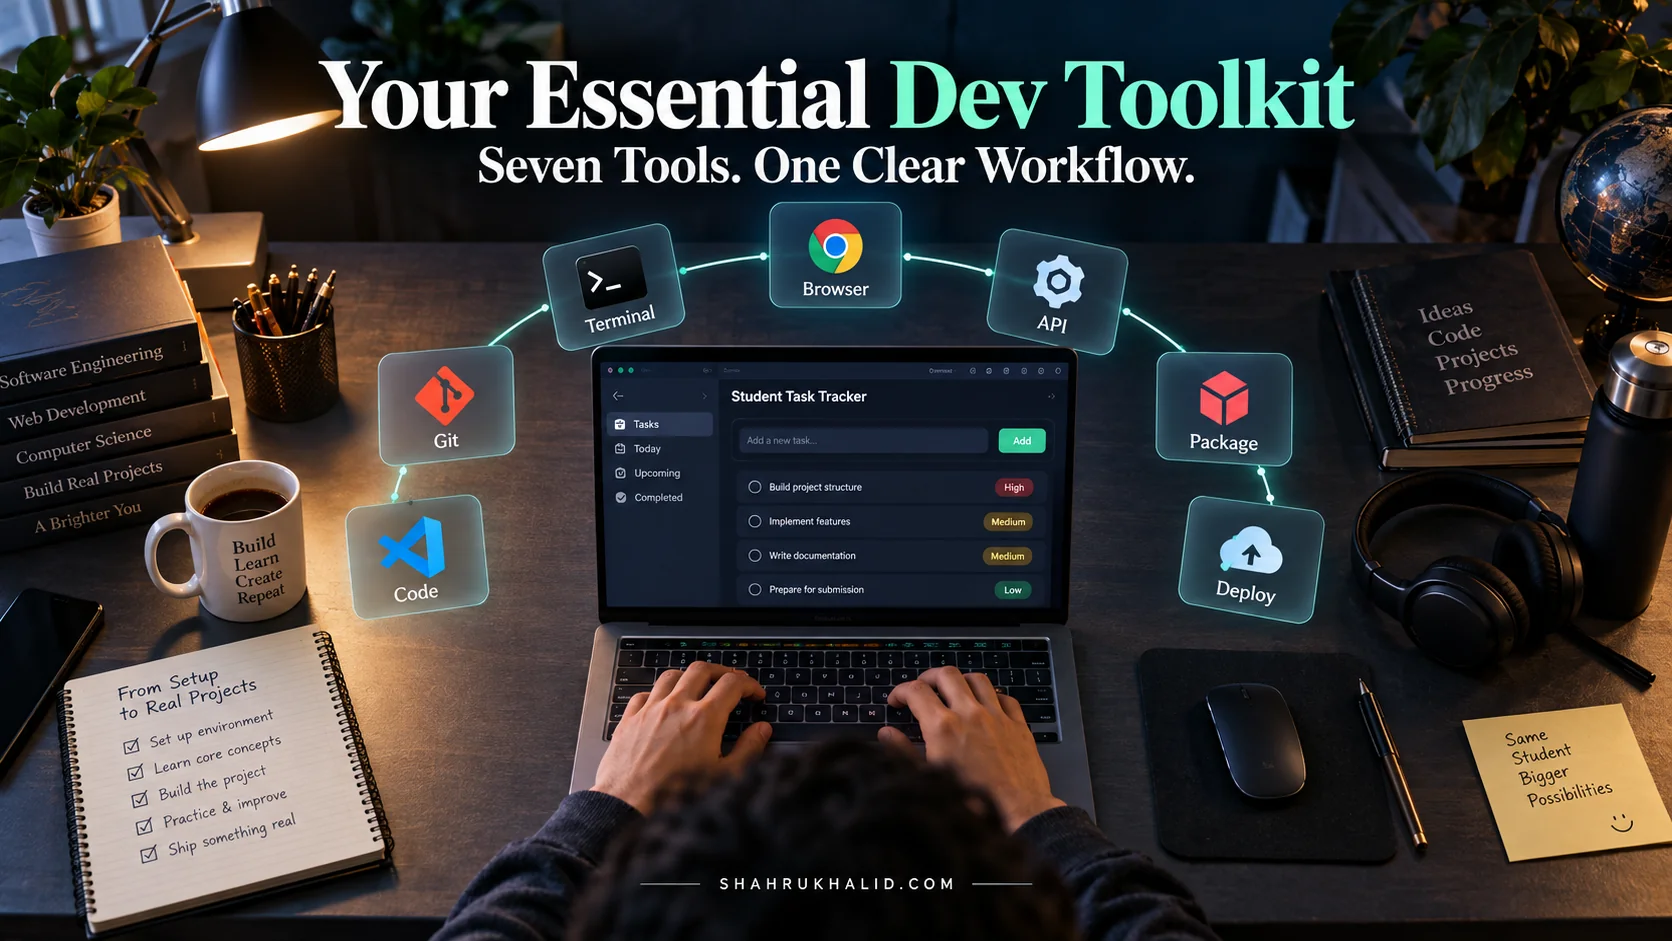
So, let’s cut through the noise. This isn’t another generic list. This is your 2026 cheat sheet—a masterclass guide to the seven essential developer tools that you, as a student, will actually use. Forget the niche, enterprise-level behemoths for now. We’re focusing on the foundational, free (or free-for-students) toolkit that will carry you from your first “Hello, World!” to your final capstone project and into your first internship. This is your definitive starting lineup.
Comprehensive Foundations & Concept Primer
Before we even name a single piece of software, let’s get on the same page. What even are developer tools, and why do they matter so much? The feeling of being lost is normal, and it usually comes from people throwing around terms like “IDE,” “CLI,” and “VCS” without explaining what they are. Let’s fix that right now.
Your Toolkit Analogy: Building a Digital Masterpiece
Imagine you’re a master woodworker instead of a coder. You wouldn’t just use your bare hands to build a beautiful chair. You’d have a workshop filled with specific tools for specific jobs. Developer tools are your digital workshop.
- Your Workshop (The Code Editor/IDE): This is the main workbench where all the magic happens. It’s where you write, view, and organize your raw materials (your code). It’s more than just a text file; it has special lighting (syntax highlighting) and power tools (debuggers, extensions) to make your job easier.
- Your Blueprint & Version History (Version Control): A woodworker doesn’t just start sawing. They have blueprints. What if you make a mistake and cut a leg too short? You’d want to go back to a previous version of your plan. Version Control (like Git) is a system that takes snapshots of your code at every stage, so you can rewind time if something breaks. It’s your project’s ultimate undo button.
- Your Off-site Blueprint Storage & Collaboration Space (Version Control Platform): You wouldn’t store the only copy of your precious blueprints in a workshop that could burn down. You’d keep a secure copy off-site. Platforms like GitHub are the cloud-based vault for your code’s blueprints. It’s also where you can share your plans with other woodworkers (collaborators) to build something together.
- Your Universal Power Outlet (The Terminal/CLI): The Command-Line Interface (CLI), or terminal, is the central power source for your entire workshop. Instead of clicking buttons, you type direct commands to control your tools. It feels intimidating at first, but it’s faster, more powerful, and more direct. It’s how you tell Git to save a version, or tell your computer to run the code you just wrote.
- Your Standardized Shipping Crate (Containerization): You’ve built a perfect chair. Now you need to ship it to a customer. If you just throw it in a truck, it might get scratched or broken. Containerization (like Docker) builds a custom, padded, perfectly-sized shipping crate around your application. This “container” includes your code AND all its specific dependencies (the exact type of wood, screws, and paint it needs). Now, your chair will arrive and work perfectly, whether it’s being delivered to your professor’s computer, your teammate’s laptop, or a server in the cloud. It solves the classic, soul-crushing problem of “but it worked on my machine!”
Understanding this “why” is the first step. These tools aren’t just arbitrary requirements; they solve real, frustrating problems you will face every single day as a developer. By 2026, proficiency in this core workflow isn’t a bonus—it’s the baseline expectation for any intern or junior developer. Mastering these now puts you leagues ahead of your peers.
Prerequisites & Complete Environment Setup
Alright, workshop theory is done. Let’s get our hands dirty and start setting up your digital workbench. We’re going to install and configure the seven essential tools. Follow these steps precisely, and you’ll have a professional-grade development environment ready to go. My advice? Do this on a quiet afternoon, take your time, and verify each step. This one-time setup will save you hundreds of hours of frustration down the line.
The 2026 Student Developer Starting Lineup:
- Code Editor: Visual Studio Code (VS Code)
- Version Control System: Git
- Version Control Platform: GitHub Account & CLI
- The Terminal: Windows Terminal (with WSL2) or iTerm2 (macOS)
- Containerization: Docker Desktop
- API Testing: Postman
- AI Code Assistant: GitHub Copilot
Step-by-Step Installation & Configuration Guide
1. Visual Studio Code (VS Code): Your Digital Workbench
- What it is: A free, open-source code editor from Microsoft that has become the industry standard. It’s lightweight but incredibly powerful thanks to a massive ecosystem of extensions. This is the answer to “what is the best IDE for students?” for 99% of cases.
- Installation: Go to the official VS Code website and download the installer for your operating system (Windows, Mac, Linux). Run the installer and accept the defaults. On Mac, drag the application into your Applications folder.
- Initial Configuration:
- Install Essential Extensions: Open VS Code, go to the Extensions view (the icon with four squares on the left sidebar). Search for and install these non-negotiables:
Prettier - Code formatter: Automatically formats your code to keep it clean.ESLint: Catches errors and style issues in JavaScript.Python: If you’re using Python, this is essential for linting, debugging, and IntelliSense.Live Server: Launches a local development server for your static web pages with a live reload feature.
- Install Essential Extensions: Open VS Code, go to the Extensions view (the icon with four squares on the left sidebar). Search for and install these non-negotiables:
- Verification: Open your terminal (we’ll set up a better one next) and type
code .in any folder. This should open the current folder in VS Code. If it works, you’re golden.
2. Git: Your Project’s Time Machine
- What it is: The distributed version control system. It tracks every change you make to your code.
- Installation:
- macOS: Open your terminal and type
git --version. If you don’t have it, macOS will prompt you to install the Xcode Command Line Tools. Follow the prompts. - Windows: Download and install Git for Windows. During installation, I highly recommend selecting “Use Visual Studio Code as Git’s default editor.” For all other options, the defaults are fine for a beginner.
- macOS: Open your terminal and type
- Initial Configuration: This is a CRITICAL one-time setup. Git needs to know who you are to label your “snapshots” (commits). Open your terminal and run these two commands, replacing the placeholders with your information:
git config --global user.name "Your Name" git config --global user.email "your.email@example.com" - Verification: In your terminal, type
git --version. It should output the installed version number.
3. GitHub: Your Cloud-Based Code Vault & Portfolio
- What it is: The most popular platform for hosting your Git repositories. It’s also your public portfolio, your collaboration hub, and your key to unlocking tons of free software.
- Setup:
- Go to GitHub.com and sign up for a free account. Choose a professional-sounding username; you’ll be sharing this with recruiters!
- THE STUDENT SUPERPOWER: Immediately apply for the GitHub Student Developer Pack. This gives you free access to dozens of premium developer tools, including our #7 tool, GitHub Copilot. This is the single best answer to “How can students get developer tools for free?”.
- Install the GitHub CLI. This command-line tool lets you interact with GitHub without leaving your terminal. Follow the installation instructions for your OS.
- Initial Configuration: Open your terminal and run
gh auth login. Follow the interactive prompts. It will ask you to log in via a web browser. This securely connects your computer to your GitHub account. - Verification: In your terminal, type
gh auth status. It should show you’re logged in to github.com.
4. A Modern Terminal: Your Command Center
- Why?: The default terminal on Windows (Command Prompt) and even the default on macOS are… fine. But a modern terminal gives you tabs, split panes, better customization, and a much more pleasant experience.
- Installation:
- Windows: Install Windows Terminal from the Microsoft Store. Then, enable WSL2 (Windows Subsystem for Linux) by opening PowerShell as an Administrator and running
wsl --install. This gives you a full Linux environment inside Windows, which is the standard for modern web development. I recommend the default Ubuntu distribution. - macOS: Download and install iTerm2. It’s a vast improvement over the built-in Terminal.app.
- Windows: Install Windows Terminal from the Microsoft Store. Then, enable WSL2 (Windows Subsystem for Linux) by opening PowerShell as an Administrator and running
- Verification: Open your new terminal. It should present you with a command prompt, ready for action. For Windows users, you should see an option to open an Ubuntu tab. This is now your primary development terminal.
5. Docker Desktop: Your Universal Shipping Crate
- What it is: The tool that lets you create, run, and manage containers.
- Installation: Go to the Docker Desktop website and download the version for your OS. The installation is straightforward, but it might require a system restart. For Windows users, it will integrate with the WSL2 backend you just installed.
- Initial Configuration: Launch Docker Desktop. It runs as a background service with a small icon in your system tray or menu bar. There’s no complex setup needed initially.
- Verification: Open your terminal and run
docker run hello-world. This command will download a tiny test image and run it in a container. If you see a “Hello from Docker!” message, you’re all set.
6. Postman: Your API Inspector
- What it is: An application for testing APIs (Application Programming Interfaces). When you’re building a web app, your frontend (the website) needs to talk to your backend (the server). Postman lets you pretend to be the frontend and send requests to the backend to make sure it’s working correctly, without needing to build the whole user interface first.
- Installation: Download and install the Postman app. You can create a free account to sync your work, which is highly recommended for group projects.
- Verification: Open Postman. In the main window, enter
https://jsonplaceholder.typicode.com/todos/1into the URL bar and click “Send”. You should see a block of JSON data appear in the response panel below. This confirms Postman can make web requests.
7. GitHub Copilot: Your AI Pair Programmer
- What it is: An AI-powered code completion tool developed by GitHub and OpenAI. It suggests whole lines or even entire functions of code directly inside VS Code.
- Installation:
- First, ensure you have been approved for the GitHub Student Developer Pack, which includes a free Copilot subscription.
- In VS Code, go to the Extensions view and search for and install
GitHub Copilot. - You’ll be prompted to sign in to GitHub to authorize the extension. Follow the prompts.
- Verification: Create a new file, say
test.js. Type a comment like// function to add two numbers. Copilot should almost instantly suggest the complete function body for you. If it does, your AI assistant is online.
Core Implementation Architecture & Workflow Blueprint
You’ve installed the tools. Now, the most crucial part: how do they all fit together? A toolbox is useless if you don’t know which tool to pick up first. What computer science students use is not just a list of software, but a repeatable process. Let’s map out the fundamental workflow for a typical student project, from a blank folder to a working application.
The Student Project Lifecycle: A 7-Step Workflow
Think of this as a sequence of plays. You’ll run this sequence, or a variation of it, for almost every project you build. I’ll lay this out as a grid of “Action Cards.”
1. The Spark: Project Initialization
Tool(s): Terminal, VS Code
Your journey begins in the Terminal. You create a new directory for your project (mkdir my-awesome-project) and navigate into it (cd my-awesome-project). Then, you open this blank slate in your workshop by typing code .. This launches VS Code, with your new, empty folder ready and waiting in the file explorer.
2. The Foundation: Version Control Setup
Tool(s): Terminal, Git
Before you write a single line of code, you activate your time machine. In the VS Code integrated Terminal, you initialize a new Git repository with git init. This creates a hidden .git folder that will start tracking all your changes. This is the most important step for saving yourself from future disasters.
3. The First Draft: Writing Code
Tool(s): VS Code, GitHub Copilot
Now, the creative part. Inside VS Code, you create your first files (e.g., index.html, app.py). As you type, GitHub Copilot springs to life, offering suggestions, completing boilerplate, and helping you write code faster. You write a small, functional piece of your project—maybe just a basic HTML structure or a single Python function.
4. The Snapshot: Committing Changes
Tool(s): Terminal, Git, VS Code
You’ve completed a small, logical chunk of work. Time to save your progress. In the Terminal (or using VS Code’s integrated Source Control panel), you “stage” your changes with git add . and then “commit” them with a descriptive message: git commit -m "feat: Create initial HTML structure". You’ve just created your first historical save point.
5. The Off-site Backup: Pushing to GitHub
Tool(s): Terminal, GitHub CLI
Your code is saved locally, but what if your laptop dies? You need an off-site backup. Using the GitHub CLI in your Terminal, you run gh repo create. This command magically creates a new repository on your GitHub profile and links it to your local project. Then, you push your first commit to the cloud with git push -u origin main.
6. The Test: Verification & Validation
Tool(s): Postman, Docker, Browser
How do you know your code works? If it’s a website, you might use the Live Server extension in VS Code to view it in your browser. If it’s a backend API, you’ll use Postman to send test requests to your running application. To ensure it runs consistently, you can build a Docker image (docker build .) and run it (docker run ...) to test it in a clean, isolated environment.
7. The Loop: Iterate & Repeat
Tool(s): All of them
This is the most important “card.” Development is not a straight line; it’s a loop. From here, you simply repeat steps 3 through 6. You write more code (with Copilot), commit your changes (with Git), test your work (with Postman/Docker), and periodically push your code to GitHub. This loop—Code, Commit, Test, Push—is the heartbeat of modern software development.
Hands-on Practical Implementation & Real-World Configuration
Theory and workflows are great, but muscle memory is built by doing. Let’s build a very simple, real-world project from scratch using the exact workflow we just defined. We’ll create a “Student Task Tracker” web page. It will be a simple to-do list that lets you add and remove tasks—a classic beginner project that uses several of our core tools.
Project: The “Student Task Tracker” To-Do List
Follow these steps exactly. I’ll provide the complete, heavily commented code.
Step 1: Project Initialization (Terminal & VS Code)
Open your modern terminal (Windows Terminal with Ubuntu, or iTerm2 on Mac).
# Create a new directory for our project
mkdir task-tracker

# Navigate into the new directory
cd task-tracker

# Open this directory in VS Code
code .
Step 2: Version Control Setup (Git & GitHub)
Inside the VS Code integrated terminal (View -> Terminal), let’s get Git and GitHub ready.
# Initialize a new Git repository
git init

# Create a file to tell Git what to ignore. We'll add a common one for VS Code.
# The `echo` command just writes text to a file.
echo ".vscode/" > .gitignore

# Now, let's create the repository on GitHub using the CLI
# Follow the prompts. Make it public so you can show it off!
gh repo create task-tracker --public --source=. --remote=origin

# Let's make our very first commit with the .gitignore file
git add .gitignore
git commit -m "Initial commit: Add .gitignore"

# And push this initial commit to our new GitHub repository
# The -u flag sets the upstream branch so in the future you can just type `git push`
git push -u origin main
If you visit your GitHub profile now, you’ll see your new `task-tracker` repository with one file in it. Magic!
Step 3: Writing the Code (VS Code & Copilot)
In the VS Code file explorer on the left, create three new files: index.html, style.css, and script.js.
File: index.html (The Structure)
This file defines the content and layout of our page.
<!DOCTYPE html>
<html lang="en">
<head>
<meta charset="UTF-8">
<meta name="viewport" content="width=device-width, initial-scale=1.0">
<title>Student Task Tracker</title>
<!-- Link our CSS file to style the page -->
<link rel="stylesheet" href="style.css">
</head>
<body>
<div class="container">
<h1>My Student Tasks</h1>
<div class="input-area">
<!-- The input field for new tasks -->
<input type="
Frequently Asked Questions