How to Build Your AI-Powered Study Brain: A 2026 Step-by-Step Guide for Students
Key Takeaways
- AI study brains are personalized AI-powered systems for ingesting and synthesizing knowledge.
- They learn from students, adapting to unique learning styles and preferences.
- Essential for 2026, they combat information overload by filtering relevant data.
- These brains provide adaptive learning paths, targeting knowledge gaps with resources.
- They offer superhuman memory, processing speed, and significant time efficiency.
Welcome, my friends, to the dawn of a new era in education! I remember my own student days, buried under mountains of textbooks, frantically highlighting, and trying to connect disparate concepts in my mind. It was often overwhelming, and frankly, sometimes a bit inefficient. But what if I told you that those days are rapidly becoming a relic of the past? What if you could have a tireless, hyper-intelligent assistant that understood your unique learning style, remembered everything you’ve ever read, and could instantly synthesize complex ideas just for you? That, my friends, is the essence of an AI study brain.
What Exactly is an AI Study Brain? A Personal Tutor in Your Pocket
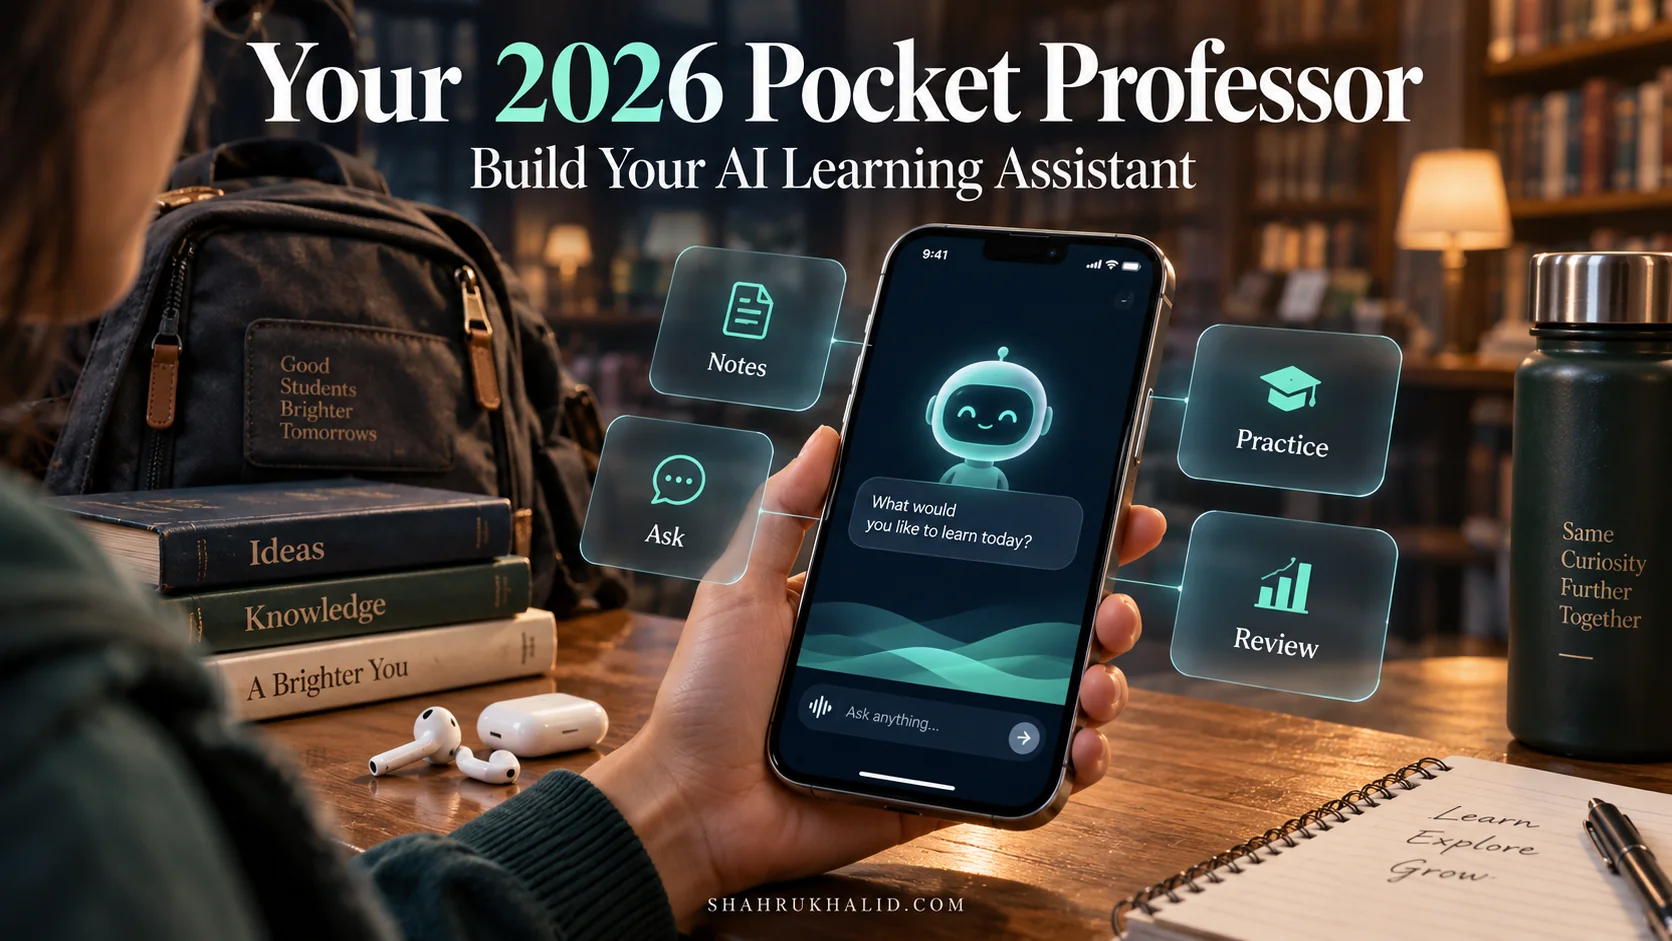
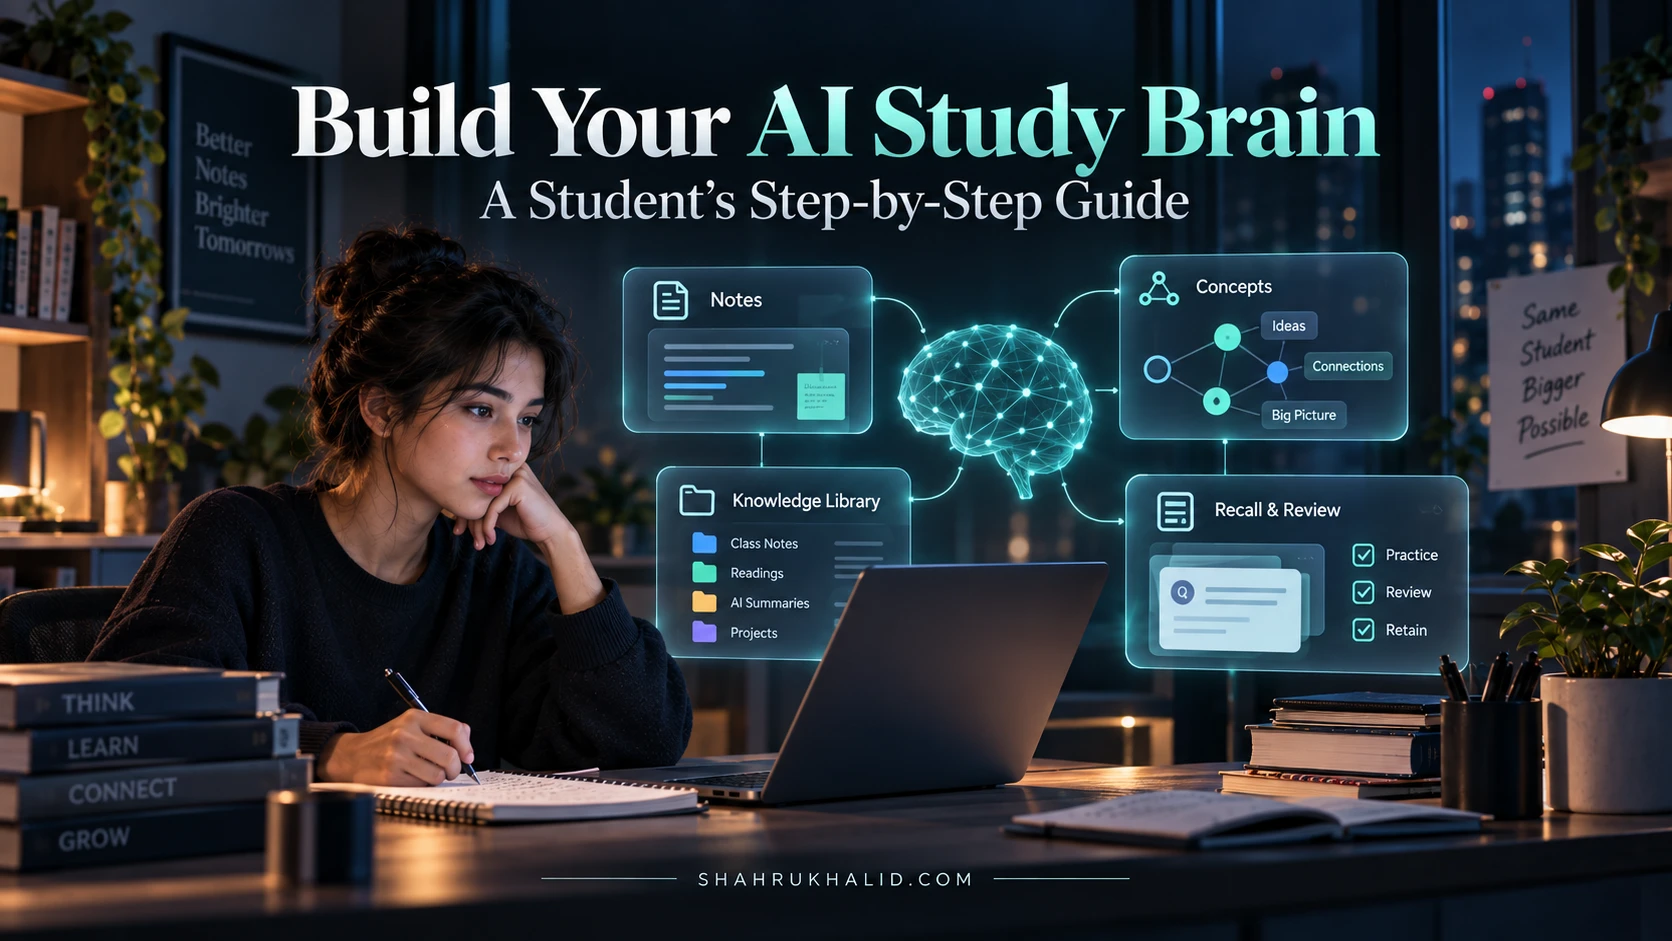
Imagine having a super-powered personal tutor, librarian, and research assistant all rolled into one, available 24/7, tailored precisely to your needs. That’s the simplest way I can describe an AI study brain. At its core, it’s a personalized AI-powered learning system designed to ingest, process, understand, and recall vast amounts of information relevant to your studies. It’s not just a search engine; it’s a knowledge synthesis engine. It learns with you and from you, adapting its responses and recommendations based on your progress, challenges, and interests. Think of it as an extension of your own cognitive abilities, but with superhuman memory and processing speed.
Why This is Essential for Students in 2026: Navigating the Information Ocean
We live in an age of unprecedented information. Every day, new research, articles, and data flood our digital world. For students, this can be both a blessing and a curse. While access to knowledge is boundless, the ability to effectively filter, understand, and retain it becomes a monumental challenge. This is precisely why an AI study brain isn’t just a nice-to-have; it’s becoming an essential tool for academic success in 2026 and beyond.
- Information Overload: Traditional study methods struggle to keep pace with the sheer volume of data. An AI study brain helps you cut through the noise, focusing on what’s truly relevant.
- Personalized Learning: We all learn differently. Some thrive with visual aids, others with auditory explanations, and many with hands-on practice. Generic curricula often miss these nuances. Your AI study brain adapts to your preferred learning modalities, offering explanations and examples that resonate specifically with you.
- Adaptive Learning Paths: Stuck on a concept? Your AI study brain can identify your knowledge gaps and provide targeted resources, practice problems, or alternative explanations until you grasp it. It’s like having a tutor who knows exactly where you need help, even before you ask.
- Time Efficiency: Imagine the hours saved not having to sift through countless articles, re-read chapters, or painstakingly create flashcards. Your AI assistant can do the heavy lifting, freeing you up for deeper critical thinking and creative problem-solving.
Core Principles of Your AI Study Brain: Beyond Rote Memorization
Building an effective AI study brain hinges on a few fundamental principles that move beyond simple information retrieval:
- Personalization: This is key. Your AI isn’t a one-size-fits-all solution. It learns your strengths, weaknesses, and preferred learning styles to deliver truly bespoke educational experiences. It’s a `Personalized AI study assistant` in every sense of the word.
- Contextual Understanding: It doesn’t just pull up keywords; it understands the meaning and relationships between concepts within your study materials. This allows it to answer complex questions, summarize nuanced arguments, and even generate new insights.
- Adaptive Feedback & Reinforcement: As you interact with it, the AI identifies areas where you excel and where you need more practice. It then provides targeted exercises, quizzes, or explanations to reinforce your understanding, making it a truly `AI powered learning system`.
- Knowledge Synthesis: This is where the magic happens. Your AI study brain can take information from multiple sources – your textbooks, lecture notes, research papers – and synthesize it into coherent, digestible summaries or new perspectives. It helps you see the bigger picture.
- Ethical & Responsible AI: As developers, we must always prioritize privacy, fairness, and transparency. Your AI study brain should be a tool that empowers you, not one that compromises your data or promotes bias. We’ll touch on this more later, but it’s a foundational principle.
So, how can AI improve my study habits? By transforming them from passive consumption to active, personalized engagement. It turns studying into a dynamic conversation, a collaborative effort between you and your intelligent assistant. This is the `Future of student learning`, and you’re about to become one of its architects.
—
Prerequisites & Complete Environment Setup
Alright, future AI architects! Now that we’ve painted a picture of what your AI study brain can be, it’s time to roll up our sleeves and prepare our workspace. Think of this module as laying the foundation for a magnificent building. A strong foundation ensures everything else stands firm. Don’t worry if some of these terms sound a bit technical; I’ll explain each one in plain English, just as I would to a new intern on my team. My goal here is to make this process as smooth and beginner-friendly as possible.
Your Digital Workbench: Essential Software Tools
Before we can start coding, we need a few crucial tools installed on your computer. These are the standard instruments in any developer’s toolkit, and they’ll serve you well beyond this project.
- Python (Version 3.9+): The Language of AI
- What it is: Python is a powerful, yet easy-to-read programming language. It’s incredibly popular in the AI and data science world because of its simplicity and vast ecosystem of libraries.
- Why we need it: Our AI study brain will be built primarily using Python.
- How to get it:
- Go to the official Python website: python.org/downloads
- Download the latest stable version (e.g., Python 3.10, 3.11, or 3.12).
- Crucial Step for Windows Users: During installation, make sure to check the box that says “Add Python to PATH.” This makes it easier for your computer to find Python commands later. For macOS/Linux, it’s usually added automatically.
- Verification: Open your terminal (Command Prompt on Windows, Terminal on macOS/Linux) and type:
python --version
            # or
            python3 --version
You should see the version number printed, like `Python 3.10.12`. If not, double-check your installation.
- VS Code: Your Integrated Development Environment (IDE)
- What it is: VS Code (Visual Studio Code) is a free, powerful, and highly customizable code editor. It’s where you’ll write, debug, and manage your code.
- Why we need it: It provides a comfortable environment with features like syntax highlighting, code completion, and integrated terminal, making coding much easier.
- How to get it:
- Visit code.visualstudio.com
- Download and install the version for your operating system.
- Recommended Extensions: Once installed, open VS Code. Go to the Extensions view (the square icon on the left sidebar) and search for and install:
- `Python` (from Microsoft)
- `Pylance` (for intelligent code completion and error checking)
- Git: Your Version Control System
- What it is: Git is like a super-powered “undo” button and a collaboration tool for your code. It tracks changes to your files, allowing you to revert to previous versions or work with others seamlessly.
- Why we need it: Essential for managing your project’s evolution and for potentially collaborating or sharing your work.
- How to get it:
- Go to git-scm.com/downloads
- Follow the installation instructions for your OS.
- Verification: Open your terminal and type:
git --versionYou should see the Git version.
Setting Up Your Project Environment: Clean and Organized
A clean environment prevents conflicts and keeps your project tidy. This is a crucial step that many beginners skip, only to run into headaches later.
- Project Directory Layout:
- First, let’s create a dedicated folder for our project. I always recommend a clear structure.
- Open your terminal and navigate to a place where you want to store your projects (e.g., your Documents folder).
- Type these commands:
mkdir ai-study-brain
cd ai-study-brain- Now, inside this `ai-study-brain` folder, we’ll create a few subfolders to keep things organized:
mkdir data
        mkdir src
mkdir notebooks- `data/`: This is where your raw study materials (PDFs, text files, web links) will live.
- `src/`: This is where all your Python code files will go.
- `notebooks/`: For any experimental code or testing using Jupyter notebooks (we’ll touch on this later).
- Virtual Environments: Your Project’s Bubble
- What it is: A virtual environment is an isolated space for your Python project. Think of it like a separate bubble where all your project’s specific Python libraries are installed, without interfering with other Python projects on your computer.
- Why we need it: Different projects might require different versions of the same library. Virtual environments prevent these “dependency conflicts.” It’s a best practice in Python development.
- How to create and activate:
- Make sure you are inside your `ai-study-brain` directory in the terminal.
- Create the virtual environment:
python -m venv .venvThis creates a folder named `.venv` inside your project directory, containing a fresh Python installation for your project.
- Activate the virtual environment:
- macOS/Linux:
source .venv/bin/activate- Windows (Command Prompt):
.venvScriptsactivate- Windows (PowerShell):
.venvScriptsActivate.ps1- Verification: After activation, you should see `(.venv)` at the beginning of your terminal prompt. This indicates you’re inside your project’s isolated environment.
- Installing Core Libraries: Our AI Building Blocks
- With your virtual environment active, we can now install the Python libraries we’ll use. These are pre-written code packages that handle complex tasks, saving us a lot of work.
*
pip install langchain openai google-generativeai pypdf chromadb python-dotenv- `pip`: This is Python’s package installer.
- `langchain`: A powerful framework for building applications with Large Language Models (LLMs). It simplifies connecting different AI components.
- `openai`: For interacting with OpenAI’s models (if you choose to use them).
- `google-generativeai`: For interacting with Google’s powerful Gemini models, which we’ll be focusing on. This is where the magic of Google’s generative AI capabilities comes into play.
- `pypdf`: To easily read and extract text from PDF documents.
- `chromadb`: A lightweight, open-source vector database that will store our processed study materials.
- `python-dotenv`: To securely manage our API keys (more on this next!).
API Keys: Your Access Pass to AI Power
To use powerful AI models like Google’s Gemini, we need an API key. Think of an API key as your unique digital fingerprint or a password that tells the AI service, “Hey, it’s me, and I’m authorized to use your services!”
- Obtaining Your Google Gemini API Key:
- Go to the Google AI Studio website: aistudio.google.com/app/apikey
- Sign in with your Google account.
- Click “Create API key in new project.”
- Copy the generated API key immediately. Treat this key like a password; never share it publicly or commit it directly into your code.
- Securely Storing Your API Key with `.env`:
- Inside your `ai-study-brain` project directory, create a new file named `.env` (note the dot at the beginning).
- Open this `.env` file in VS Code and add the following line, replacing `YOUR_API_KEY_HERE` with the key you just copied:
GOOGLE_API_KEY=YOUR_API_KEY_HERE- Save the file.
- Important Security Step: Create another file in your `ai-study-brain` directory called `.gitignore`. Open it and add this line:
.envThis tells Git to ignore your `.env` file, preventing you from accidentally uploading your sensitive API key to public code repositories.
Congratulations! Your digital workbench is now fully set up, organized, and ready for action. This might have felt like a lot of steps, but trust me, getting this foundation right will save you countless headaches down the line. Now, let’s move on to understanding how all these pieces fit together.
—
Core Implementation Architecture & Workflow Blueprint
Now that our environment is sparkling clean and ready, it’s time to delve into the brain of our AI study brain. This module is all about understanding the fundamental mechanics – the “how it works” – before we dive into the actual coding. Think of it like looking at the blueprints of a house before you start laying bricks. We’ll break down the complex process into simple, understandable components, using visual analogies to make it crystal clear. This is where we start to answer the question: `How to build a personalized AI learning system?` from an architectural perspective.
The Grand Design: A High-Level Overview
At a very high level, our AI study brain follows a straightforward process:
- Data Ingestion: We feed it all your study materials.
- Knowledge Base Creation: It processes and stores this information in a smart, retrievable way.
- AI Core Processing: When you ask a question, it intelligently retrieves relevant information and uses a powerful AI model to formulate an answer.
- User Interaction: It presents the answer to you, and you can continue the conversation.
Let’s visualize this with a simple flow:
+-------------------+     +---------------------+     +-------------------+     +------------------+
|   Your Study      |     |   Data Ingestion    |     |   Knowledge Base  |     |     AI Core      |
|   Materials       +-----> (PDFs, Notes, Web)  +-----> (Vector Database) +-----> (LLM + RAG)      |
| (Textbooks, PDFs) |     |                     |     |                     |     |                  |
+-------------------+     +---------------------+     +-------------------+     +--------+---------+
                                                                                           |
                                                                                           | User Query
                                                                                           v
+-------------------+     +---------------------+     +-------------------+     +--------+---------+
|   User Interface  |<----+   Formatted Answer  |<----+   AI Core         |<----+   User Input   |
| (Chatbot, Web App)|     |                     |     | (LLM + RAG)       |     | (Your Questions) |
+-------------------+     +---------------------+     +-------------------+     +------------------+
This diagram shows a continuous loop: you provide materials, the AI processes them, you ask questions, the AI answers, and the cycle continues, constantly refining its understanding.
Key Components: The Building Blocks of Intelligence
Let’s zoom in on each of these components. I like to think of them as specialized departments in our AI’s central office.
Data Ingestion Department: Feeding the Brain
Concept:
This is where your raw study materials (PDFs, lecture notes, web pages, articles) are collected and prepared for the AI. Think of it as the “reading and understanding” phase.


Mechanics:
- Loaders: Tools (like `PyPDFLoader` from LangChain) that can read different file types.
- Text Splitters: AI models can only process so much text at once. We break down large documents into smaller, manageable “chunks” or “segments” while ensuring context is maintained.
- Metadata: We also extract useful information about each chunk, like its source (which textbook, which page number).
- Analogy: Imagine you have a giant textbook. The Data Ingestion department’s job is to read every page, understand each paragraph, and then break it down into index cards, noting where each piece of information came from.
Knowledge Base Department: The Smart Library
Concept:
This is where the processed chunks of information are stored in a way that makes them easily searchable by meaning, not just keywords. This is often called a “Vector Database.”
Mechanics:
- Embeddings: Each text chunk is converted into a numerical representation (a “vector” or “embedding”). Think of these as unique numerical fingerprints that capture the meaning of the text. Similar meanings have similar fingerprints.
- Vector Database (e.g., ChromaDB): This specialized database stores these numerical fingerprints along with the original text. When you ask a question, your question is also converted into a numerical fingerprint, and the database quickly finds the most “similar” (meaningfully related) text chunks.
- Analogy: Those index cards from the previous step? Now, imagine a super-librarian who doesn’t just file them alphabetically, but files them based on what they’re about. If you ask for “quantum entanglement,” the librarian instantly pulls out all cards related to quantum physics, even if they don’t explicitly say “quantum entanglement” but discuss related concepts.
AI Core Department: The Intelligent Conversationalist (LLM + RAG)
Concept:
This is the “thinking” part. It combines a powerful Large Language Model (LLM) with a technique called Retrieval Augmented Generation (RAG) to answer your questions accurately and contextually.
Mechanics:
- Large Language Model (LLM) (e.g., Google Gemini): A highly advanced AI model trained on vast amounts of text data. It’s excellent at understanding language, generating human-like text, and reasoning. However, it doesn’t know your specific study materials.
- Retrieval Augmented Generation (RAG): This is the secret sauce! When you ask a question:
- Your question is sent to the Knowledge Base (Vector Database).
- The Knowledge Base retrieves the most relevant text chunks from your study materials.
- These retrieved chunks are then given to the LLM along with your original question.
- The LLM uses this specific, relevant context from your materials to generate a precise and accurate answer.
- Analogy: You ask a question. The super-librarian (Knowledge Base) quickly finds the most relevant index cards. Then, a brilliant professor (LLM) reads only those specific cards and your question, and uses that information to give you a clear, concise, and accurate explanation, citing the sources (your study materials) implicitly. This prevents the LLM from “hallucinating” or making things up, ensuring the answers are grounded in your curriculum. This is how we build a truly `Smart study technology`.
User Interface Department: Your Window to Intelligence
Concept:
This is how you interact with your AI study brain – the chat window, the input box, the display of answers.
Mechanics:
- Input: A simple text box where you type your questions.
- Output: A display area where the AI’s answers appear.
- Feedback: Potentially, buttons or mechanisms for you to rate the answer’s helpfulness, which can further personalize the AI over time.
- Analogy: This is simply the friendly front desk where you submit your request and receive your perfectly crafted answer.
By understanding these core components and how they interact, you’re already well on your way to mastering the architecture of your AI study brain. This modular approach, facilitated by frameworks like LangChain, makes building complex AI applications much more manageable. Next, we’ll bring these blueprints to life with actual code!
—
Hands-on Practical Implementation & Real-World Configuration
Alright, my friends, it’s time to get our hands dirty! We’ve laid the groundwork, understood the blueprints, and now we’re going to start building. This is where the theoretical concepts from Module 3 transform into tangible code. I’ll walk you through each step, providing heavily commented, production-ready examples. Remember, patience and attention to detail are your best friends here. We’re going to create a fully functional, albeit basic, AI study brain that can answer questions based on your documents.
Before we begin, ensure your virtual environment is active (you should see `(.venv)` in your terminal prompt) and all libraries from Module 2 are installed. If not, go back and activate it and run `pip install …` again.
Step 1: Data Ingestion – Loading and Splitting Your Study Materials
Our first task is to get your study materials into a format the AI can understand. For this example, let’s assume you have a PDF textbook or lecture notes.
- Place Your PDF: Put a sample PDF file (e.g., `my_textbook.pdf`) into the `data/` folder you created earlier. You can find many open-source PDFs online if you don’t have one handy.
- Create the Ingestion Script: Inside your `src/` folder, create a new Python file named `ingest_data.py`.
- Add the Code: Open `ingest_