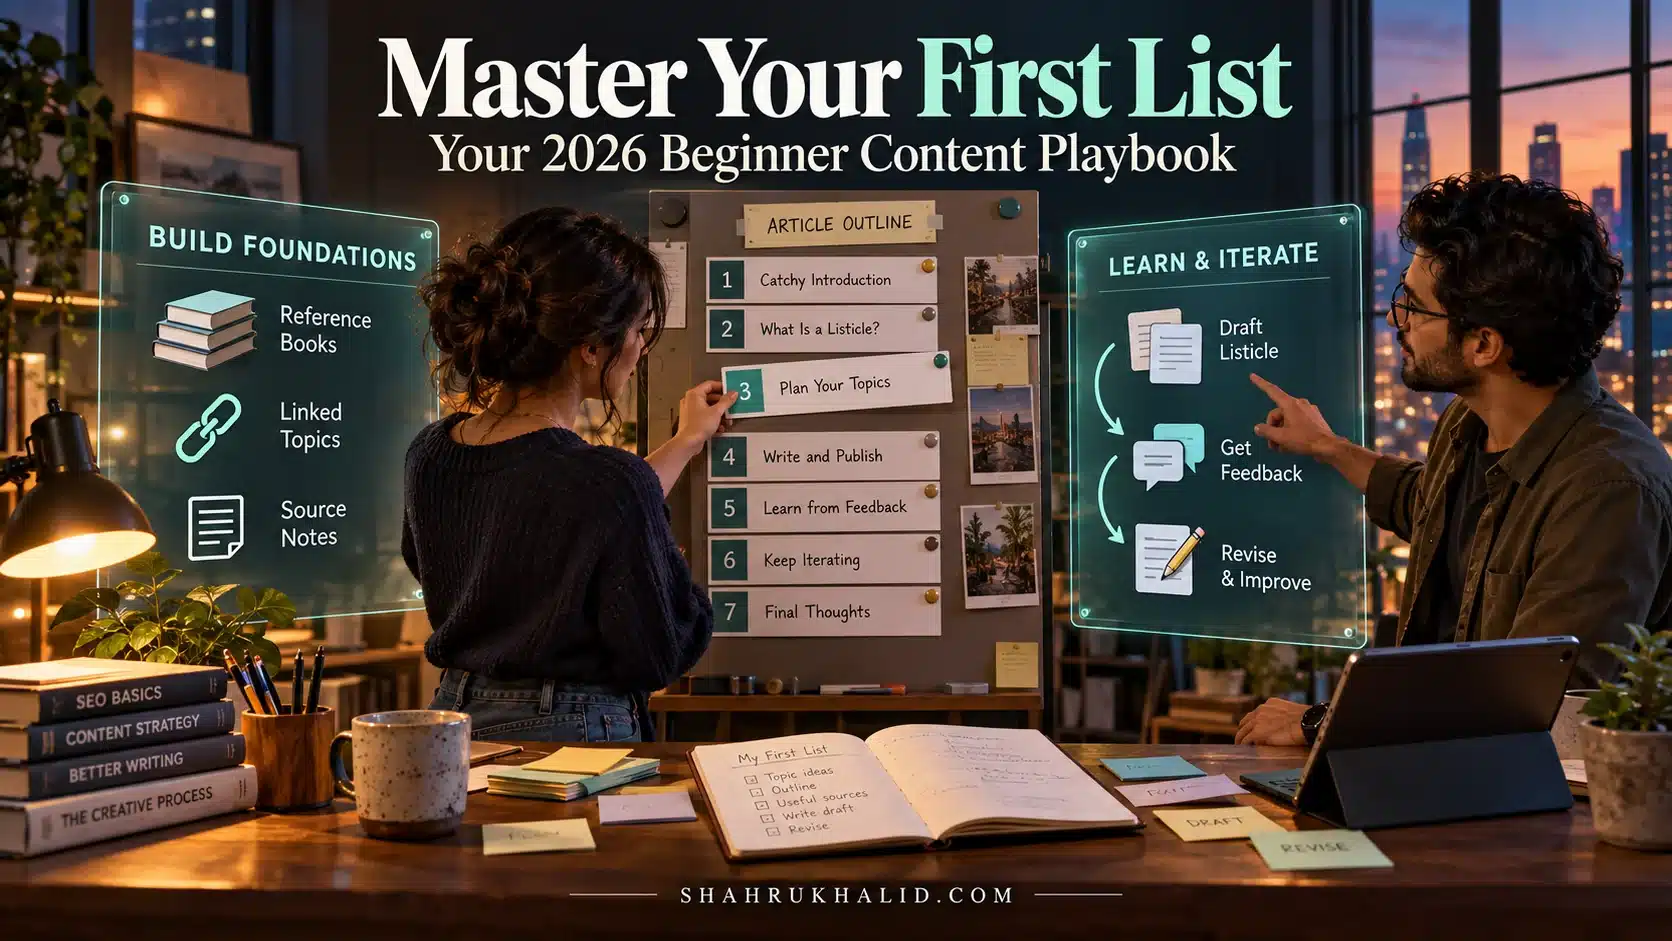
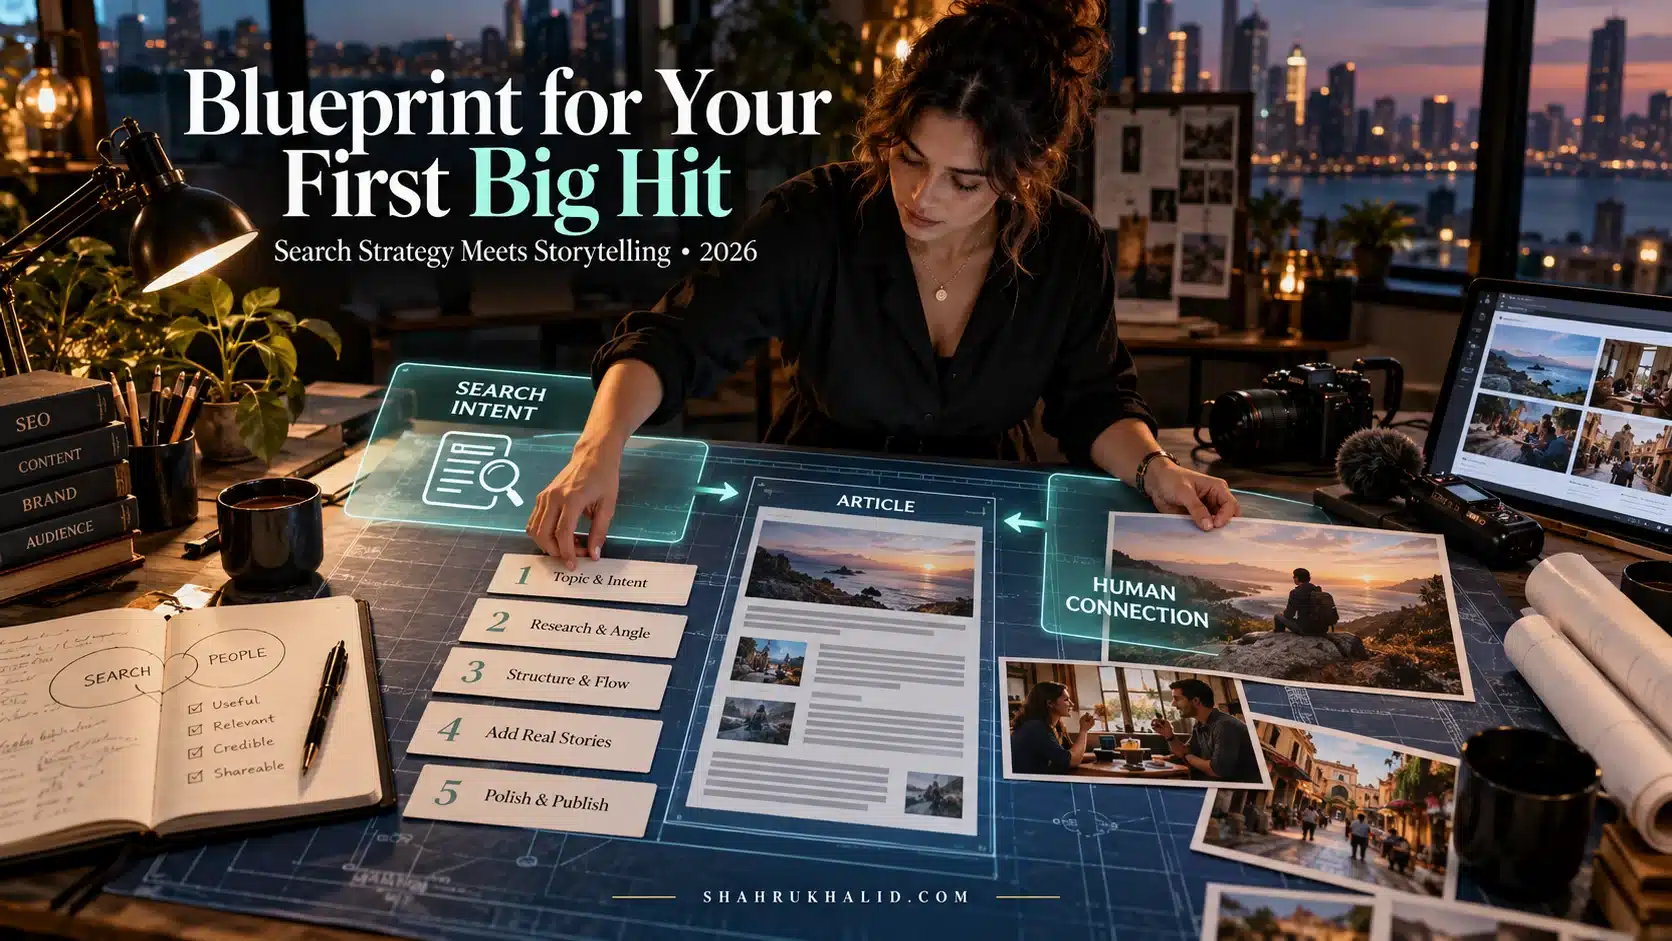
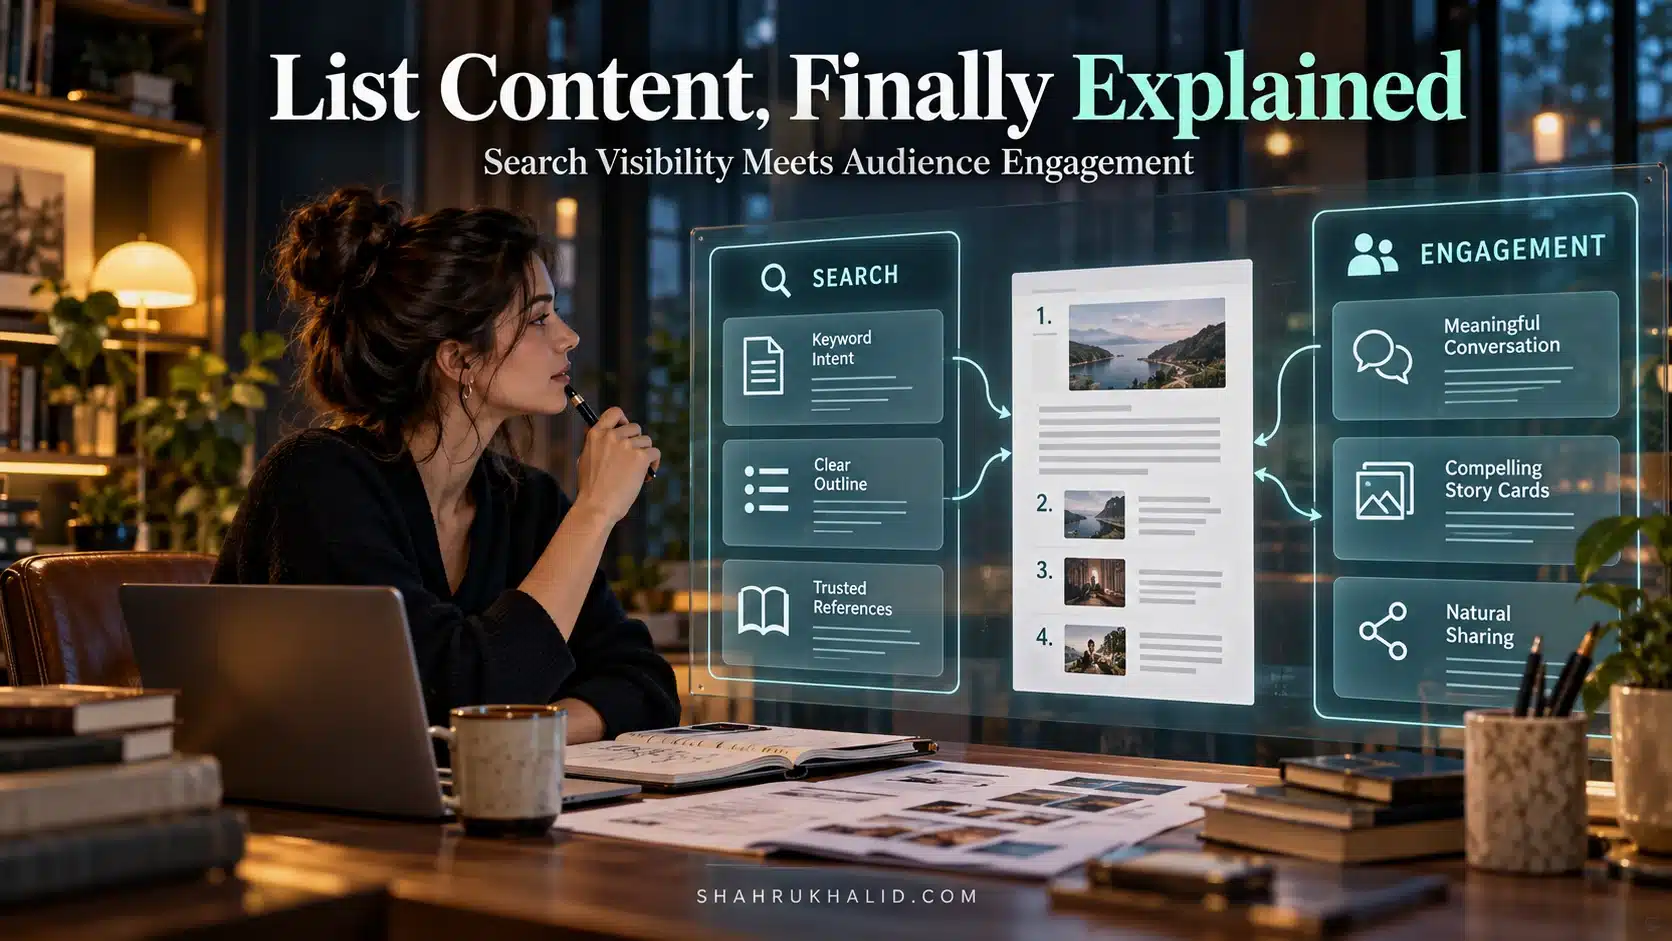
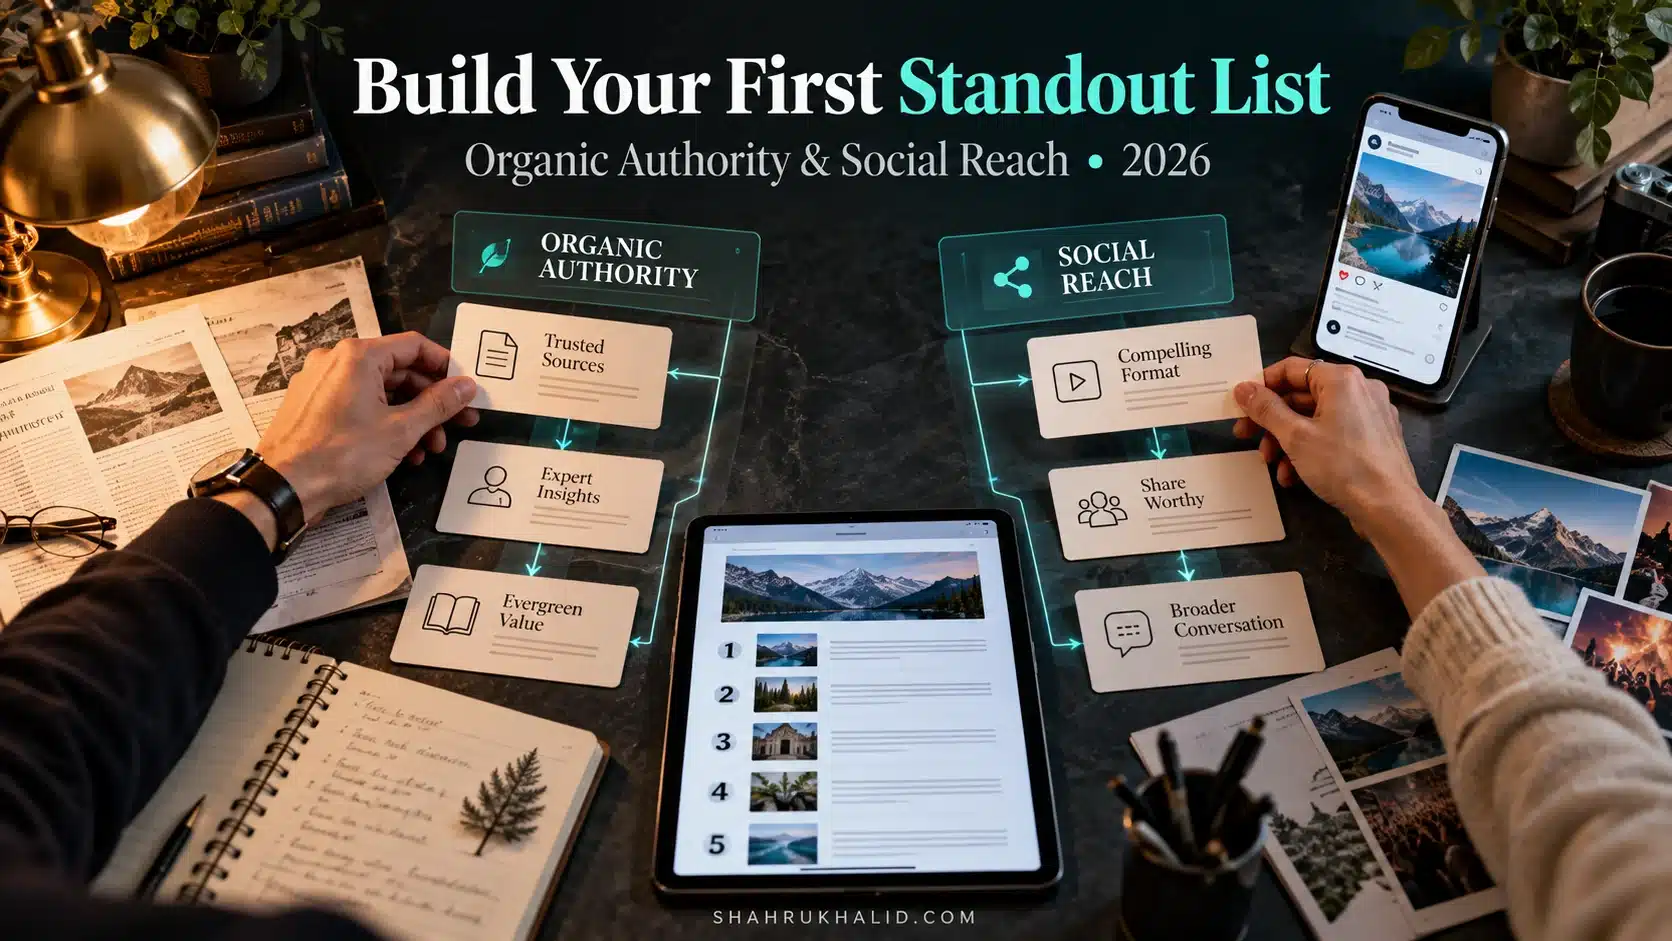
2026s Easy Button: How Beginners Are Making Viral Lists That Google Cant Ignore

I’ve seen absolute beginners, people who have never written a line of code or an SEO-optimized sentence, create simple lists that go massively viral and dominate Google’s search results. It’s not magic, and it’s not luck. It’s a methodology. It’s an architecture. They’ve found the “easy button” for achieving Viral List Ranking, and it’s a process that Google, with its increasingly sophisticated AI, simply can’t ignore.
This isn’t just another blog post with a few tips. This is a masterclass. We’re going to go deep, step-by-step, from the absolute fundamentals to a complete, repeatable playbook. By the end of this guide, you will have the exact framework to build high-ranking list content that resonates with both humans and search engines. Let’s get started.
The New Blueprint for Viral List Ranking & Comprehensive Foundations
Before we even think about writing a single word, we need to get our heads in the right place. The world of SEO and content has changed more in the last two years than in the ten before them. The old rules of just stuffing keywords into a “Top 10” post are dead. In 2026, we’re not just trying to “trick” Google; we’re trying to genuinely partner with its AI to deliver the best possible answer to a user’s query. This is the foundational secret to how beginners make viral lists rank on Google.
Why Lists? The Unbeatable Psychology of Order
Have you ever wondered why you can’t resist clicking on an article titled “7 Habits That Will Change Your Life” or “The 15 Best Sci-Fi Movies of the Decade”? It’s not a weakness; it’s human nature. Our brains are wired to crave order and predictability in a world of chaos.
Think of a listicle as a promise. It promises:
- Finite Effort: The number tells you exactly how much you need to read. “10 Ways to…” feels manageable. “Ways to…” feels infinite and exhausting.
- Structured Knowledge: It organizes a complex topic into digestible, bite-sized chunks. It’s a pre-made mental filing cabinet.
- Guaranteed Value: It implies a curation process. The author has sifted through the noise to bring you only the best, the most important, or the most essential items.
This psychological pull is the first ingredient of virality. But it’s not enough to make a list go viral or rank high. For that, we need to understand the other side of the equation: Google.
Meet Your Real Audience: Google’s AI (and Why It Loves a Good List)
In the old days, Google was like a librarian who only read the titles and index cards of books. It relied heavily on keywords. Today, thanks to massive advancements in AI, like the models detailed in Google’s own technical documentation at ai.google.dev/docs, Google is more like a librarian who has read every single book, understands the nuance of every chapter, and knows which book is the most helpful for the person asking.
This new Google doesn’t just count keywords. It measures helpfulness. And a well-structured list is one of the most “helpful” formats in existence. Why?
- Clarity of Structure: Using proper headings (
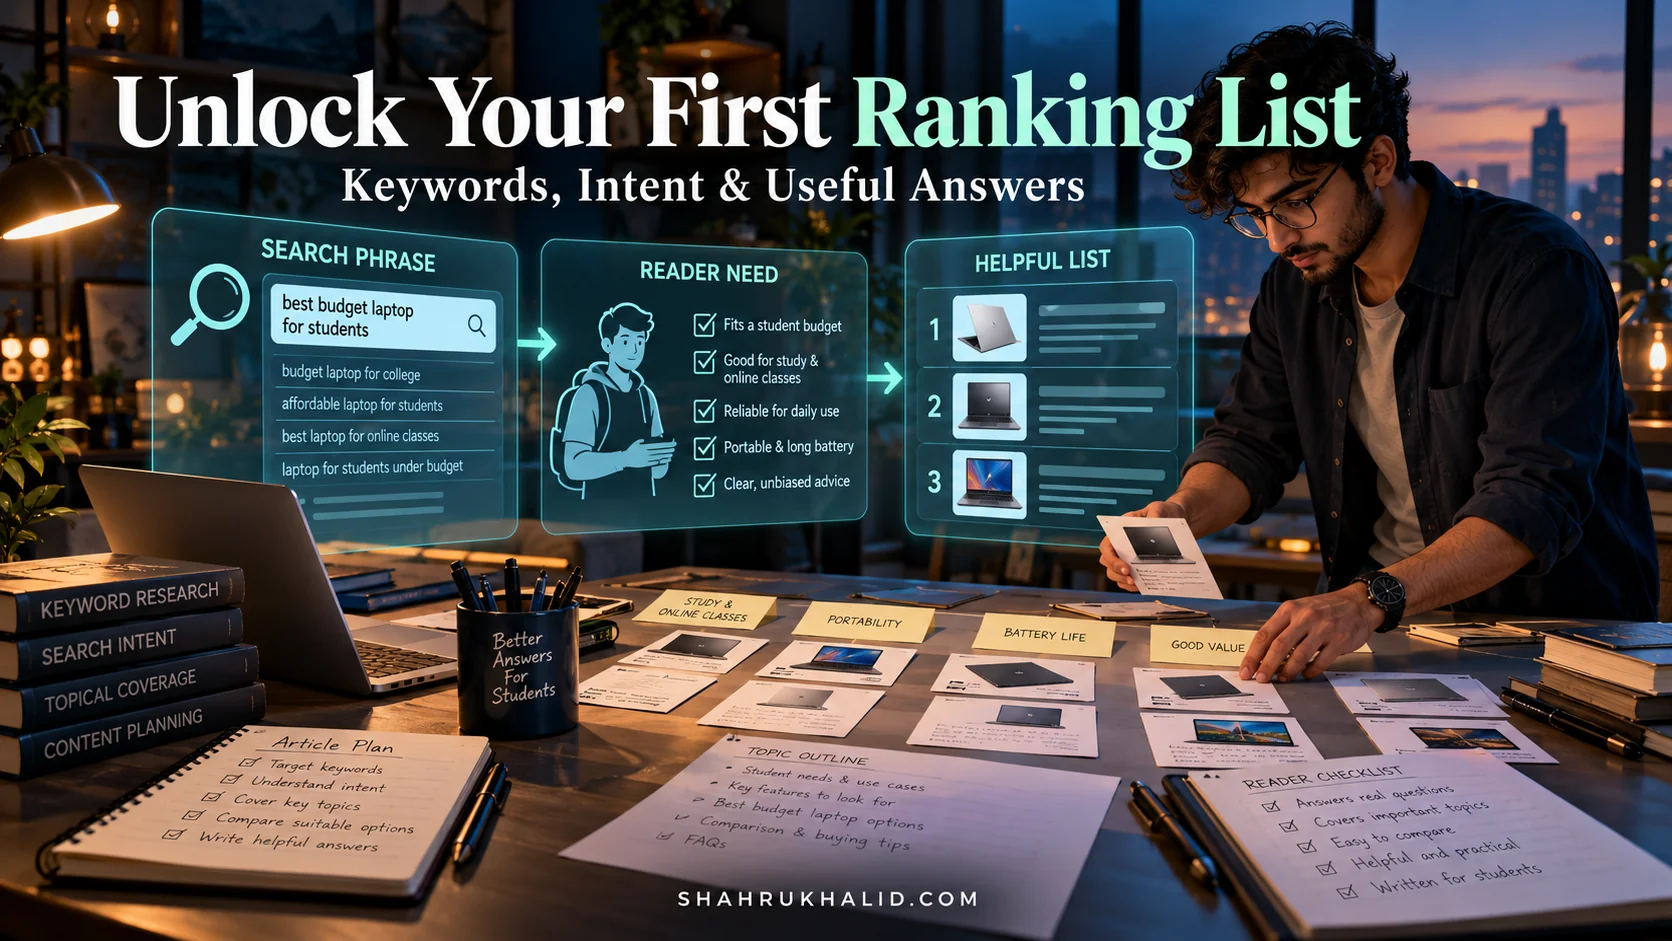
<h2>,<h3>) and list elements (<ol>,<li>) is like giving Google a perfect table of contents. Its AI can instantly understand the hierarchy and key points of your content. - Answer-First Format: Listicles often directly answer a user’s query. Someone searching “best laptops for students” is looking for a ranked, comparative list. You’re giving them exactly what they want, which is a massive signal of quality to Google.
- High Engagement Signals: Because lists are easy to scan, people tend to stay on the page longer, scroll further, and engage more. They might scroll to find their favorite item or see what made the #1 spot. These behaviors are user engagement signals that tell Google, “Hey, people love this page!”
So, what makes a listicle rank high on Google? It’s the powerful combination of a psychologically appealing format for humans and a structurally clear, highly relevant format for Google’s AI. It’s the perfect partnership.
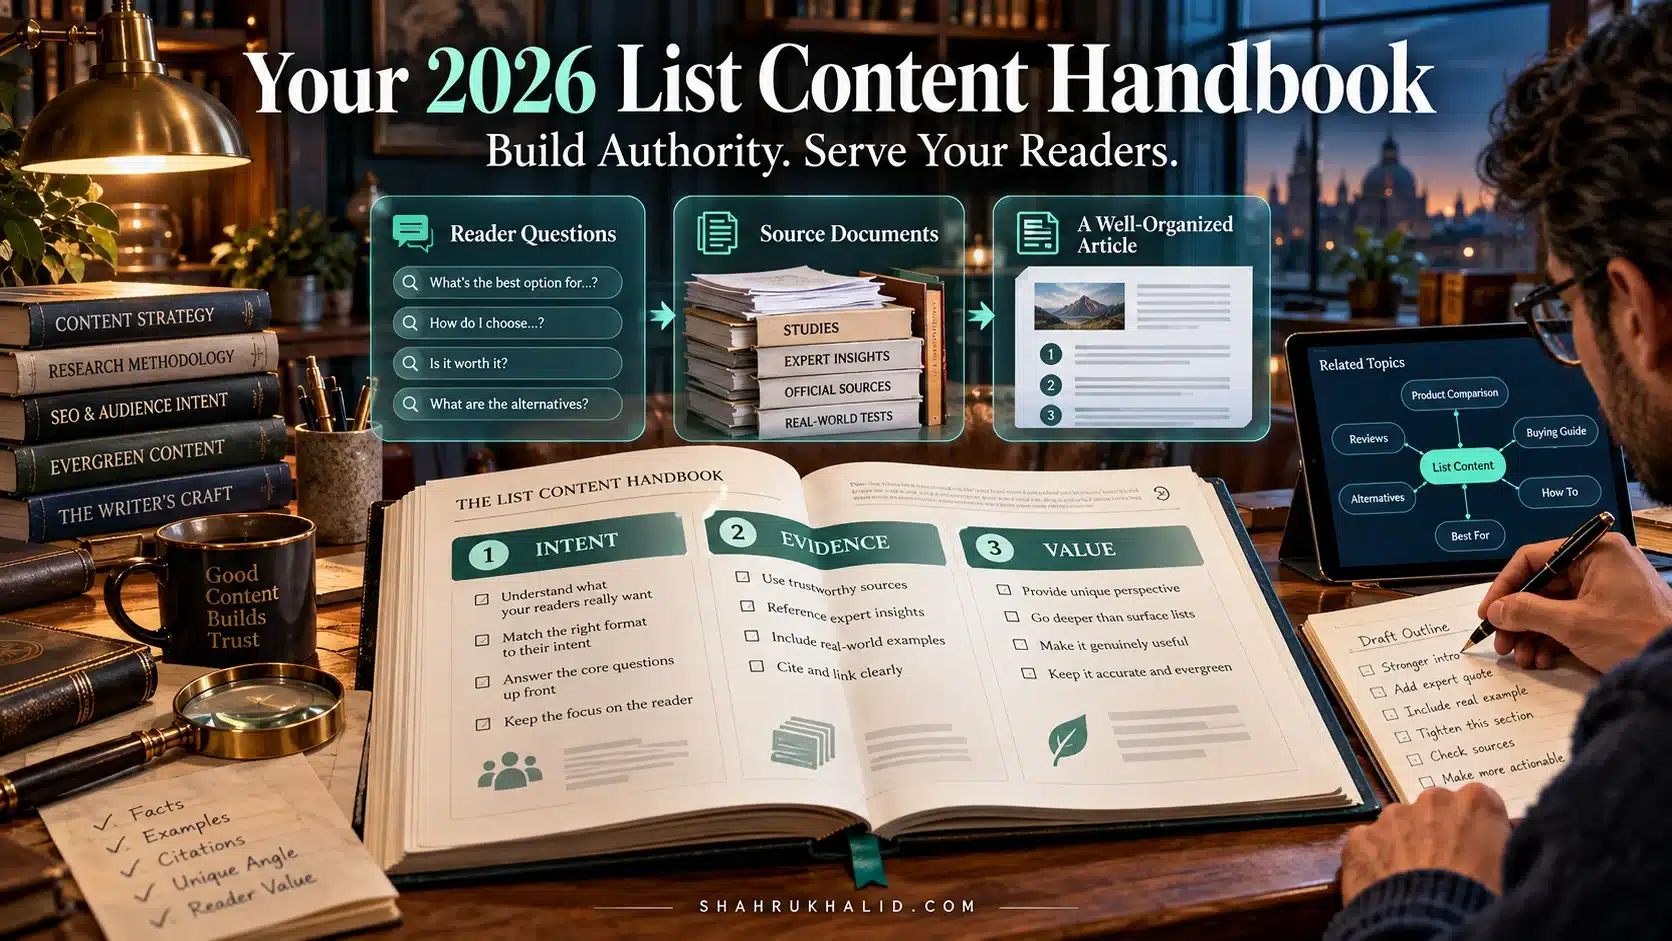
E-E-A-T: The Four Pillars of Trust in 2026
This is a concept you absolutely must understand. It’s not jargon; it’s your new constitution for content creation. Google uses it to evaluate the quality of search results.
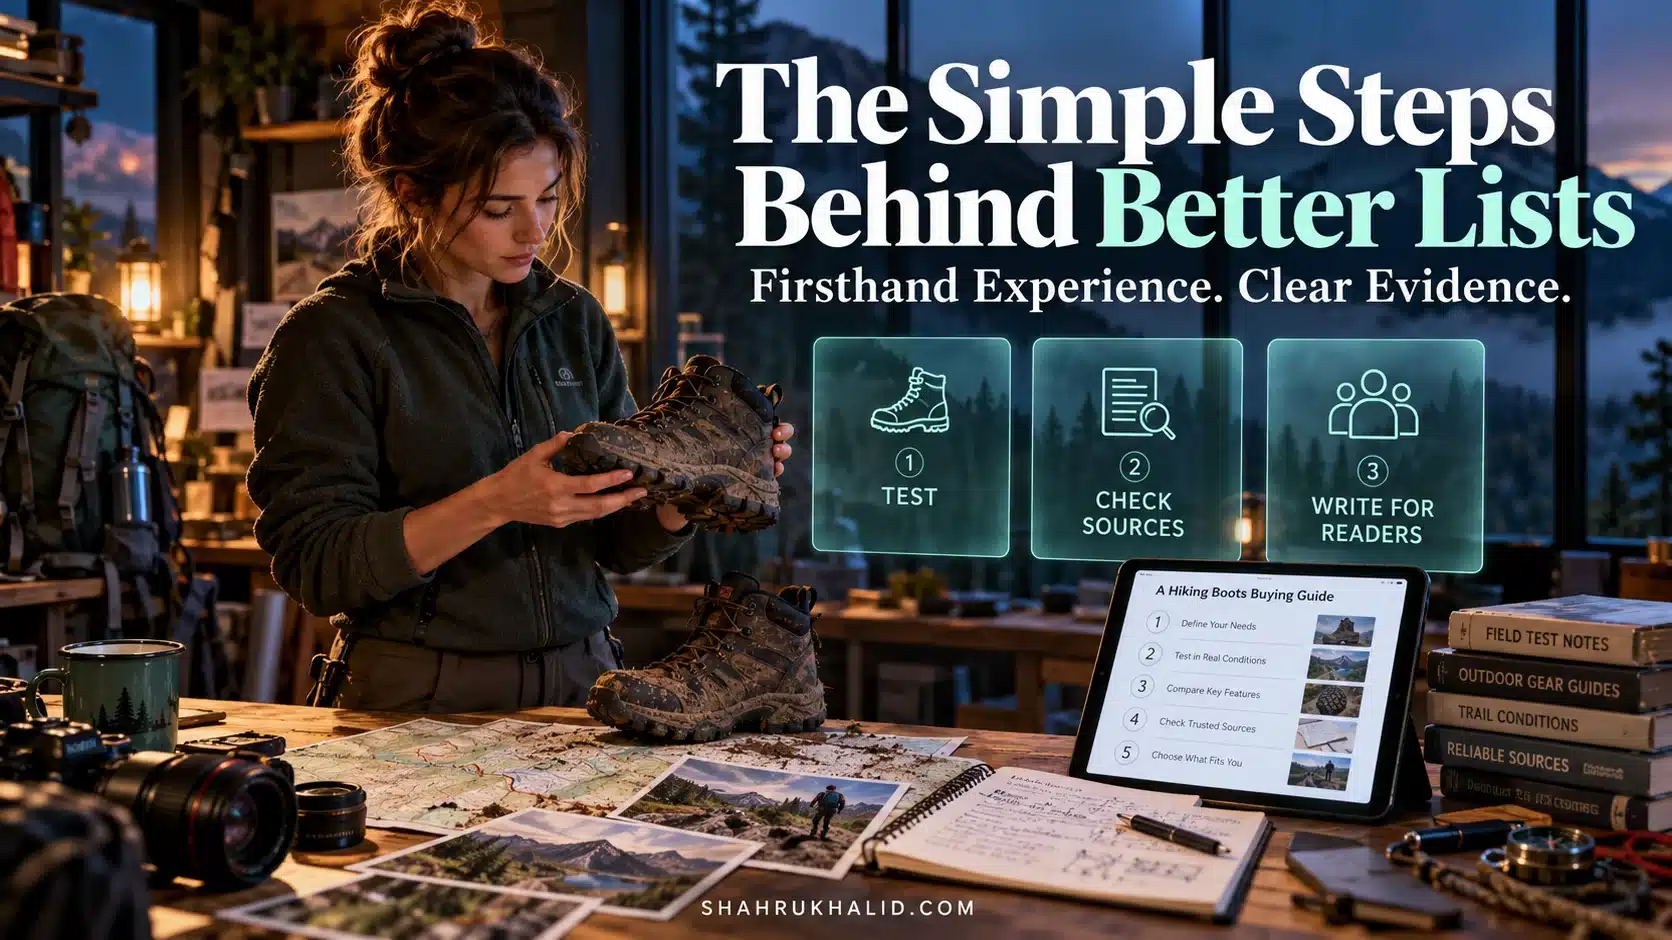
- Experience: Do you have first-hand, real-life experience with the topic? If you’re listing the “10 Best Hiking Trails in Colorado,” have you actually hiked them? Google is getting scarily good at figuring this out. You need to inject your personal story, your unique photos, your “I was there” moments.
- Expertise: Do you have the necessary knowledge or skill in this area? This is about demonstrating your deep understanding.
- Authoritativeness: Are you or your website a known, respected source for this topic? This builds over time as you create more high-quality content and others link to you as a reference.
- Trustworthiness: Is your content accurate, honest, and safe? Do you cite your sources? Is your site secure (HTTPS)? Do you have clear author information?
A beginner can’t have “authoritativeness” overnight. But you can have Experience and Trustworthiness from day one. By sharing your genuine journey and being transparent and helpful, you build the foundation for Expertise and Authoritativeness. This is how anyone can create viral content for SEO, even starting from zero. Your personal experience is your unique advantage.
This entire guide is built on these principles. We’re not just making lists. We’re creating structured, experience-rich, trustworthy resources that are so helpful, they naturally attract readers and rank high on Google.
Prerequisites & Complete Environment Setup
Alright, let’s get our hands dirty. Every great project, whether it’s building a skyscraper or a viral listicle, starts with a solid foundation and a well-organized workshop. In our world, this “workshop” is your digital environment. It’s the collection of tools and accounts that will allow you to research, create, measure, and optimize your content.
I know the phrase “environment setup” might sound intimidating, like something only a developer would do. But trust me, this is straightforward, and I’ll walk you through every single step. Think of this as gathering your ingredients before you start cooking.
Step 1: Your Mission Control – Google Account & Core Tools
Your Google account is the key that unlocks your two most critical free tools: Google Search Console and Google Analytics 4. If you don’t treat these as non-negotiable, you’re flying blind.
1. Google Search Console (GSC): Your Direct Line to Google
- What it is: GSC is a free service that helps you monitor your site’s performance in Google Search. It’s how Google communicates with you, telling you about errors, performance, and how it “sees” your site.
- Why you need it: It shows you what queries people are using to find you, allows you to submit your new listicles for faster indexing, and alerts you to technical issues that could be hurting your ranking.
- Setup Action:
- Go to the Google Search Console website.
- Log in with your Google account.
- You’ll be asked to add a “property” (your website). Choose the “Domain” option if you can. It’s more comprehensive. You’ll need to add a small text record (a TXT record) to your domain’s DNS settings to prove you own it. Your domain registrar (like GoDaddy, Namecheap, etc.) will have a simple guide on how to do this. It’s like putting a specific name tag on your house so the mail carrier knows it’s yours.
- Once verified, you’re in! Don’t worry about all the reports yet; we’ll get to them. Just getting it set up is the win for today.
2. Google Analytics 4 (GA4): Understanding Your Visitors
- What it is: GA4 is Google’s latest analytics platform. It tells you who is visiting your site, how they got there, what pages they look at, and how long they stay.
- Why you need it: While GSC tells you what happens before they click (in the search results), GA4 tells you what happens after they land on your listicle. Are they actually reading it? Are they clicking on any links? This data is pure gold for understanding what’s working.
- Setup Action:
- Go to the Google Analytics website.
- Create a new “GA4 Property.” It will guide you through naming your account and property.
- It will then give you a “Measurement ID” (looks like
G-XXXXXXXXXX) and a small snippet of JavaScript code. - You need to add this code to every page of your website. If you’re using a CMS like WordPress, there are simple plugins like “GA Google Analytics” or built-in theme options that let you just paste the Measurement ID without touching any code. The platform we use at
shahrukhalid.com, for instance, has a dedicated field for this in the site settings, making it incredibly simple.
Think of it like this: GSC is the security camera outside your store, showing you how many people looked at your window display. GA4 is the camera system inside, showing you what they do once they come in. You need both.
Step 2: Your Content Workshop – Choosing a CMS
A Content Management System (CMS) is the software you use to write, design, and publish your content. You’re likely already using one.
- WordPress: The most popular choice for a reason. It’s flexible, powerful, and has a massive ecosystem of plugins for SEO (like Yoast SEO or Rank Math) that make a lot of the technical stuff easier.
- Squarespace/Wix: Great for absolute beginners who want a simple drag-and-drop interface. They are getting better with SEO, but can sometimes be less flexible than WordPress.
- Ghost: A modern, clean platform focused purely on publishing. It’s fast and beautiful, which are great signals for Google.
- Custom/Headless: This is more advanced, often involving frameworks like Next.js or Astro. The architecture of
shahrukhalid.comleverages this approach for maximum performance and flexibility, but it’s not where you should start as a beginner.
My advice for a beginner in 2026: Start with a self-hosted WordPress site. It gives you the most control and the best path for growth. The initial learning curve is slightly steeper than Wix, but it pays off a thousand times over.
Your “CLI” Verification:
Let’s pretend we’re using a command line to check our setup. After you’ve done the above, your status should look like this:
check-setup –all
> Service: Google Search Console … [VERIFIED]
> Service: Google Analytics 4 … [DATA RECEIVING]
> Platform: CMS … [SELECTED: WordPress]
> SEO Plugin: Rank Math … [INSTALLED & CONFIGURED]
> Status: Environment setup complete. Ready for Module 3.
This is your foundational stack. With these pieces in place, you’re no longer just guessing; you’re a data-informed creator.
Step 3: Your Research Toolkit – Finding Viral Ideas
The last part of our setup is gathering the tools for idea generation and keyword research. A brilliant listicle about a topic nobody is searching for is a waste of effort. We need to find the intersection of your experience and public curiosity.
What are the best tools for viral list research?
- Free & Essential:
- Google Trends: Compare the relative popularity of different search terms over time. Is “air fryers” or “instant pots” the hotter topic right now? Trends will tell you.
- Google Search Itself: The autocomplete suggestions, “People also ask” boxes, and “Related searches” at the bottom of the page are a goldmine. They are literally Google telling you what other questions people have about your topic.
- AnswerThePublic: Visualizes search questions around a keyword. Type in “sourdough bread” and you’ll get a wheel of questions like “why is my sourdough bread dense?” or “what to eat with sourdough bread?”—perfect for listicle ideas.
- Professional (Paid, but Worth It Later):
- Ahrefs / Semrush: These are the Swiss Army knives of SEO. They tell you exactly how many people search for a term, how hard it is to rank for, and what other keywords your competitors are ranking for. They are expensive, but most have free trials or limited free versions you can use to get a taste.
Setup Action
Bookmark these free tools. For now, that’s all you need. Don’t get overwhelmed by the paid suites. Master the free ones first. Your goal is to get comfortable asking, “What are people actually searching for?” before you start writing.
With your mission control, your workshop, and your research tools ready, you’ve completed the full environment setup. You’re now equipped to build something amazing.
Core Implementation Architecture
Now we get to the fun part: the blueprint. When a developer builds an application, they don’t just start writing code. They design an architecture—a plan for how all the pieces will fit together. We’re going to do the same for our viral listicle.
This isn’t about the words themselves yet. This is about the structure. A high-ranking listicle is a carefully engineered user experience. I want you to think of it as a series of “Visual Cards” that you present to the reader in a specific, strategic order. Each card has a job to do.
The Anatomy of a Viral List: A Visual Card Grid
Imagine your article laid out not as a wall of text, but as a grid of distinct components. This mental model will force you to think about the role and purpose of every single part of your content.
Let’s break down the most critical cards in detail.
Dissecting the Item Card: The Heart of Your Listicle
If your listicle is a necklace, the Item Cards are the pearls. Each one must be valuable on its own. A common beginner mistake is to just write a name and a sentence. That’s not enough in 2026. A world-class Item Card has a specific internal architecture.
The Structure of a Perfect Item Card
- The Numbered Heading (
<h3>):3. The "Ergo-Comfort" Model 3000 - It must be clear, descriptive, and use a proper heading tag. This is a massive signal for both users and Google’s crawlers. It tells them, “This is the start of a new, distinct section.”
- The Hero Image/Video:
- A picture is worth a thousand words, but a unique picture is worth a thousand backlinks. Avoid generic stock photos at all costs. If you’re reviewing products, take your own photos. If you’re listing places, use your own travel pictures. This is your single greatest weapon for proving the “Experience” part of E-E-A-T.
- The “What It Is” Paragraph:
- A concise, factual description. What is this thing? What are its key features? Keep it objective.
- The “Why It’s On This List” Section (The Secret Sauce):
- This is where you shine. This is your opinion, your experience, your unique take. Use bolding to highlight key phrases.
- Example: “I’ve tested over a dozen office chairs, and the Ergo-Comfort 3000 is on this list for one simple reason: its unparalleled lumbar support for marathon coding sessions. While other chairs feel great for an hour, this is the only one that left me feeling fresh after a full 8-hour day. The mesh back, which I initially thought was a gimmick, is incredibly breathable and prevents that dreaded back-sweat.”
- See the difference? You’ve just injected personal experience, addressed a specific pain point (long sessions), and given a tangible benefit. This is what builds trust.
- The Mini-Spec Table (Optional but amazing):
- For technical or product-based lists, a small table comparing key specs (Price, Key Feature, Best For) makes your content incredibly scannable and helpful.
Rinse and repeat this structure for every item on your list. This consistency is what makes your content feel professional, authoritative, and incredibly easy to read.
The “Beyond the List” Card: From a Good List to an Ultimate Resource
This is what separates the top 3 results from page 2. After you’ve delivered the promised list, you add a bonus section that anticipates the reader’s next questions. This single-handedly elevates your content from a simple “listicle” to a “guide.”
Examples of “Beyond the List” Cards:
- For “10 Best Laptops for College”: Add a section called
<h2>How to Choose the Right Laptop for You</h2>with sub-sections on<h3>Understanding Processors (CPU)</h3>,<h3>How Much RAM Do You Really Need?</h3>, and<h3>Mac vs. PC vs. Chromebook: The 2026 Breakdown</h3>. - For “7 Best Ways to Water Your Houseplants”: Add a section called
<h2>Common Watering Mistakes and How to Fix Them</h2>. - For “15 Must-See Places in Kyoto”: Add a section called
<h2>A Sample 3-Day Kyoto Itinerary</h2>or<h2>Understanding the Kyoto Bus System</h2>.
This extra effort does two things:
- It dramatically increases the time people spend on your page, sending a powerful positive signal to Google.
- It allows you to naturally target dozens of related long-tail keywords, broadening your article’s reach. It’s a core part of a modern listicle SEO strategy.
By architecting your content this way, you’re creating a system. It’s a repeatable, scalable way to build articles that are designed from the ground up for user satisfaction and Google’s algorithms.
Hands-on Code & Practical Implementation
Welcome to the engine room. This is where we translate our architectural blueprint from Module 3 into actual, tangible content that a browser and Google’s crawlers can understand. The word “code” might make you nervous, but don’t be. The “code” we’re talking about here is primarily HTML (HyperText Markup Language), the basic building block of all web pages.
Think of HTML not as a complex programming language, but as a set of digital highlighters and labels. You’re simply telling the browser (and Google) what each piece of your text is: this is a main heading, this is a sub-heading, this is an item in a list. Using these labels correctly is one of the most impactful, yet simple, things you can do for your Google listicle optimization.
Semantic HTML: Speaking Google’s Native Language
“Semantic” just means “related to meaning.” Semantic HTML means using HTML tags for their intended purpose. You don’t just make text big and bold to create a heading; you use a proper heading tag.
Why does this matter so much? Because Google’s AI, as we discussed, reads your HTML to understand your content’s structure. When it sees an <ol> (ordered list) tag followed by a series of <li> (list item) tags, it knows with 100% certainty that it’s looking at a list. This clarity is rewarded.
Here are the essential tags for our listicle architecture:
<h1>...</h1>: Your main title. There should be only one<h1>per page. This is your billboard.<h2>...</h2>: Your main section titles. In our case, this would be for the “Beyond the List” card title, and perhaps a major grouping of list items.<h3>...</h3>: Your sub-section titles. Perfect for each individual item on your list (e.g.,<h3>3. The 'Ergo-Comfort' Model 3000</h3>).<p>...<p>: A paragraph. The standard for all your descriptive text.<ol>...</ol>: An ordered list (1, 2, 3…). This is the container for your entire listicle.<li>...</li>: A list item. Each<li>will contain one of your “Item Cards” (the heading, image, text, etc.).<strong>...</strong>: Used to indicate that a piece of text is important. This is the modern replacement for<b>. Use it to highlight key benefits or phrases in your “Why it’s on the list” section.<em>...</em>: Used to add emphasis to text. This is the modern replacement for<i>.
A Fully Commented, Production-Ready Item Card Template
Let’s put this all together. Here is the HTML structure for a single, perfect “Item Card.” You can copy and paste this into the “Text” or “HTML” view of your CMS editor for each item on your list. The text that starts with comments that explain each element:
<article class="review-card" style="border: 1px solid #e2e8f0;border-radius: 8px;padding: 24px;margin-bottom: 24px;background: #ffffff">
<h3 style="margin-top: 0">1. Ergo-Comfort Pro 3000: Dynamic Lumbar Office Chair</h3>
<p><strong>Best For:</strong> Software engineers and remote writers spending 6+ hours daily at their desk.</p>
<p><strong>Hands-On Verdict:</strong> The dynamic lumbar support actively adjusts with your posture, eliminating lower back fatigue during extended deep-work sprints. Adjustable 4D armrests and breathable mesh keep airflow optimal throughout the day.</p>
<div style="background: #f8fafc;padding: 12px 16px;border-left: 4px solid #3b82f6;border-radius: 4px;margin-top: 16px">
<span style="font-weight: 600;color: #1e40af">Key Takeaway:</span> Pair physical ergonomics with 50-minute focused sprint intervals to maximize sustained coding throughput.
</div>
</article>
Summary & Actionable Checklist for Viral List Articles in 2026
Creating high-ranking listicles is not about keyword stuffing or churn-and-burn writing. By adopting a component-based architectural mindset, every listicle you publish delivers tangible utility to your readers while signaling authentic E-E-A-T to search engines.



Your Viral List Execution Checklist
- Hook Early: State the primary benefit and audience within the first 3 sentences.
- Enforce Semantic Hierarchy: Use one H1, followed by structured H2 modules and clean H3 item cards.
- Provide Hands-On Evidence: Share specific benchmark data, personal trial periods, or concrete use cases.
- Add Schema.org Markup: Implement
ItemListstructured data so Google understands your item sequence. - Conclude with Clear Next Steps: Never leave readers at a dead end; guide them toward an implementation milestone.