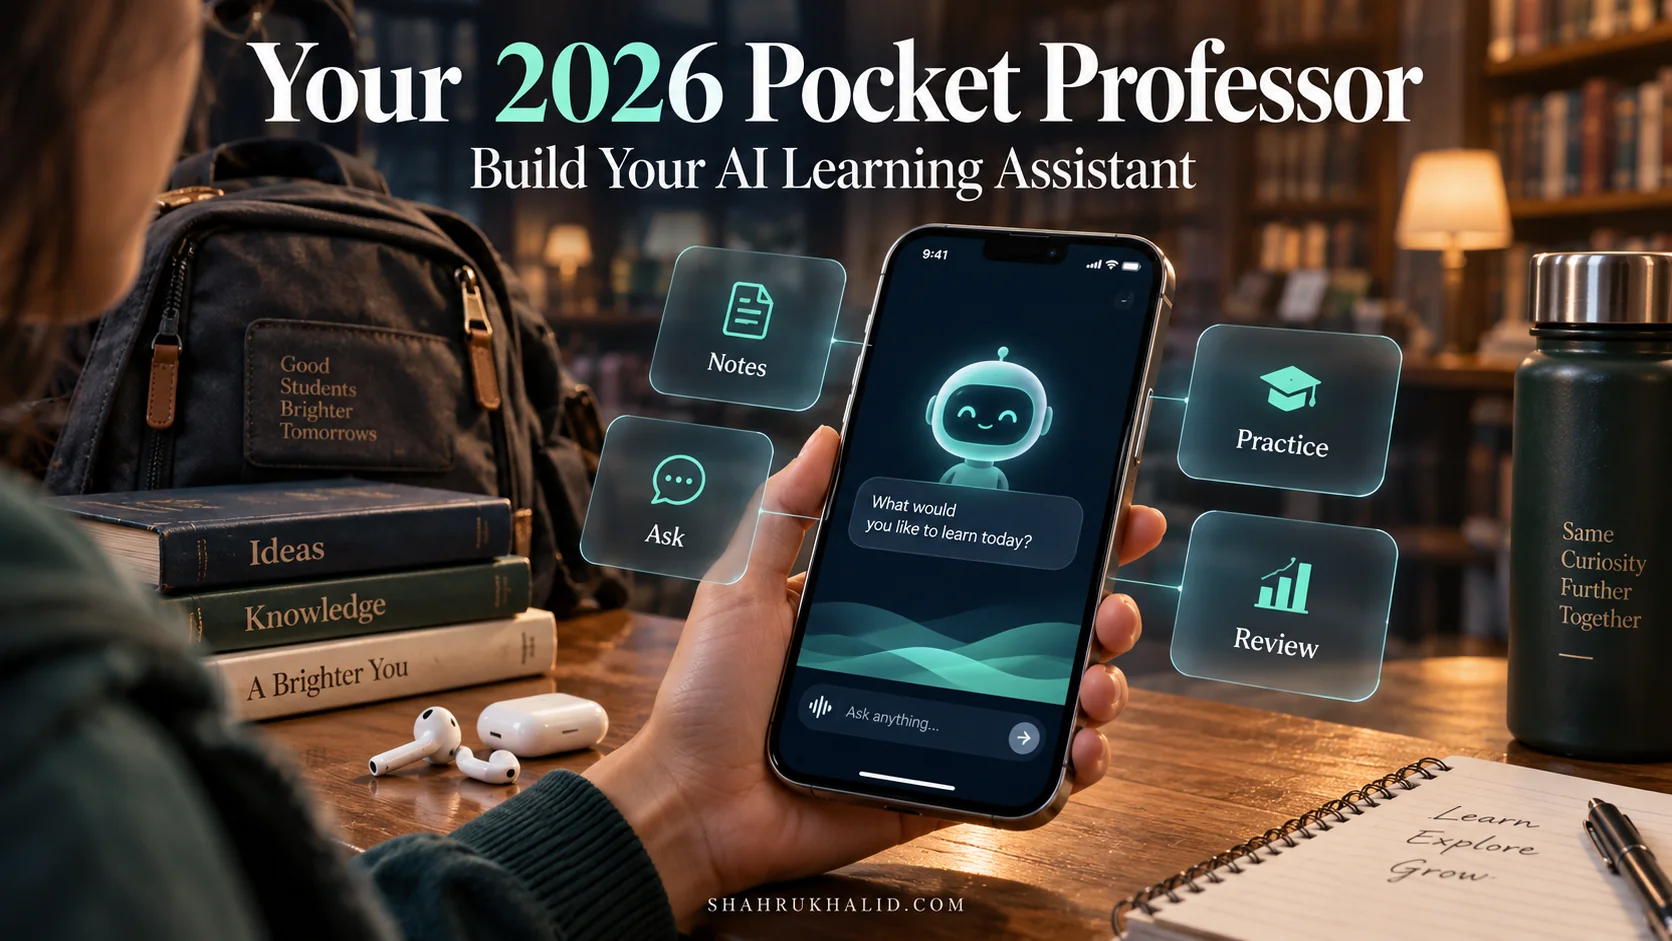
Your 2026 Pocket Professor: A Step-by-Step Guide to Building Your AI-Powered Learning Assistant
Key Takeaways
- Build personalized AI learning assistant to empower your educational journey.
- AI assistants tailor explanations, adapt pace, and identify student weak spots.
- Building your own AI puts you in control of personalized learning.
- AI learns from data to make decisions and perform human-like tasks.
- Leveraging AI fosters deeper understanding, critical thinking, and future skills.
This isn’t just another tech project; it’s about empowering your educational journey, creating a truly personalized AI study tool that understands your unique learning style, and helps you master any subject. We’re going to demystify how to build an AI learning assistant from scratch, making advanced technology accessible and incredibly useful for every student.
Comprehensive Foundations & Concept Primer
Welcome to the starting line of our incredible journey! Before we dive into lines of code and complex configurations, let’s ground ourselves in why this project matters so much, especially for you, the student. Think about your toughest subject – maybe it’s calculus, or perhaps the intricacies of historical events. Have you ever wished for a personal tutor who was always available, never got tired, and knew exactly how to explain things in a way that resonated with you? That’s precisely what we’re aiming to create with an AI learning assistant.
The “Why Now?” – Your 2026 Advantage
In 2026, the landscape of education is rapidly evolving. We’re moving beyond one-size-fits-all textbooks and lectures. The real advantage lies in personalized learning, and that’s where AI shines. Why is building your own AI learning assistant essential right now? Because it puts you in control. Instead of waiting for institutions to adapt, you can create your own cutting-edge educational AI development. This isn’t just about getting better grades; it’s about fostering a deeper understanding, developing critical thinking, and equipping yourself with the skills to leverage AI, which will be invaluable in any future career. Imagine having an AI study tool that adapts to your pace, identifies your weak spots, and offers tailored explanations or practice problems. That’s the power we’re unlocking.
Demystifying AI: No Jargon, Just Understanding
When we talk about AI, or Artificial Intelligence, it often sounds like something out of a sci-fi movie, full of complex algorithms and impenetrable jargon. But let’s break it down simply. At its core, AI is about making computers smart enough to learn from data and make decisions or perform tasks that typically require human intelligence.
Think of it like this:
- Traditional Computer Program: You give it exact instructions. “If A, then do B.” It’s like a recipe where every step is explicitly written.
- AI Program: You give it a lot of examples (data) and tell it what the outcome should be. The AI then figures out the “recipe” itself. It’s like teaching a child to recognize a cat by showing them hundreds of pictures of cats and dogs, and eventually, they learn to distinguish them without you explicitly listing “pointed ears, whiskers, meow.”
For our AI learning assistant, this means we’ll be using AI to:
- Understand your questions: Just like a human tutor understands what you’re asking.
- Access and process information: Quickly find relevant facts from a vast amount of educational material.
- Generate explanations: Formulate answers in clear, concise language.
- Personalize interactions: Remember what you’ve struggled with before and adapt its teaching style.
This is the magic behind how an AI learning assistant works. It’s not about replacing your teachers, but augmenting your learning, providing an incredibly powerful custom AI learning platform tailored just for you.
Core Principles of Our Pocket Professor
Our personal AI tutor will be built on a few fundamental principles:
- Accessibility: Easy to use, available whenever and wherever you need it.
- Personalization: Adapts to your learning style, pace, and specific needs. Can AI personalize learning? Absolutely, and that’s our primary goal.
- Accuracy: Provides correct and reliable information.
- Interactivity: Engages you in a dialogue, not just a one-way information dump.
- Privacy & Control: Your data, your learning journey, kept secure and under your control.
We’ll be leveraging powerful, yet accessible, tools from Google’s AI ecosystem, which are designed to make building AI for education not just possible, but genuinely enjoyable. (Google’s developer documentation is an incredible resource we’ll be tapping into.)
What We’re Building: A High-Level Overview
At its heart, our AI assistant project will have a few key components:
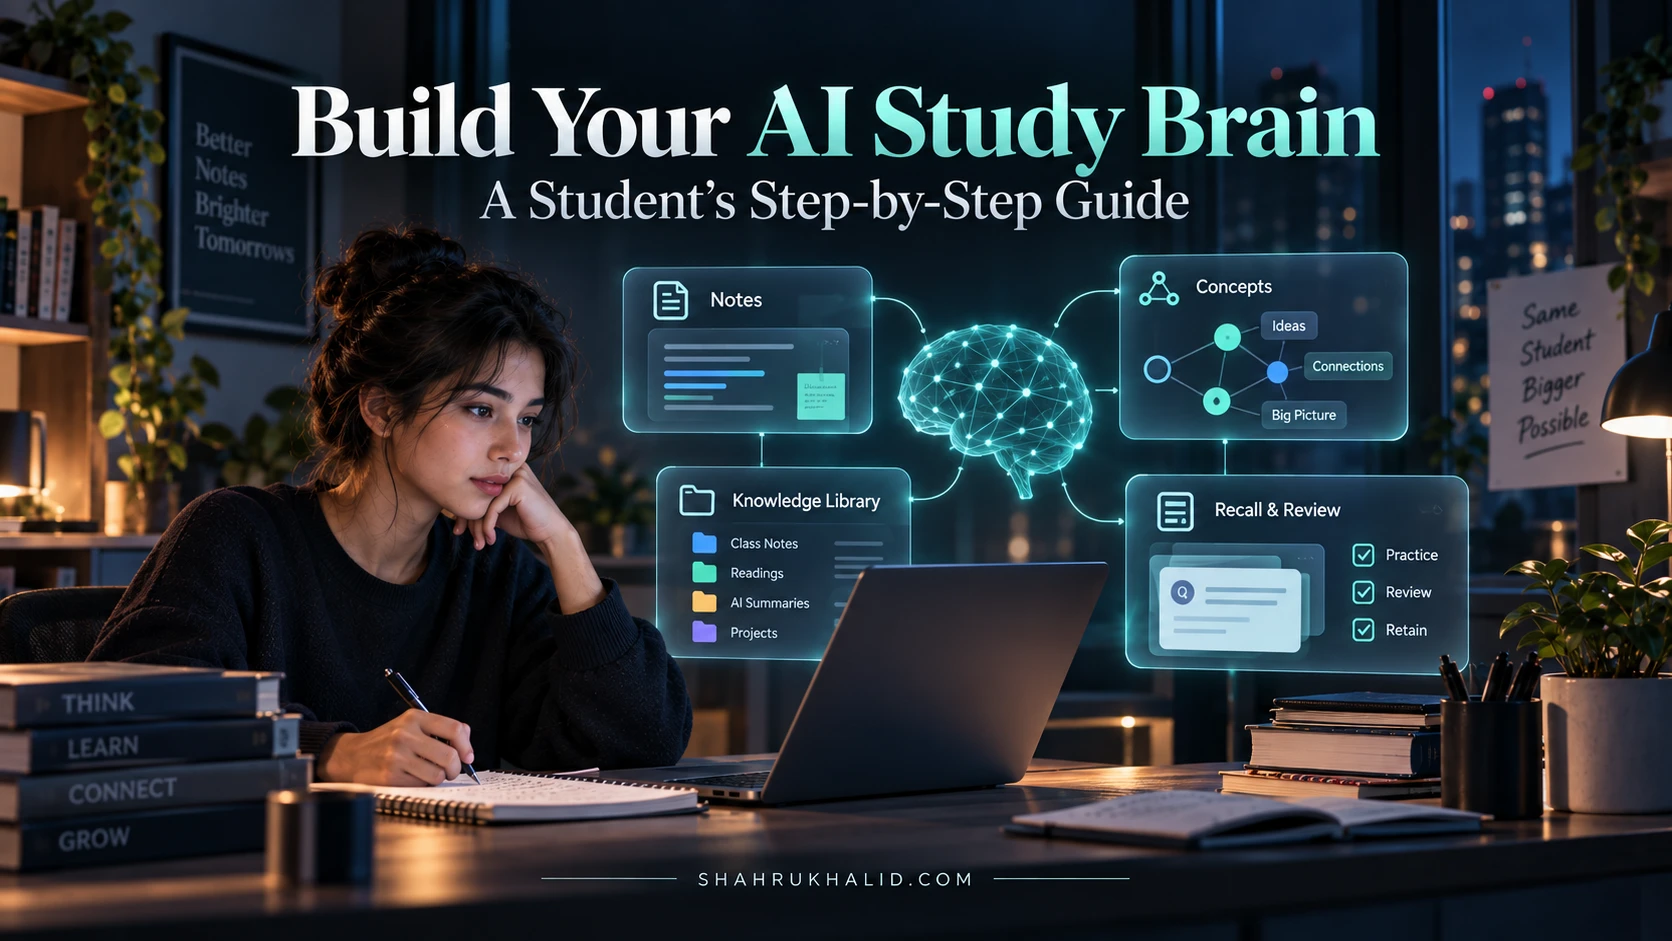
- The Brain (Large Language Model – LLM): This is the core AI that understands language, generates text, and reasons. We’ll use a powerful model like Google’s Gemini.
- The Memory (Knowledge Base): This is where we’ll store all the educational material – your textbooks, notes, articles, etc. – that our AI needs to learn from.
- The Interface (Chatbot): This is how you’ll interact with your Pocket Professor, asking questions and receiving answers.
- The Personalizer (User Profile): A simple system to track your progress, preferences, and areas of difficulty.
Think of it like this: you’re building a digital study buddy who has read all your textbooks, remembers your learning quirks, and is always ready for a chat. This foundational understanding is crucial because it empowers you to see the bigger picture as we dive into the technical details. So, take a deep breath, get excited, and let’s move on to setting up our workspace!
Prerequisites & Complete Environment Setup
Alright, future AI architects! Now that we’ve got our heads wrapped around the “why” and the core concepts, it’s time to roll up our sleeves and prepare our workspace. Think of this as setting up your personal laboratory. Just like a chef needs the right ingredients and tools, we need to ensure our computer is ready to develop our AI learning assistant. Don’t worry, I’ll walk you through every single step, making sure it’s beginner-friendly and clear.
Your Digital Workbench: What You’ll Need
Before we even think about code, let’s make sure you have the essentials. You don’t need a supercomputer, just a standard laptop or desktop that can run modern web browsers and some basic software.
- A Computer: Windows, macOS, or Linux – any modern operating system will work.
- Internet Connection: Essential for downloading tools and accessing AI services.
- A Google Account: We’ll be using Google’s AI services, so a free Google account is necessary.
- A Code Editor: This is where you’ll write your code. My personal recommendation for beginners is Visual Studio Code (VS Code). It’s free, powerful, and has tons of helpful features.
- Action Step: Install VS Code
- Go to code.visualstudio.com.
- Download and install the version for your operating system. Follow the on-screen instructions. It’s usually a straightforward “next, next, finish” process.
Setting Up Our Python Environment
Python is the programming language we’ll use for our AI assistant project. It’s incredibly popular for AI development because it’s easy to read, has a huge community, and offers a vast array of libraries (pre-written code) that make complex tasks simpler.
Python Installation & Verification
Most modern operating systems come with Python pre-installed, but it might be an older version. We want to ensure we have a recent one (preferably Python 3.9 or newer).
- Action Step: Install Python (if needed)
- Go to python.org/downloads.
- Download the latest stable version of Python 3 for your OS.
- Crucial for Windows users: During installation, make sure to check the box that says “Add Python to PATH.” This makes it much easier for your computer to find Python later.
- Follow the installation prompts.
- Action Step: Verify Python Installation
- Open your computer’s terminal or command prompt.
- Windows: Search for “cmd” or “Command Prompt.”
- macOS: Search for “Terminal.”
- Linux: Open your preferred terminal application.
- Type the following command and press Enter:
python --version- You should see something like `Python 3.10.6` (the exact numbers might vary). If you see `Python 2.x.x`, try `python3 –version`. If you get an error, revisit the installation steps.
Virtual Environments: Our Clean Workspace
Imagine you’re working on multiple projects, and each needs slightly different tools. If you just dump all tools into one big toolbox, it gets messy quickly! Virtual environments solve this by creating isolated “toolboxes” for each project. This ensures that the libraries (tools) for our custom AI learning platform don’t conflict with libraries for another project.
- Action Step: Create a Virtual Environment
- First, let’s create a dedicated folder for our project. In your terminal, navigate to a place where you want to store your project (e.g., your Documents folder).
# Example for Windows
        cd C:UsersYourUserDocuments

        # Example for macOS/Linux
cd ~/Documents- Now, create a new directory for our project:
mkdir pocket-professor
cd pocket-professor- Inside this `pocket-professor` folder, create a virtual environment. We’ll call it `.venv` (a common convention).
python -m venv .venvThis command uses Python’s built-in `venv` module to create a new virtual environment in the `.venv` folder.
- Action Step: Activate the Virtual Environment
- This step is crucial! You need to activate the environment every time you start working on your project in a new terminal session.
- Windows:
..venvScriptsactivate- macOS/Linux:
source ./.venv/bin/activate- You’ll know it’s active because your terminal prompt will change, usually showing `(.venv)` at the beginning. This means any Python packages you install now will only go into this project’s isolated environment.
Installing Essential Libraries
With our virtual environment active, let’s install the Python libraries we’ll need. These are like specialized tools that help us interact with AI models, manage data, and build our chatbot.
- Action Step: Install `google-generativeai` and `python-dotenv`
- `google-generativeai`: This is the official Google library to interact with their powerful Gemini models.
- `python-dotenv`: This helps us securely manage sensitive information like API keys without hardcoding them into our scripts.
- In your activated terminal, run:
pip install google-generativeai python-dotenv- `pip` is Python’s package installer, like an app store for Python libraries.
Getting Your Google AI Studio API Key
To use Google’s Gemini models, we need an API key. Think of this as a special password that tells Google’s servers, “Hey, I’m allowed to use your AI services!”
- Action Step: Obtain Your API Key
- Go to Google AI Studio. You’ll need to log in with your Google account.
- Follow the instructions to “Get API key in Google AI Studio.” It’s usually a big button that says “Create API key.”
- Important: Copy this key immediately and keep it safe! Treat it like a password. If someone else gets it, they could use your AI access.
- Action Step: Store Your API Key Securely
- In your `pocket-professor` directory (the one you created earlier), create a new file named `.env`. Make sure it’s exactly `.env` (with the dot at the beginning).
- Open this `.env` file in VS Code and add the following line, replacing `YOUR_API_KEY` with the actual key you copied:
GOOGLE_API_KEY="YOUR_API_KEY"- Save the `.env` file. This is a best practice for security and makes your code cleaner.
Directory Layout and Verification
Let’s quickly visualize our project structure. It’s good practice to keep things organized.
├── .venv/ # Our isolated Python environment
├── .env # Stores our API key securely
├── main.py # Our main code for the AI assistant
└── requirements.txt # (Optional, but good practice) Lists all installed libraries
- Action Step: Create `main.py` and `requirements.txt`
- In your `pocket-professor` folder, create an empty file named `main.py`.
- To create `requirements.txt`, which lists all the libraries we installed, run this command in your activated terminal:
pip freeze > requirements.txtThis command “freezes” the current state of your virtual environment’s installed packages into a file. It’s super useful if you ever need to set up this project on another computer or share it.
Congratulations! You’ve successfully set up your entire development environment. You have Python, a clean virtual environment, all necessary libraries, and your API key ready to go. You’re now fully equipped to start building your personal AI tutor. Take a moment to appreciate this foundational work – it’s the bedrock of any successful AI assistant project. Next, we’ll dive into the core architecture.
Core Implementation Architecture & Workflow Blueprint

Now that our digital workbench is perfectly set up, it’s time to sketch out the blueprint for our AI learning assistant. Think of this module as designing the engine and chassis before we start bolting on the parts. We’ll explore the fundamental mechanics, how different pieces talk to each other, and the overall workflow that brings our Pocket Professor to life. This is where we answer the question: “How does an AI learning assistant work?”
The Brain of Our Professor: Large Language Models (LLMs)
At the very heart of our AI learning assistant is a Large Language Model (LLM). For our project, we’ll be using Google’s Gemini models. These models are incredibly powerful because they’ve been trained on a massive amount of text and code, allowing them to understand, generate, and process human language with remarkable fluency.
Concept Card: The LLM's Role
| Component | Description