Beyond the Glitches: Your 2026 International School Guide to Bluebook Tech, Digital SAT Adaptive Mastery & Seamless Exam Days

Key Takeaways
- The SAT has fundamentally shifted to a shorter, fully digital, and adaptive format for international students.
- The Digital SAT Bluebook application serves as the core technological platform for this new adaptive test.
- Mastering the digital adaptive SAT demands understanding its underlying algorithm, not just rote practice.
- Key changes include a shorter 2-hour test, concise reading passages, and full calculator access in math.
- Effective preparation requires a deep understanding of the system, ensuring seamless, glitch-free exam days.
I remember my own standardized test days. The scent of No. 2 pencils, the frantic bubbling of ovals, the rustle of turning pages in a cavernous exam hall. It was a ritual, a rite of passage. But it was also rigid, one-size-fits-all, and, let’s be honest, a bit archaic. Fast forward to today, and the landscape is entirely different. The College Board has retired the paper-and-pencil test for international students, ushering in a new era with a powerful tool at its core: the Digital SAT Bluebook application.
This guide is your personal masterclass for that new era. I’m writing this for you, the student in Dubai, Seoul, São Paulo, or anywhere in between, who is looking ahead to 2026 and wondering not just how to survive this new test, but how to master it. We’re going to go far beyond just “practice tests.” We’ll dissect the technology, demystify the adaptive algorithm, and build a rock-solid strategy to ensure your exam day is as seamless and successful as possible. This isn’t about finding glitches to exploit; it’s about understanding the system so deeply that the glitches—both technical and mental—never have a chance to throw you off your game.
Over the next seven modules, we will journey together from the absolute basics to advanced strategies. I’ll be your guide, sharing insights from my work with schools implementing campus-wide tech stacks and from analyzing how platforms like the International Baccalaureate’s (as seen on `ibo.org`) and student information systems (like those from `rediker.com`) are shaping the modern educational experience. We’ll build your confidence, step-by-step, so that when you walk into that exam room, you’re not just a test-taker; you’re a prepared, empowered digital native, ready to show the world what you know. Let’s begin.
***
Comprehensive Foundations & Concept Primer
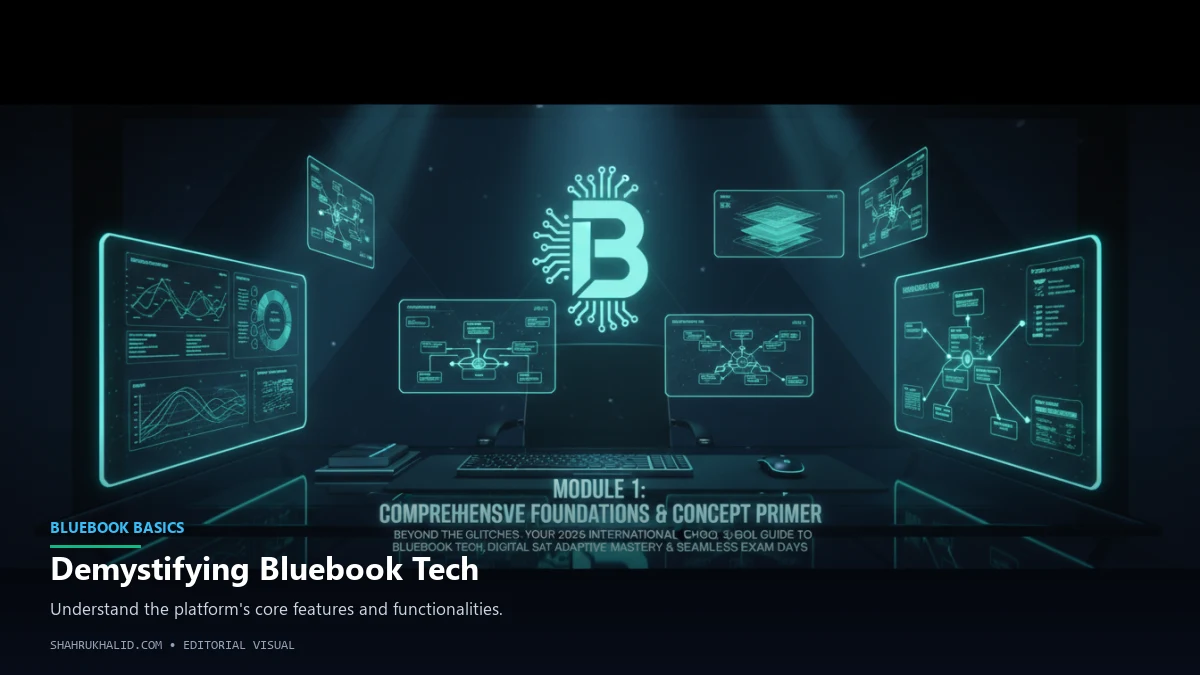
Before we can talk about advanced strategies or troubleshooting, we need to build a solid foundation. I’ve seen too many students jump straight into practice tests without understanding the ‘why’ and ‘how’ behind the new system. This leads to confusion, anxiety, and missed opportunities. In this first module, we’re going to eliminate the jargon and build a crystal-clear mental model of the Digital SAT and its home, the Bluebook application. Think of this as learning the rules of a new sport before you step onto the field.
The Big Shift: From Paper Scantrons to Digital Screens
For decades, the SAT was a marathon of paper and pencil. It was a test of endurance as much as knowledge. The digital version is a fundamental redesign, not just a scanned copy of the old test. It’s shorter (about two hours instead of three), features shorter reading passages with one question each, and allows a calculator on the entire math section. But the most profound change, the one we’ll spend the most time on, is that it’s adaptive.
So, what is Bluebook for Digital SAT?
Let’s use an analogy. Imagine the SAT is a major sports tournament. The old paper test was like a round-robin where every team played every other team, regardless of skill. It was a long, grueling, and inefficient way to find the champion.
The Digital SAT Bluebook is the brand-new, high-tech stadium where the tournament is now held. But it’s more than just a venue; it’s an intelligent system that changes the tournament’s structure. Bluebook is the official, secure application developed by the College Board that you will download onto your own laptop or a school-managed device. It is the only gateway to taking the official Digital SAT. Inside this “stadium,” the tournament is no longer a round-robin. It’s an adaptive, two-stage event. We’ll dive deep into what that means in Module 3, but for now, just know this: the test adjusts its difficulty based on your performance in the first half. This is the core principle you must understand.
Why This Matters for You, the International Student, in 2026
This isn’t just a minor update; it’s a paradigm shift that directly impacts your university application journey. How will the Digital SAT affect international students? In overwhelmingly positive ways.
- More Opportunities: The digital format allows for more test dates throughout the year. For students juggling demanding curricula like the IB Diploma or A-Levels, this flexibility is a game-changer. You no longer have to build your entire year around a few rigid test dates.
- Faster Results: Forget waiting weeks for your scores. With the digital test, you’ll get your results back in days. This is a huge relief, especially when you’re up against tight university application deadlines.
- A More Humane Experience: The shorter test duration means less fatigue. Shorter reading passages mean less cognitive load trying to hold a massive text in your memory. These changes are designed to measure your skills more accurately, not your ability to endure a three-hour exam.
- Alignment with Modern Learning: You’ve grown up learning on screens. Your school likely uses a complex technology stack, from student information systems that manage your grades (like those from Rediker) to learning management systems where you submit assignments. As my colleague Shahrukh Khalid often emphasizes on `shahrukhalid.com`, pedagogy must evolve with technology. The Digital SAT is simply an assessment catching up to the way you already learn. It’s a more authentic reflection of the academic work you’ll be doing in university.
The key takeaway is this: The Digital SAT Bluebook isn’t just software. It’s the environment, the rulebook, and the playing field all in one. By understanding its foundational principles, you’re not just preparing for a test; you’re preparing for a modern academic world. By 2026, fluency in this digital assessment environment will be as crucial as understanding the Pythagorean theorem or Shakespeare. This guide is your first, most important step toward that fluency.
***
Prerequisites & Complete Environment Setup
Alright, we’ve covered the ‘what’ and the ‘why’. Now, let’s get our hands dirty with the ‘how’. This module is your step-by-step, no-student-left-behind guide to getting the Digital SAT Bluebook testing platform up and running on your device. Think of this as your pre-flight checklist. Doing this correctly, and well in advance, is the first and most critical step toward a seamless exam experience. We will leave no room for error.
Step 1: Verifying Your Device and System Requirements
Before you even think about downloading, we need to make sure your “stadium” is up to code. The Bluebook app has specific technical requirements. Trying to run it on an unsupported device is a recipe for disaster on test day.
Your Action Item: At least two weeks before your test day (and ideally, today!), you need to check your device against the official requirements.
- What Device Can I Use? You can use a personal or school-managed Windows laptop or tablet, a Mac laptop, or an iPad. You cannot use a mobile phone.
- Operating System (OS):
- Windows: You need Windows 10 or 11.
- macOS: You need macOS 11.4 (Big Sur) or later.
- iPadOS: You need iPadOS 14 or later.
- School-Managed Chromebooks: The school’s IT administrator handles this, but it must be a managed device.
- Storage Space: You’ll need about 250 MB of free space. This is relatively small, but don’t cut it close. Free up at least 1 GB to be safe.
- Power: Your device must be able to hold a charge for at least 3 hours. On test day, you must bring your power cord and adapter.
How to Check Your System
- On Windows: Click the Start button > Settings (the gear icon) > System > About. You’ll see your “Windows specifications” right there.
- On a Mac: Click the Apple menu in the top-left corner > About This Mac. A window will pop up with your macOS version.
If your device doesn’t meet these requirements, you have two options: 1) Update your OS if possible, or 2) Request to borrow a device from the College Board. You must make this request at least 30 days before your test date, so do not delay!
Step 2: Creating Your College Board Account
The Bluebook app is your gateway, but your College Board account is your key. This account is your lifelong passport for all things College Board—SAT, AP exams, and score reports.
Your Action Item: If you don’t have one already, go to the College Board website and create an account.
- Be Meticulous: Use your full, official name as it appears on your passport or national ID. Nicknames or shortened names will cause a mismatch on test day and could prevent you from testing.
- Use a Personal Email: Do not use your school email address if you might lose access to it after graduation. Use a personal email (like Gmail or Outlook) that you will check regularly and have access to for years.
- Write It Down: Save your username and password somewhere secure. You will need this to log in to Bluebook.
Step 3: Downloading and Installing the Digital SAT Bluebook App
With your device verified and your account created, it’s time to install the application.
Your Action Item: Navigate to `bluebook.collegeboard.org` on the device you will use for testing.
- The website will automatically detect your operating system (Windows, Mac, etc.).
- Click the prominent “Download Bluebook” button. The installation file will begin downloading.
- Once the download is complete, locate the file (usually in your “Downloads” folder) and double-click it to begin the installation process.
- Follow the on-screen prompts. It’s a standard installation; you’ll typically just click “Next” or “Install” a few times. Accept the terms and conditions.
- After installation, the Bluebook application icon will appear on your desktop or in your applications folder.
Step 4: First Launch, Login, and Verification
Let’s fire it up for the first time.
- Launch Bluebook: Double-click the application icon.
- Sign In: You’ll be prompted to sign in. Use the exact same College Board username and password you created in Step 2.
- Explore the Dashboard: Once you’re in, you’ll see a clean, simple dashboard. It will show your name and any upcoming registered tests. You’ll also see the main event: “Practice and Prepare.”
- Crucial Verification – Test Your Device: Inside Bluebook, there is a “Test Your Device” tool. Run it. This will confirm that your device’s screen resolution, keyboard, and pointing device are all working correctly within the app.
Congratulations! Your testing environment is now fully configured. You’ve built a solid foundation. You’ve done more than 90% of students do this far in advance. This simple, 30-minute process has eliminated a massive source of potential test-day anxiety. In the next module, we’ll go inside the app and explore the architecture of the exam itself.
***
Core Implementation Architecture & Workflow Blueprint
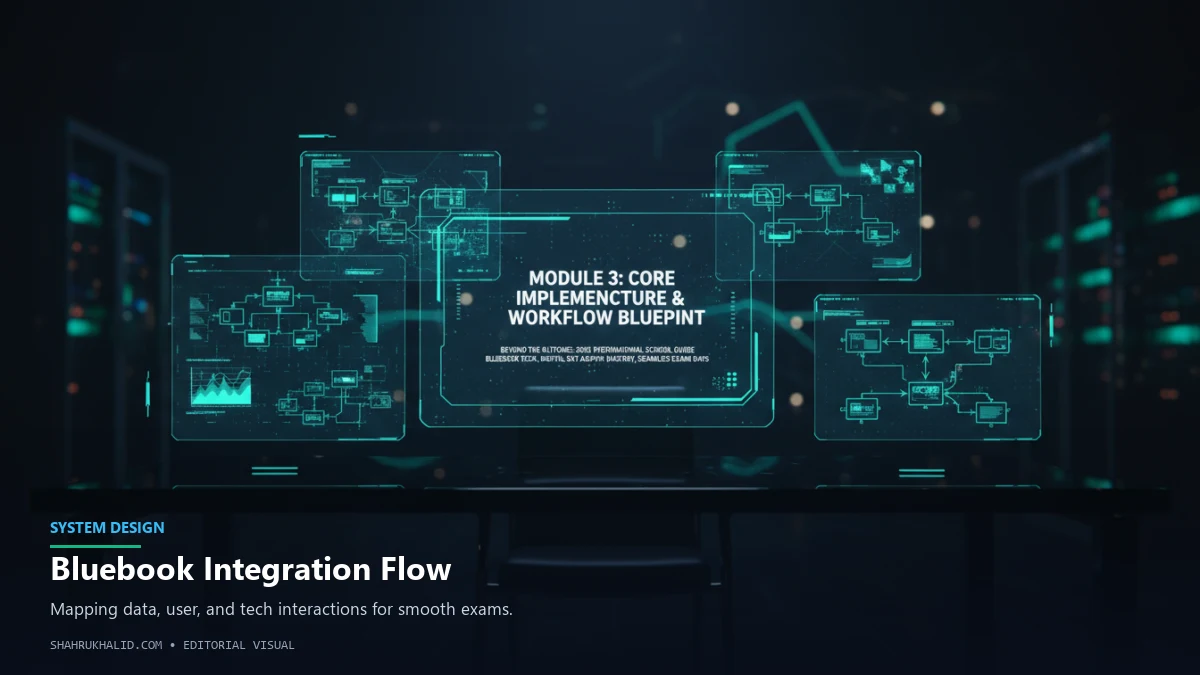
Now that your environment is set up, it’s time to look under the hood. To truly master the Digital SAT, you can’t just see it as a series of questions. You need to understand its structure, its logic, and its flow. This is where we answer the question: What are the best strategies for the adaptive Digital SAT? The answer begins with understanding the architecture.
I want you to think of the test not as one long exam, but as four distinct “mini-tests” or modules, organized into two sections. This is the Multi-Stage Adaptive Testing (MSAT) model. It’s the “secret sauce” of the Digital SAT.
The Two-Stage Adaptive Blueprint: A Visual Breakdown
Imagine your test is a short, two-level video game. Everyone starts on Level 1. How you perform on Level 1 determines whether you get sent to Level 2-Easy or Level 2-Hard.
- Path 1 (High Performance): You do well on the first module. The system routes you to a harder second module. The questions are more challenging, but they are worth more “points.” This is the path to a top score.
- Path 2 (Lower Performance): You struggle with the first module. The system routes you to an easier second module. The questions are more manageable, which helps prevent you from bottoming out, but it also puts a ceiling on your maximum possible score.
This is a critical concept. Your performance on the first module of each section has an outsized impact on your final score. It sets the stage for your potential. This is a core tenet of our adaptive SAT strategies.
Let’s visualize this with a workflow grid for the entire exam.
Section 1: Reading and Writing (RW)
- Total Time: 64 minutes
- Total Questions: 54
- Structure: Two modules
[Visual Card Structure: Reading & Writing]
| Component | Module 1 (Foundation) | Module 2 (Adaptive) |
| :— | :— | :— |
| Description | A broad mix of easy, medium, and hard questions. Your performance here determines your path. | Path A (Harder): More complex texts, subtler questions. Higher scoring potential.
Path B (Easier): More straightforward texts and questions. Score potential is capped. |
| Number of Questions | 27 | 27 |
| Time Allotted | 32 minutes | 32 minutes |
| Question Types | Craft & Structure, Information & Ideas, Standard English Conventions, Expression of Ideas. (These are mixed together, not grouped). | Same question types, but at a different average difficulty level based on your path. |
Key Insight for RW: The passages are short—just one paragraph followed by a single question. This is a huge departure from the old SAT. The challenge is no longer reading comprehension endurance; it’s precision, focus, and the ability to switch contexts quickly from one topic to another.
Section 2: Math
- Total Time: 70 minutes
- Total Questions: 44
- Structure: Two modules
[Visual Card Structure: Math]
| Component | Module 1 (Foundation) | Module 2 (Adaptive) |
| :— | :— | :— |
| Description | A mix of difficulties across all math domains. Your performance sets your scoring bracket. | Path A (Harder): More multi-step problems, complex scenarios, and advanced concepts.
Path B (Easier): More fundamental concepts and single-step problems. |
| Number of Questions | 22 | 22 |
| Time Allotted | 35 minutes | 35 minutes |
| Question Types | Algebra, Advanced Math, Problem-Solving & Data Analysis, Geometry & Trigonometry. (Calculator is available for ALL questions). | Same question types, but at a different average difficulty level based on your path. |
Key Insight for Math: The built-in Desmos graphing calculator is a superpower. We’ll cover this in the next module, but understanding that this tool is available for every single question changes the strategic approach to many problem types. You can visualize functions, solve equations, and analyze data points in ways that were impossible with a simple scientific calculator.
The Workflow: Navigating the Modules
Here’s how this blueprint translates into your actual experience inside the Digital SAT Bluebook app:
- Start Section 1, Module 1 (RW): The 32-minute timer begins. You work through the 27 questions. You can move back and forth between questions within this module only.
- End of Module 1: Once the timer runs out or you submit the module, it is locked. You cannot go back. The system now analyzes your performance.
- Start Section 1, Module 2 (RW): Based on your Module 1 performance, the system serves you either the harder or easier second module. A new 32-minute timer begins for these 27 new questions.
- Break: After the RW section, there is a scheduled 10-minute break. You can get up, stretch, and leave the room. The Bluebook app will count this down for you.
- Start Section 2, Module 1 (Math): The process repeats. A 35-minute timer starts for the first 22 math questions.
- End of Module 1 (Math): This module is locked, and the system routes you to your adaptive second module.
- Start Section 2, Module 2 (Math): A final 35-minute timer begins for the last 22 math questions.
- End of Test: When you complete this final module, your test is over. You’ll follow the proctor’s instructions for submitting your exam.
Understanding this architecture is the first step to developing effective adaptive SAT strategies. It tells you to invest your energy heavily in the first module of each section. It tells you that time management within each module is key. And it prepares you mentally for a potential shift in difficulty, so you’re not surprised when the questions in the second module suddenly feel harder (a good sign!) or easier.
***
Hands-on Practical Implementation & Real-World Configuration
Theory is essential, but practice is where mastery is forged. In this module, we’re going to take everything we’ve learned and apply it in a real-world, hands-on walkthrough. I want you to open the Digital SAT Bluebook application on your device right now. We are going to “sit down” together and explore a full-length practice test. I will be your co-pilot, narrating the process and pointing out the critical features and strategies you need to internalize. This is your guide to how to prepare for digital sat international students in the most practical way possible.
Your Mission: A Guided Tour of a Full-Length Practice Test
- Launch Bluebook and Sign In: Open the application and log in with your College Board credentials.
- Navigate to the Practice Section: On the main dashboard, you’ll see a large section titled “Practice and Prepare.” Click on it.
- Select a Full-Length Test: You will see several full-length practice tests available. These are your single most valuable preparation resource because they use the exact same software and adaptive logic as the real exam. Click on “Full-Length Practice Test 1.”
You’ll see a screen that outlines the test structure, timing, and rules. This is exactly what you will see on test day. Take a moment to read it. Now, let’s begin.
Mastering the Bluebook Toolkit: Your In-App Superpowers
As you start the first Reading and Writing module, I want you to ignore the questions for a moment and focus on the tools available on your screen. These are not optional extras; they are fundamental to an effective workflow.
1. The Countdown Timer (Top Center)
- What it is: A clock that shows the remaining time for the current module.
- How to use it: This is your pacer. At the halfway point (16 minutes for RW, 17.5 for Math), you should aim to be about halfway through the questions. You can choose to hide it if it makes you anxious, but I recommend checking it periodically to stay on track. A pop-up will warn you when you have 5 minutes left.
- Pro-Tip: Don’t let the timer dictate your every move. Use it as a guide. If a question is taking too long, it’s time to use another tool.
2. The "Mark for Review" Flag (Top Right)
- What it is: A digital bookmark. If you’re unsure about an answer or want to come back to a question later, click this.
- How to use it: This is your primary tool for time management. My rule of thumb: If you can’t figure out a path to the answer in 30-45 seconds, Mark for Review and move on. Your goal in the first pass is to answer all the questions you’re confident about. Then, you can use the review screen to jump directly back to the flagged questions.
- Walkthrough: Let’s say Question 5 is a tricky vocabulary-in-context question. You’ve narrowed it down to two choices but aren’t 100% sure. Don’t sit there and agonize. Select your best guess, click “Mark for Review,” and move to Question 6.
3. The Annotate / Highlighter Tool (Right-Click or Long-Press)
- What it is: A tool to highlight text within a passage or question.
- How to use it: This is your active reading tool. In the RW section, highlight the specific phrase or sentence that supports your answer. This forces you to base your answer on textual evidence, not just a vague feeling. In Math, you can highlight key numbers, units, or parts of the question to ensure you’re solving for the right thing.
- Walkthrough: On a reading question, the prompt asks for the “main purpose of the text.” As you read the short passage, highlight the sentence that most clearly states the author’s overall point. Now, when you look at the answer choices, you can compare them directly to what you’ve highlighted.
4. The Answer Eliminator / Strikethrough (Next to each option)
- What it is: A way to visually cross out answer choices you know are incorrect.
- How to use it: Process of elimination is a powerful strategy. As you identify an answer choice that is clearly wrong, click the strikethrough icon next to it. This cleans up your view and helps you focus on the remaining, more plausible options. It’s incredibly satisfying and reduces mental clutter.
- Walkthrough: You’re on a grammar question. You know for a fact that option C creates a comma splice. Immediately strike it through. Now you only have three options to consider, increasing your odds and saving cognitive energy.
5. The Math Tools: Calculator & Reference Sheet
- What it is: A built-in Desmos graphing calculator and a digital formula sheet, available for the entire Math section.
- How to use it:
- Calculator: This is a game-changer. Click the “Calculator” icon to open it. You can graph functions to find intercepts, solve systems of equations visually, and perform complex calculations. You must practice with this specific calculator. It has a different feel than a handheld TI-84. Learn its shortcuts. For example, instead of manually solving `3x – 5 = 10`, you can simply type it into Desmos and see where the line `y = 3x – 5` intersects the line `y = 10`.
- Reference Sheet: Click the “Reference” icon to see a list of common geometry formulas (area of a circle, Pythagorean theorem, etc.). You don’t need to memorize them, but you do need to know what’s on the sheet so you don’t waste time trying to recall a formula that’s readily available.
- Walkthrough: You encounter a question asking for the vertex of a parabola, `y = 2x² – 8x + 5`. Instead of using the formula `x = -b/2a` (though you could), open the Desmos calculator. Type in the equation. The parabola instantly appears. You can simply click on the lowest point (the vertex) and Desmos will show you the coordinates. This transforms a 90-second algebra problem into a 15-second visual task. This is a core 2026 SAT change in strategy.
Simulating the Full Workflow
Now, put it all together.
- Module 1 (RW): Work through the 27 questions. Use the highlighter. Eliminate wrong answers. If you get stuck, pick your best guess, Mark for Review, and move on. Keep an eye on the clock. With 2 minutes left, go to the review screen and tackle your flagged questions.
- Module 2 (RW): Notice the difficulty. Does it feel harder? That’s great news! It means you did well in Module 1. If it feels a bit easier, don’t panic. Just focus on getting every single question right.
- Break: When the 10-minute break starts, actually take it. Stand up. Walk around. Don’t look at your phone. Let your brain reset.
- Module 1 (Math): The process repeats. For every question, make a conscious decision: “Is this faster to solve by hand or with the Desmos calculator?” Use Mark for Review liberally for multi-step problems you want to double-check later.
- Module 2 (Math): Again, gauge the difficulty. If you’re on the harder path, the problems will be more complex. This is where your practice with Desmos and your ability to break down problems will pay off.
By walking through this process multiple times with the official practice tests in the Digital SAT Bluebook, you are doing more than just answering questions. You are building muscle memory. You are internalizing the workflow. You are