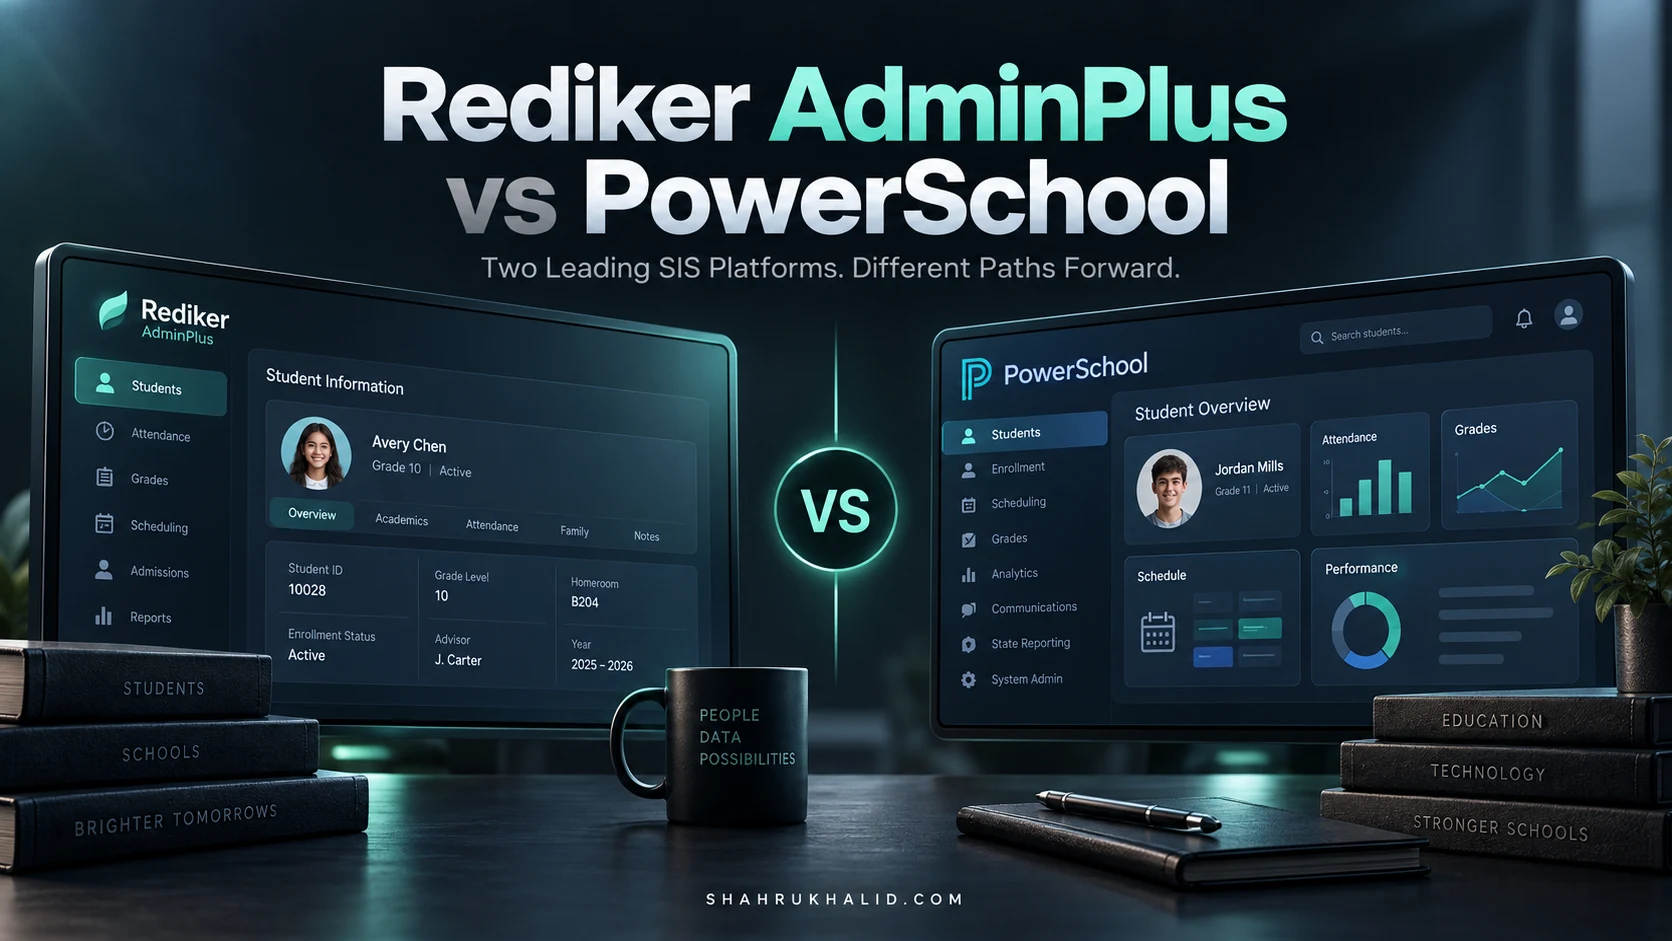
Rediker AdminPlus vs PowerSchool
Key Takeaways
- This article aims to demystify and compare Rediker AdminPlus and PowerSchool platforms.
- Student Information Systems (SIS) evolved to replace inefficient manual school data management.
- An SIS serves as the digital heart of a school, a centralized, intelligent database.
- A school's SIS functions akin to an operating system, managing critical digital processes.
- Core SIS functions include user management, acting as an application hub, and storing all student data.
Today, we’re going to demystify the two titans in that world. This is your masterclass guide to AdminPlus vs PowerSchool.
Think of this not as a dry technical manual, but as a journey. We’ll start with the absolute basics, build our understanding step-by-step, and by the end, you’ll be able to confidently analyze, compare, and make informed decisions about these critical platforms. Whether you’re a future school administrator, an aspiring ed-tech developer, or simply a curious student of technology, you’re in the right place. Let’s begin.
Comprehensive Foundations & Concept Primer
Let’s travel back in time for a moment. Picture a classic school office from a few decades ago. What do you see? Towering metal filing cabinets, each drawer stuffed with manila folders. One for every student. Inside, you’d find handwritten registration forms, attendance cards with tiny pencil marks, stapled-on report cards, and notes from teachers. The school’s entire operational memory was stored on paper. It was a physical database.
Now, imagine trying to answer a simple question: “What’s the average attendance rate for all 7th-grade students in the second semester?” Answering that would be a monumental task, involving days of manually pulling folders, counting, and calculating. Forget about more complex questions like, “Which students with a B- average in math are showing a decline in attendance this month?” That was practically science fiction.
This is the problem that a Student Information System, or SIS, was born to solve.
What is a Student Information System (SIS)? An Analogy for 2026
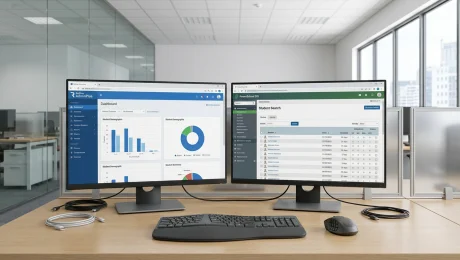
In the simplest terms, an SIS is the digital heart of a school. It’s a software application that replaces all those filing cabinets with a centralized, intelligent database. It manages all the critical student data from the moment a prospective student applies to the day they graduate and become an alum.
Think of an SIS like the operating system (OS) for a school. Your laptop has an OS like Windows or macOS that manages everything—your files, the applications you run, your internet connection, your user login. You don’t necessarily “see” the OS all the time, but it’s working constantly in the background to make everything else possible.
A school’s SIS does the same thing:
- User Management: It knows who everyone is—students, parents, teachers, administrators, nurses—and what information they are allowed to see and edit.
- Application Hub: It’s the central platform where other ‘apps’ run. The gradebook is an app. The attendance module is an app. The scheduling engine is an app.
- Data Storage: It’s the single source of truth for all student data, from demographics and contact information to grades, disciplinary records, and health information.
In 2026 and beyond, the SIS is more than just a digital filing cabinet. It’s the foundational data layer for everything else. It powers parent communication portals, integrates with online learning platforms, feeds data to state reporting agencies, and provides the raw material for advanced analytics that can predict student success and identify at-risk learners. Choosing the right SIS is one of the most critical technology decisions a school or district will ever make. This is why a deep student information system comparison is not just an IT task, but a strategic educational imperative.
Meet the Contenders: Rediker AdminPlus and PowerSchool
In the world of K-12 SIS software, two names come up more than any others: Rediker and PowerSchool. They are the Coke and Pepsi, the Ford and GM of the industry. While they both aim to be that central nervous system for a school, they approach the challenge from fundamentally different philosophies.
Rediker’s Administrator’s Plus (often called AdminPlus) is like a family-owned, all-inclusive resort. For decades, Rediker has focused on providing a tightly integrated, comprehensive suite of tools primarily for small to medium-sized private and independent schools. When you buy into the Rediker ecosystem, you get the SIS, the gradebook (TeacherPlus), the parent portal (ParentPlus), and often admissions tools, all designed from the ground up to work together seamlessly. Their philosophy is about providing a complete, out-of-the-box solution.
PowerSchool SIS, on the other hand, is more like a massive, modern city. It started as a powerful SIS and has grown, largely through acquisition, into a vast platform. PowerSchool is a dominant force, especially in larger public school districts. Its philosophy is about modularity and choice. You start with the core PowerSchool SIS, and then you can add on specialized modules for things like learning management (Schoology), special education, analytics, and enrollment. It’s an ecosystem you build and customize, not just a single product you buy.
Understanding this core philosophical difference—the all-in-one suite vs. the modular platform—is the key to unlocking the entire AdminPlus vs PowerSchool debate. Throughout this masterclass, we will return to this central theme as we explore features, architecture, and use cases.
Prerequisites & Complete Environment Setup

Okay, let’s get our hands dirty. Now, when we talk about “environment setup” for massive SaaS (Software-as-a-Service) platforms like AdminPlus and PowerSchool, we’re not talking about installing software on your local computer with a command line. You won’t be typing sudo apt-get install powerschool. These are cloud-based systems hosted by the companies themselves.
Instead, our “environment setup” is about preparing for a professional evaluation project. This is the critical discovery and setup phase that every school must go through. Think of yourself as a detective setting up your workspace before a big case. You need to gather your tools, define your suspects, and know what questions you’re trying to answer.
Step 1: Assemble Your Evaluation Task Force
You cannot, and should not, evaluate an SIS alone. This is your first and most important prerequisite. An SIS touches every single person in your school community, and you need their voices in the room from day one.
Your task force should include:
- An Administrator (The Project Lead): A principal, assistant principal, or dean who understands the school’s daily operations and strategic goals.
- An IT Director/Specialist (The Technical Lead): The person who will manage the system, handle data migration, and integrate it with other school technology.
- A Registrar/Office Manager (The Power User): This person lives in the SIS every day. They handle enrollment, scheduling, and reporting. Their input on workflow efficiency is non-negotiable.
- A Veteran Teacher (The Frontline User): A teacher who can evaluate the gradebook, attendance functions, and parent communication tools from a practical, classroom perspective.
- A Business Manager (The Financial Stakeholder): This person will be concerned with the total cost of ownership, including implementation fees, annual licensing, and training costs. This is crucial for answering the question: Is Rediker AdminPlus more affordable than PowerSchool?
Your First Task: As a group, create a “Needs and Wants” document. Divide a whiteboard into two columns. On one side, list the absolute, must-have features (e.g., “Must have state-compliant reporting,” “Must integrate with our lunch payment system”). On the other, list the “nice-to-have” features (e.g., “Would be nice to have a mobile app for discipline referrals”). This document becomes your guiding star.
Step 2: Prepare Your “Sandbox” Data
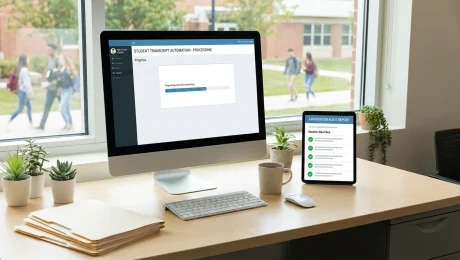
You can’t properly test-drive a car on an empty lot; you need to take it on a real road with traffic. Similarly, you can’t evaluate an SIS with an empty database. You need a small, anonymized, but realistic set of data to use in your trial or “sandbox” environment.
Here’s how to prepare it:
- Export Sample Data: From your current system (even if it’s just spreadsheets), export a small sample of 20-30 students.
- Anonymize Everything: This is critical for student data privacy. Change all names, addresses, and contact information. Use a tool like a “fake name generator” online. Replace real student IDs with generic numbers like 1001, 1002, etc.
- Create a Data Dictionary: In a spreadsheet, list the column headers from your export (e.g.,
student_id,last_name,first_name,grade_level) and what they mean. This will be invaluable when you need to map your data into the new system. - Gather Course Information: List 10-15 sample courses (e.g., ‘ALG-101 – Algebra I’, ‘ENG-205 – American Literature’), including course codes, teachers who might teach them, and the terms they are offered.
This sample data packet is your key to a meaningful trial. It allows you to test real-world scenarios like enrolling a new student, creating a class schedule, and entering grades.
Step 3: Requesting and Accessing Your Trial Environments
Now it’s time to engage with the vendors. You’ll go to the Rediker and PowerSchool websites and request a demo and a trial/sandbox account. Be prepared to speak with a sales representative. This is a good thing! Use this opportunity to ask pointed questions based on your “Needs and Wants” document.
For Rediker AdminPlus:
- Navigate to the Rediker Software website.
- Look for a “Request a Demo” or “Contact Sales” button.
- During your call, explain that you are in a formal school SIS software evaluation process. Emphasize that you have a sample data set and an evaluation team ready to test the platform.
- They will likely set you up with a guided demo first, and then provide login credentials to a sandboxed version of AdminPlus, often pre-populated with generic data. Ask them if you can import your small, anonymized data set.
For PowerSchool SIS:
- Navigate to the PowerSchool website.
- The process is similar. Find the “Request a Demo” link. PowerSchool has many products, so be specific that you are interested in “PowerSchool SIS”.
- PowerSchool’s sales process is often more structured, especially for larger districts. You will be assigned a representative for your region.
- Again, stress that you want a hands-on sandbox environment. Given PowerSchool’s scale, they have well-established procedures for this.
CLI Verification (The SIS Edition):
Once you have your login credentials for both sandbox environments, your “CLI verification” is simple. Can you log in?
- Open your web browser.
- Navigate to the unique URL provided for your AdminPlus sandbox.
- Enter the username and password. Verification: Do you see the AdminPlus main dashboard?
- Open a new tab or browser window.
- Navigate to the unique URL for your PowerSchool SIS sandbox.
- Enter your credentials. Verification: Do you see the PowerSchool start page?
If the answer to both is yes, your environment is “set up.” You’re ready to explore the core architecture.
Core Implementation Architecture
Now that we’re inside the systems, let’s talk about architecture. In software development, “architecture” refers to the fundamental design and organization of a system. For our purposes, we’ll look at the architecture of information and user experience. How is data organized and connected? How do different users move through the system to complete their tasks?
We’ll use a “visual card” approach to understand the key data entities and a “diagram grid” to map the workflows.
Rediker AdminPlus: The Integrated Suite Architecture
AdminPlus is built on a monolithic but tightly integrated architecture. Think of it as a well-designed house where every room was planned by the same architect. The plumbing, electrical, and hallways are all designed to work together perfectly because they were conceived as a single unit.
Visual Card Structure of Key Entities
Let’s visualize the core data objects in AdminPlus as interconnected cards.
- Name: John "Johnny" Appleseed
- Student ID: 1001
- Grade: 9
- Homeroom: 204
- Status: Active
- Links to -> [Family Card], [Schedule Card], [Grades Card], [Attendance Card]
|
|—- [CARD: Family]
| – Family ID: F234
| – Primary Contact: Maria Appleseed (Mother)
| – Phone: 555-123-4567
| – Address: 123 Orchard Lane
| – Links to -> [Student Card(s)], [ParentPlus Portal Account]
|
|—- [CARD: Schedule]
| – Term: Fall 2025
| – Courses: [ENG-101, MTH-101, SCI-101]
| – Links to -> [Course Card], [Teacher Card]
|
|—- [CARD: Grades] (Managed in TeacherPlus Gradebook)
| – Course: ENG-101
| – Assignments: [Essay 1 (92%), Quiz 1 (88%)]
| – Term Grade: A-
| – Links to -> [Report Card Module]
The key takeaway here is the seamless connection. When a teacher enters a grade in their TeacherPlus Gradebook, it’s not being sent to another system; it’s directly updating the student’s central record within the same database. When an admin changes a family’s address, that change is instantly reflected for the nurse, the front office, and in the ParentPlus portal. This tight integration is Rediker’s greatest architectural strength, especially for schools that want simplicity and don’t have a large IT team to manage complex integrations.
User Workflow Grid (AdminPlus):
Let’s map a common task: Recording an absence and notifying the parent.
This workflow is smooth and linear because the system is one cohesive unit.
PowerSchool SIS: The Modular Platform Architecture
PowerSchool’s architecture is fundamentally different. It’s a modular, platform-based model. Think of it less like a single house and more like a smartphone. You get the core operating system (PowerSchool SIS), but its true power comes from the “app store”—the vast ecosystem of official PowerSchool modules and third-party plugins you can add.
This makes it incredibly powerful and flexible, but also introduces a layer of complexity. The connections between modules are more like APIs (Application Programming Interfaces) than internal wiring. An API is a standardized way for different software programs to talk to each other.
Visual Card Structure of Key Entities
The core entities are similar, but the connections are architecturally different.
[CARD: Student]
- Name: Jane Doe
- Student ID: 2001
- Grade: 10
- School: North High
- Links to -> [Family/Contacts], [Schedule], [Stored Grades]
|
|—- [MODULE: PowerTeacher Pro Gradebook]
| – Manages assignments, calculates scores.
| – PUSHES final grades back to the core SIS at the end of a term via an internal API call.
|
|—- [MODULE: Schoology LMS (Optional)]
| – A separate platform for course content, online assignments, discussions.
| – SYNCS roster data FROM the core SIS.
| – Can PUSH grades back to PowerTeacher Pro Gradebook.
|
|—- [MODULE: Enrollment Express (Optional)]
| – A separate platform for new student registration.
| – PUSHES new student and family data INTO the core SIS after approval.
|
|—- [API ENDPOINT]
- Allows approved 3rd party apps (e.g., library software, bus routing)
- to PULL student/roster data and PUSH back relevant information.
This architecture is incredibly robust and scalable, which is why PowerSchool is often the better student information system for large districts. A district can have one central PowerSchool SIS instance and then allow different schools to use different combinations of modules. They can integrate with hundreds of specialized educational software vendors through the API, creating a “best-of-breed” solution. The trade-off is that these integrations need to be managed, maintained, and sometimes troubleshooted.
User Workflow Grid (PowerSchool):
Let’s map the same task: Recording an absence and notifying the parent.
The end result is the same, but the underlying mechanics involve more moving parts, modules, and configuration points. This provides more power (e.g., automated texting) but requires more setup.
Hands-on Code & Practical Implementation
This is where the rubber meets the road. As we’ve established, you won’t be writing Python or Java to build these systems. But you will be “coding” in the language of configuration, scripting, and data manipulation. This module provides step-by-step, practical walkthroughs of common implementation tasks you’d perform in your sandbox environment.
Practical Task 1: Creating a Custom Report Card Comment
Report card comments are a classic example of a feature that needs to be both standardized and flexible. Let’s create a new, pre-canned comment that teachers can select.
In Rediker AdminPlus
Rediker’s approach is often menu-driven and centralized. You’ll typically make this change in the main administrative portal.
- Log in to AdminPlus with your administrator credentials.
- Navigate to the Report Cards Module: Look for a menu item like
Report Cards > Setup > Comment Banks. The exact path can vary slightly by version, but the logic is to find the “setup” area for the report cards. - Select the Correct Comment Bank: You might have different banks for different grade levels (e.g., Lower School vs. Upper School). Choose the appropriate one.
- Add a New Comment: Find a button that says “Add,” “New,” or a plus (+) icon. A dialog box will appear.
- Configure the Comment:
- Code: Enter a short code, like
EFF-03. This is what the teacher might type as a shortcut. - Comment Text: Enter the full text:
"Demonstrates excellent effort and a positive attitude in class." - Category (Optional): You might be able to categorize it as “Effort,” “Behavior,” etc. This helps teachers find it later.
- Save and Verify: Click “Save” or “OK.” To verify, you may need to log in with a teacher account (or use an admin function to “view as teacher”), go to the TeacherPlus Gradebook, open the report card entry screen for a student, and check if your new comment is available for selection from the comment bank.
In PowerSchool SIS
PowerSchool’s modularity means this could be in one of two places: the main SIS or within the PowerTeacher Pro gradebook settings. It’s most commonly managed at the district or school level within the core SIS.
- Log in to PowerSchool SIS as an administrator.
- Switch to School/District Level: On the start page, ensure you are at the “District” or specific “School” level in the top navigation menu.
- Navigate to Comment Bank: The path is typically something like
District Setup > Grading > Comment Bank. - Create a New Comment: Click the “New” button.
- Configure the Comment:
- Comment Code: Enter a code, e.g.,
PATT. PowerSchool often uses alphanumeric codes. - Category: Assign a category like
Positive. - Comment: Enter the text:
"Demonstrates excellent effort and a positive attitude in class." - Character Limit: Be mindful of any character limits the system imposes, which are often displayed on this screen.
- Submit and Verify: Click “Submit.” To verify, log in as a teacher to PowerTeacher Pro, select a class, go to
Grading > Comment Verification, and see if you can find and use the new comment. The sync between the core SIS and PowerTeacher Pro is usually very fast but can sometimes take a few minutes.
Practical Task 2: Using an API to Extract Data (PowerSchool Example)
This is our most “code-heavy” section. Many modern schools need to pull data from their SIS for custom dashboards, integrations, or analysis. PowerSchool has a robust REST API for this. A REST API is just a way for computers to request information from each other over the web using standard HTTP methods, the same ones your browser uses.
Let’s write a simple Python script to pull a list of students from a specific school. This is a common task for a data analyst or IT director.
Prerequisites
- You have Python installed on your computer.
- You have the
requestslibrary installed (pip install requests). - You have obtained API credentials (a Client ID and Client Secret) from your PowerSchool administrator. This is a critical security step managed within the PowerSchool admin portal under
System > Security > API/SSO.
The Python Code (get_students.py):
# A script to demonstrate pulling student data from the PowerSchool API.
# Import the necessary libraries. 'requests' is for making HTTP requests,
# and 'json' is for handling the data format we get back.
import requests
import json
# — CONFIGURATION —
# You would get these values from your PowerSchool admin.
# NEVER hardcode these in a real application. Use environment variables or a secure vault.
# For this educational example, we'll place them here.
BASE_URL = "https://yourschool.powerschool.com" # The URL of your PowerSchool instance
CLIENT_ID = "your_client_id_here"
CLIENT_SECRET = "your_client_secret_here"
# — STEP 1: AUTHENTICATION —
# We need to get an access token first. It's like getting a temporary key card
# that proves we have permission to access the building (the API).
print("Step 1: Requesting an access token…")
token_url = f"{BASE_URL}/oauth/access_token"
auth_headers = {'Content-Type': 'application/x-www-form-urlencoded;charset=UTF-8'}
auth_payload = {
'grant_type': 'client_credentials',
'client_id': CLIENT_ID,
'client_secret': CLIENT_SECRET
}
# Make the POST request to get the token
try:
token_response = requests.post(token_url, headers=auth_headers, data=auth_payload)
token_response.raise_for_status() # This will raise an error if the request failed (e.g., 401 Unauthorized)
# The token is in the response body, which is in JSON format.
access_token = token_response.json()['access_token']
print("Success! Access token received.")
except requests.exceptions.RequestException as e:
print(f"Error getting access token: {e}")
print(f"Response content: {token_response.text}")
exit() # Stop the script if we can't get a token.
# — STEP 2: MAKING THE API CALL —
# Now we use the access token to ask for the actual data we want.
# Let's ask for a list of students. We'll use a PowerQuery endpoint.
# This query asks for the ID, first name, last name, and grade level for all students.
print("nStep 2: Requesting student data…")
api_url = f"{BASE_URL}/ws/v1/powerquery/us/student"
api_payload = {
"projection": "id,name.first_name,name.last_name,grade_level"
}
# We need to include our access token in the headers of this request.
# The 'Bearer' part tells the server what kind of token it is.
api_headers = {
'Authorization': f'Bearer {access_token}',
'Content-Type': 'application/json',
'Accept': 'application/json'
}
try:
api_response = requests.post(api_url, headers=api_headers, data=json.dumps(api_payload))
api_response.raise_for_status() # Check for errors
student_data = api_response.json()
print("Success! Data received.")
# — STEP 3: PROCESSING THE DATA —
# The data is usually nested. Let's print it in a nice format.
print("n— Student List —")
# The actual student records are often inside a 'record' key.
if 'record' in student_data:
for student in student_data['record']:
first_name = student.get('name', {}).get('first_name', 'N/A')
last_name = student.get('name', {}).get('last_name', 'N/A')
grade = student.get('grade_level', 'N/A')
student_id = student.get('id', 'N/A')
print(f"ID: {student_id}, Name: {first_name} {last_name}, Grade: {grade}")
else:
print("No student records found in the response.")
print(student_data)
except requests.exceptions.RequestException as e:
print(f"Error fetching student data: {e}")
print(f"Response content: {api_response.text}")
A Note on Rediker AdminPlus: Historically, Rediker’s integration capabilities have been more focused on direct partnerships and specific data export/import formats (like CSV) rather than a public-facing REST API comparable to PowerSchool’s. While they have been expanding their API