How to Build Your First Educational Guide: The 2026 Beginners Roadmap to Creating Impactful Learning
Comprehensive Foundations & Concept Primer
Before we lay a single brick, we need to understand the ground we’re building on. What is an educational guide, really? And why is learning to create one perhaps the single most valuable communication skill for 2026 and beyond?
Let’s start with a story. A few years ago, I was working with a brilliant team of engineers who had built a revolutionary data analysis tool. It was powerful, fast, and could genuinely change how businesses operated. But their user adoption was flat. Why? Their “documentation” was a 200-page PDF filled with dense, academic descriptions of every function. It was technically accurate but pedagogically bankrupt. It was a dictionary without a single sentence showing you how to speak the language.
They hadn’t written a guide; they had written an encyclopedia. And nobody learns a new skill by reading an encyclopedia cover-to-cover.
An educational guide, at its core, is not a data dump. It’s a guided tour. Think of it like a master chef teaching you how to cook your first coq au vin. They don’t start by listing the Maillard reaction’s chemical formula. They start with a warm welcome: “Today, we’re going to make something incredible, and I’ll be with you every step of the way.” They show you the ingredients (the prerequisites). They walk you through each step—chopping the onions, searing the chicken—explaining the why behind the what. They let you make a small mistake and show you how to fix it. At the end, you don’t just have a meal; you have a new skill and the confidence to try it again.
That is our goal. To be the master chef, not the chemistry textbook.
Why This is The Essential Skill for 2026
We live in an age of overwhelming information and underwhelming understanding. The rise of AI, complex software, and new digital ecosystems means the pace of “new things to learn” is accelerating exponentially. The bottleneck is no longer access to information; it’s the ability to synthesize, understand, and apply it.
This is where you come in.
The person who can effectively teach, who can bridge the gap between complexity and clarity, becomes indispensable. When you build an educational guide, you aren’t just creating content. You are:
- Scaling Your Expertise: You’re cloning your ability to teach, making your knowledge accessible to thousands, 24/7.
- Building Authority and Trust: A clear, helpful guide is the single best marketing tool. It demonstrates your expertise far more effectively than any claim of being an expert. Look at platforms like MDN (Mozilla Developer Network) for web development. They became the authority not by advertising, but by providing the clearest, most reliable guides.
- Reducing Support Load: For businesses, a great guide is a proactive support ticket deflection machine. It empowers users to solve their own problems.
- Driving Adoption: People use what they understand. A great guide is the onboarding ramp to your product, your service, or your idea.
In 2026, the most valuable people will be the translators, the guides, the teachers. This roadmap is your first step into that role.
The Core Principles of Impactful Learning Design
Before we get to the “how,” let’s internalize the “what.” What makes an educational guide effective for beginners? It boils down to a few core pedagogical principles, stripped of their academic jargon.
- Start with a ‘Why’: Every learner is subconsciously asking, “What’s in it for me?” Your guide must answer this immediately. This is your hook. It’s not “Today we will learn the Foobar API.” It’s “Today, you’ll learn how to use the Foobar API to automatically create a social media post from your latest blog article, saving you hours each week.”
- Establish Clear Destinations (Learning Objectives): A guide without clear objectives is a road trip without a destination. You’ll just wander. Before you write a single word of the main content, you must state what the learner will be able to do by the end. Use action verbs: “By the end of this guide, you will be able to install, configure, write, and deploy a basic ‘Hello World’ application.”
- Scaffold the Learning: Scaffolding is an idea from educational psychology. You don’t build the roof of a house first. You build a foundation, then a frame, then you add the roof. Learning is the same. You start with the simplest concept, ensure the learner understands it, and then build the next concept on top of it. Each step should feel like a small, achievable win.
- Manage Cognitive Load: A beginner’s brain is like a computer with limited RAM. If you throw too much new information at it at once, it crashes. Your job as a guide creator is to manage that load. How?
- Chunking: Break down big topics into small, digestible pieces.
- Analogies & Metaphors: Connect new, abstract concepts to something the learner already understands (like my “master chef” analogy).
- Visuals: A good diagram or a well-placed screenshot can replace a thousand words of confusing text.
- White Space: Don’t be afraid of it! A clean, uncluttered layout is calming and helps the brain focus.
- Promote Active Learning: Learning is not a spectator sport. You must get the reader to do something. This can be as simple as a “Try this yourself” code block, a reflection question, a small quiz, or a mini-project. This is how information moves from short-term to long-term memory.
These five principles are your North Star. As we go through the next modules, you’ll see them woven into every step of the process. The journey to create a learning guide that resonates begins not with tools or templates, but with empathy for your learner.
Prerequisites & Complete Environment Setup
Alright, we’ve got our mindset right and we understand the foundational principles. Now, let’s get our digital workshop in order. Just like a chef lays out their mise en place—all their ingredients prepped and ready—we need to set up our environment for a smooth, efficient creation process.
This isn’t about complex software. In fact, for your first guide, simplicity is key. The goal here is to remove friction so you can focus on what matters: the content and the learner’s journey. I’ll walk you through setting up a simple, free, and powerful “creator’s stack.”
Step 1: Choosing Your Primary Writing Tool
This is your digital canvas. You’ll spend most of your time here. The temptation is to find the “perfect” app with a million features. Resist it. For your first guide, choose one of these proven, beginner-friendly options.
- Google Docs (The Collaborator):
- Why: It’s free, universally accessible, and lives in the cloud (no lost work!). Its killer feature is collaboration. You can easily share your draft with a friend or a “beta reader” and get feedback directly in the document.
- Setup:
- Go to
docs.google.com. - Click the
+(Blank) button to create a new document. - Immediately give it a clear title, like
[Draft] My First Educational Guide: How to Bake Sourdough. The[Draft]prefix is a pro-tip; it helps you distinguish working files from final versions.
- Notion (The Organizer):
- Why: Notion is like digital LEGOs. It’s a bit more structured than Google Docs. You can create pages within pages, build simple databases, and use features like Toggles (great for hiding/showing answers or code) and Callouts (perfect for highlighting tips or warnings). It’s fantastic for structuring a multi-part guide.
- Setup:
- Sign up for a free account at
notion.so. - Create a new private page. Title it with the name of your guide.
- Inside this page, you can start typing, or you can create sub-pages for each module of your guide. This helps with organization from day one.
- Obsidian / VS Code (The Power User’s Plain Text):
- Why: If you’re a bit more technical or love the idea of “future-proofing” your content, writing in Markdown (
.mdfiles) is the way to go. Markdown is a simple text format that can be instantly converted to HTML, PDF, or anything else. VS Code (a code editor) and Obsidian (a note-taking app) are best-in-class for writing Markdown. - Setup (using VS Code):
- Download and install VS Code from
code.visualstudio.com. - Create a new folder on your computer for your project (we’ll cover this next).
- In VS Code, go to
File > Open Folder...and select your project folder. - Create a new file named
guide.md. The.mdextension is crucial. - You can now start writing. VS Code has a built-in preview (usually a button in the top-right) so you can see how your formatted text will look.
My Recommendation for a True Beginner: Start with Google Docs. The barrier to entry is zero, and the feedback features are invaluable. You can always copy and paste your content into another tool later.
Step 2: Structuring Your Project Directory
Don’t just save files to your desktop! A clean folder structure is a gift to your future self. It keeps everything organized and prevents the frantic “where did I save that image?” search.
Here’s a simple, effective directory layout. Create a main folder for your guide, for example, my-first-guide. Inside that folder, create the following sub-folders:
/my-first-guide/
|
|– 01_drafts/
| |– guide_v1.docx
| |– guide_v2.docx
|
|– 02_assets/
| |– images/
| | |– installation-step-1.png
| | |– final-product.jpg
| |– videos/
| |– diagrams/
|
|– 03_research/
| |– competitor-guides.txt
| |– useful-links.md
|
|– 04_final_exports/
| |– my-first-guide.pdf
| |– my-first-guide_web/
|
|– README.md (A simple text file explaining what this project is)
Let’s break this down:
01_drafts/: This is where your main writing file(s) live. I use version numbers (v1,v2) so I can always go back to an older version if I need to.02_assets/: All your media goes here. Keeping images, videos, and diagrams in separate sub-folders is a lifesaver.03_research/: A place to dump links, notes, and analysis of other guides on the same topic.04_final_exports/: Once you’re done, you’ll export your guide into its final format (like a PDF or HTML files). They live here.README.md: Just a simple text file. In it, write a one-sentence summary of the guide and maybe a to-do list. This helps you quickly remember the project’s status when you come back to it after a break.
Action Step: Go create this folder structure on your computer right now. It will take you 60 seconds and will set you up for success.
Step 3: Setting Up a Simple Task Board
Creating a guide is a project. And projects have tasks. A simple Kanban board is the best way to visualize your progress and not feel overwhelmed. You don’t need fancy project management software.
- Using Trello:
- Go to
trello.comand sign up for a free account. - Create a new Board.
- Create three lists:
To Do,In Progress, andDone. - Now, break down your guide creation process into small tasks and add them as “Cards” to the
To Dolist.
What should your cards be?
- “Define Learning Objectives for Guide”
- “Research competing guides”
- “Write Draft of Module 1”
- “Create Diagram for Core Architecture”
- “Find a beta-reader for feedback”
- “Create screenshots for Setup module”
- “Write Draft of Module 2”
- …and so on.
As you start working on a task, drag the card to In Progress. When it’s finished, drag it to Done. The psychological satisfaction of moving a card to Done is a powerful motivator!
- Using Notion: If you chose Notion as your writer, you can create a “Board” database right on your main project page to achieve the same thing.
Verification: Is Your Environment Ready?
Let’s do a quick check. Before you move on, you should have:
- [ ] Chosen a primary writing tool and created your main document/page.
- [ ] Created the project folder structure on your computer.
- [ ] Set up a simple task board (Trello or Notion) with at least 5-10 initial tasks in the “To Do” column.
If you’ve checked all three boxes, congratulations. Your environment is configured. You have a clean workshop, your tools are laid out, and you have a blueprint. Now, we can start building the actual structure of your guide.
Core Implementation Architecture
This is where we transition from “preparations” to “design.” We’re about to architect the learning journey. How do you structure an effective educational guide? The answer lies in creating a predictable, repeatable, and logical flow that guides the learner from curiosity to confidence.
Forget long, intimidating chapters. I want you to think in terms of “Learning Cards.” Imagine each core idea or step in your guide is a physical card. On the front, there’s a clear title. On the back, there’s a concise explanation, an example, and a small action for the learner. Your job is to arrange these cards in the most logical sequence.
This mental model helps you chunk information effectively and focus on one concept at a time. Now, let’s formalize this into a robust architecture that you can use for any guide you create.
The Anatomy of an Impactful Guide: A Visual Grid
Every great educational guide, whether it’s a tutorial on Shahrukh’s site, a recipe, or a Google Codelab, follows a similar macro-structure. It’s a pattern that works because it aligns with how humans learn.
Here is the high-level architecture:
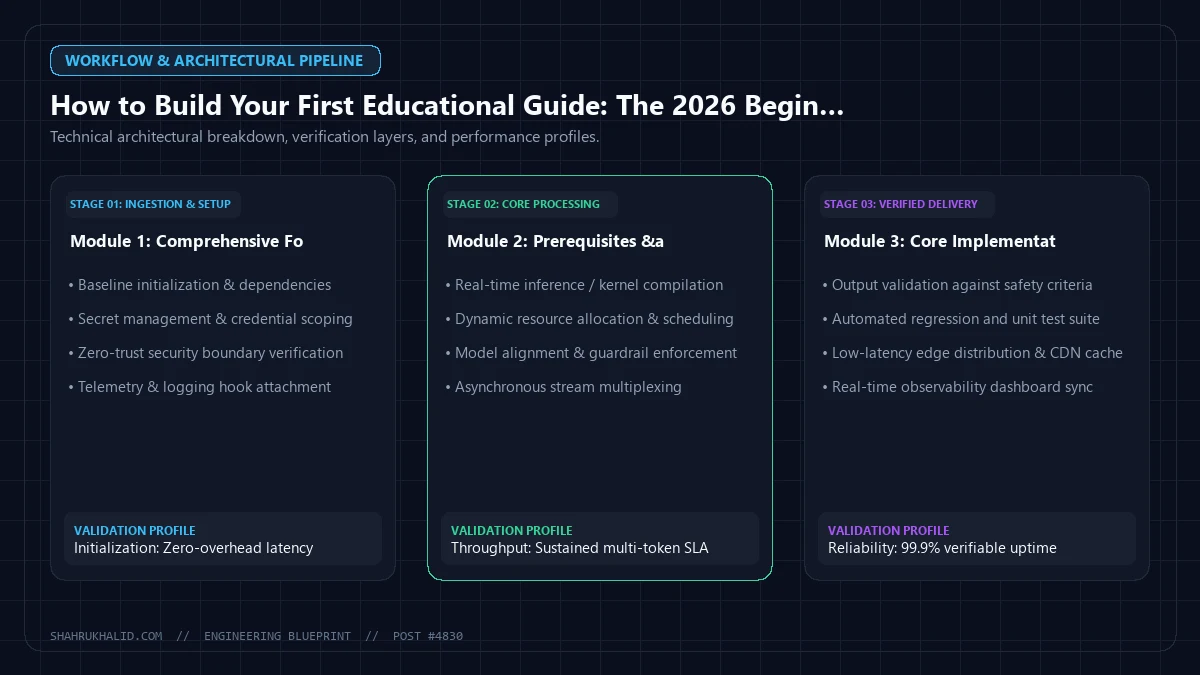
This is your blueprint. Now, let’s zoom in on the most critical part: the Core Modules.
The Micro-Architecture: The “Triple-E” Learning Card
Each core module, each “learning card,” should follow its own mini-structure. I call this the “Triple-E” framework: Explain, Exemplify, Engage.
This structure ensures you’re not just lecturing. You’re teaching.
1. Explain (The Concept):
- What it is: A clear, concise explanation of a single concept, feature, or step.
- How to do it:
- Use a clear heading (
<h3>or<h4>). - Define any new jargon immediately.
- Use an analogy or metaphor to connect it to something familiar.
- Keep paragraphs short (2-4 sentences).
- Example:
### Step 2: Staging Your Changes
In Git, before you save your work permanently, you have to put it in a “staging area.” Think of it like putting items into a shopping basket. You’re choosing exactly what you want to buy (or save) in your next transaction. You can add or remove items from the basket before you head to the checkout. This gives you precise control over your commits.

2. Exemplify (The Concrete):
- What it is: A real, tangible example of the concept in action. This moves the idea from abstract to concrete.
- How to do it:
- Use code blocks for code, recipes for cooking, or screenshots for software.
- Heavily comment your examples! Explain the why behind each line or step.
- Use visual cues like
<strong>or<em>to highlight the most important parts. - Example (continuing the Git lesson):
To stage a file, we use the
git addcommand. Let’s say we’ve edited a file calledstyle.css.
bash
# This command tells Git: “I want to include the changes
# from style.css in my next commit.”
git add style.css
>
You won’t see any output, but behind the scenes, Git has added a snapshot ofstyle.cssto the staging area.
3. Engage (The Action):
- What it is: A small, low-stakes task that asks the learner to apply what they just learned. This is the active learning component.
- How to do it:
- Use a “Try It Yourself” or “Your Turn” section.
- Give a clear, simple instruction.
- Tell them what the expected outcome should be, so they can self-verify.
- Example (finishing the card):
> Your Turn:
1. Create a new file in your project called
index.html.
- Run the
git statuscommand. You should seeindex.htmllisted under “Untracked files.”- Now, use the
git addcommand to stageindex.html.- Run
git statusagain. What’s different? You should now seeindex.htmllisted under “Changes to be committed.” You’ve just staged your first file!
This Explain, Exemplify, Engage loop is the engine of your educational guide. Your entire “Core Modules” section will be a sequence of these Triple-E cards, each one building on the last, creating a smooth, upward ramp of knowledge and skill. This is the essence of impactful educational content development.
Hands-on Code & Practical Implementation
Theory is one thing, but seeing it in practice is everything. In this module, we’re going to move from architecture to execution. I’m going to show you what “production-ready” educational content actually looks like.
The “code” here isn’t Python or JavaScript; it’s the carefully crafted text of your guide. I’ll provide fully-written examples for a hypothetical guide titled “Your First Interactive Map with Leaflet.js.” I’ll use HTML-style comments (<!-- ... -->) to act as pedagogical annotations, explaining the why behind my choices, just like a developer would comment their code.
This is how you translate the principles from Module 1 and the architecture from Module 3 into actual words on a page.
Example Implementation: A Section from a Technical Guide
Let’s imagine we’re writing a guide for web development beginners. They know a little HTML and CSS, but JavaScript is new and intimidating. Our goal is to get them to create a cool, interactive map they can show their friends.
Here’s what a complete “Learning Card” or section from that guide might look like.
Step 3: Creating Your First Map
It’s time for the magic moment! We have our HTML file and we’ve linked to the Leaflet library. Now, we need to write a few lines of JavaScript to tell Leaflet where to put the map and what it should look like.
Don’t worry if you’ve never written JavaScript before. I’ll walk you through every single line. The key is to understand that we are giving the computer a set of instructions, like a recipe.
First, we need to tell our JavaScript code which HTML element will hold our map. Remember in index.html we created a <div> with an id="map"? We’re about to use that.
Second, we need to give Leaflet two pieces of information for its initial view:
- The geographic coordinates for the center of the map.
- A zoom level (a number from 1-18; higher is more zoomed in).
Let’s see the code.
javascript
// — SCRIPT.JS —
// 1. Initialize the map and set its view to our chosen geographical coordinates and a zoom level.
// The L.map('map') part tells Leaflet to create a map inside the HTML element with the ID ‘map’.
// The .setView([51.505, -0.09], 13) part sets the initial view.
// [51.505, -0.09] are the coordinates for London. 13 is a nice, city-level zoom.
const map = L.map(‘map’).setView([51.505, -0.09], 13);
// 2. Add a “tile layer” to our map.
// Think of this as the actual map imagery, the paper of the map. Without it, you’d just have a grey box.
// We’re using the OpenStreetMap tile layer, which is free to use.
// The addTo(map) part adds this tile layer to the map we just created.
L.tileLayer(‘https://{s}.tile.openstreetmap.org/{z}/{x}/{y}.png’, {
attribution: ‘© OpenStreetMap contributors’
}).addTo(map);
// 3. Add a marker to the map.
// A marker is just a pin on the map.
// We’re placing it at the same coordinates as our map’s center.
L.marker([51.505, -0.09]).addTo(map)
.bindPopup(‘A pretty CSS3 popup.
Easily customizable.’) // This message appears when you click the marker.
.openPopup(); // This makes the popup open by default when the map loads.
Your Turn: Put a Pin in Your Hometown
Reading about it is one thing, but doing it is how you’ll really learn. Let’s customize this map to show your favorite place.
- Find Your Coordinates: Go to a site like latlong.net and type in the address of your hometown or a favorite landmark. It will give you the Latitude and Longitude.
- Update Your Code: In your
script.jsfile, replace the London coordinates[51.505, -0.09]with the ones you just found. You’ll need to change them in two places: thesetViewline and theL.marker