PlusPortals Decoded 2026: Your International K-12 Students Guide to Grades, Deadlines & Parent-Teacher Power-Ups
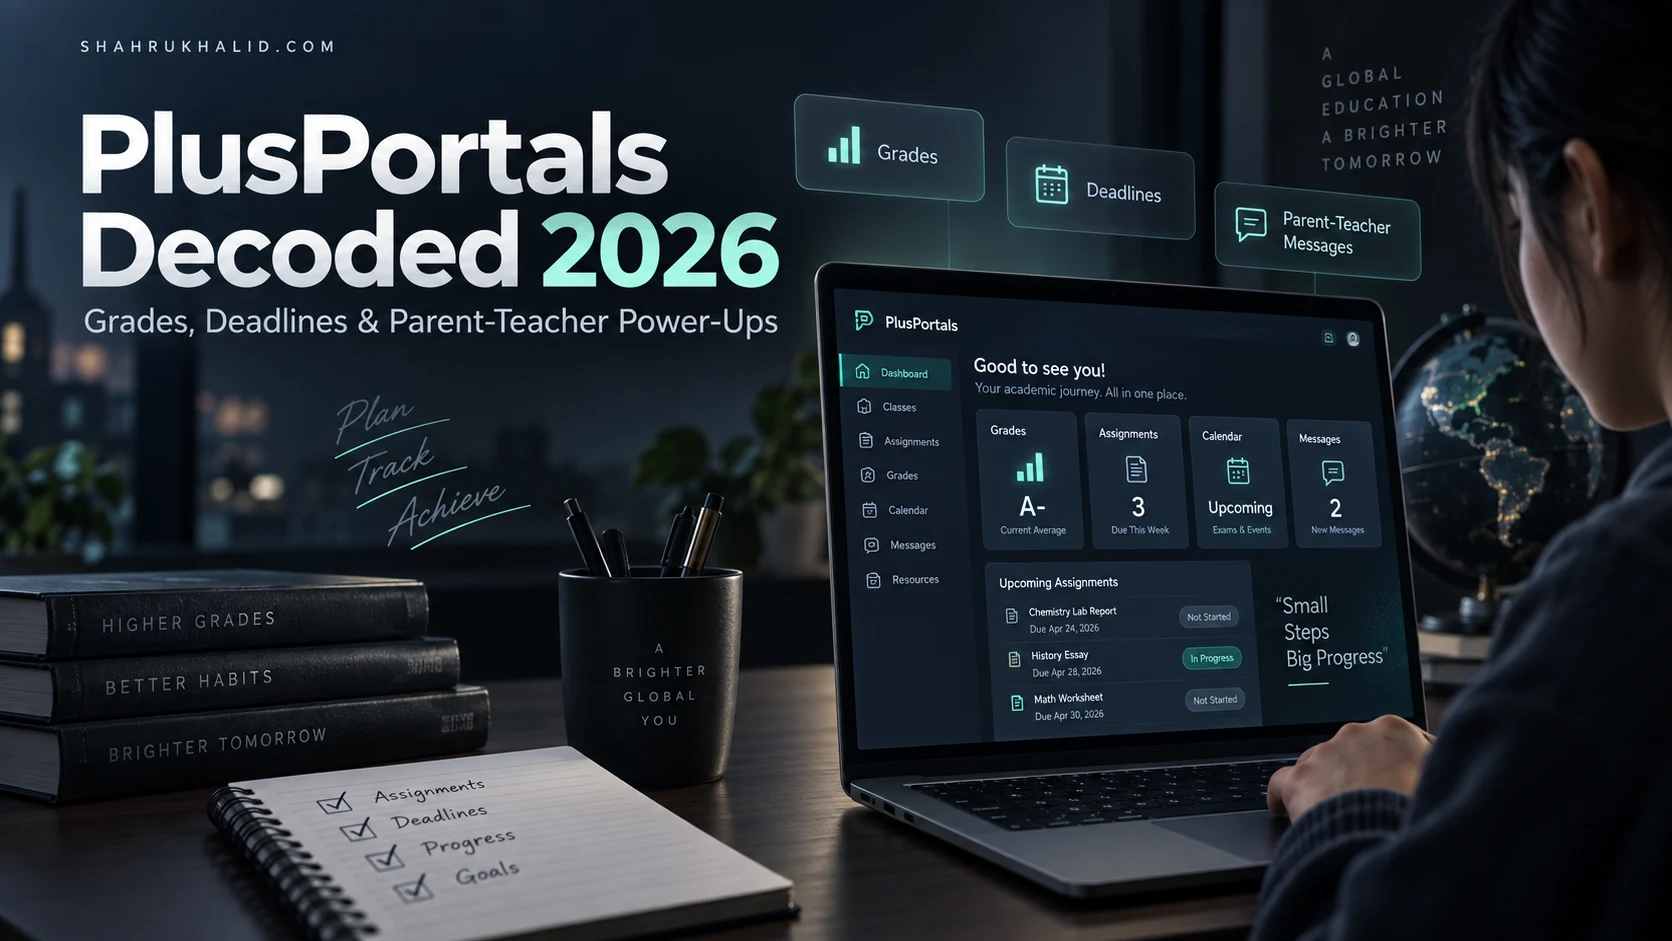
Key Takeaways
- Module 1: Comprehensive Foundations & Concept Primer
- The 'Why': PlusPortals as Your Academic HUD (Heads-Up Display)
- Eliminating Jargon: SIS, Portal, and the International School Twist
- Why This Matters in 2026: Beyond Grades to Holistic Success
- Module 2: Prerequisites & Complete Environment Setup
This isn’t just another guide. This is your blueprint for turning a mandatory school tool into your personal academic superpower. By the end of this, you won’t just use PlusPortals; you’ll master it. You’ll transform it from a place you’re forced to check into a strategic dashboard that helps you reduce stress, improve your grades, and take genuine ownership of your education. Let’s get started.
Comprehensive Foundations & Concept Primer
Before we dive into the nuts and bolts, let’s zoom out. What even is this thing? And why is it so central to your life at an international school in 2026? If you’ve ever felt like PlusPortals is just a confusing website your school makes you use, this module is for you. We’re going to demystify it completely.
The ‘Why’: PlusPortals as Your Academic HUD (Heads-Up Display)
Imagine you’re the hero in an epic adventure game. You have quests (assignments), a health bar (your grades and well-being), a map (your schedule), and a communications device to talk to your allies (teachers). A good game doesn’t make you guess this information; it presents it clearly on a Heads-Up Display, or HUD. That, in essence, is the core purpose of the PlusPortals International K-12 ecosystem. It’s not just a website; it’s your academic HUD.
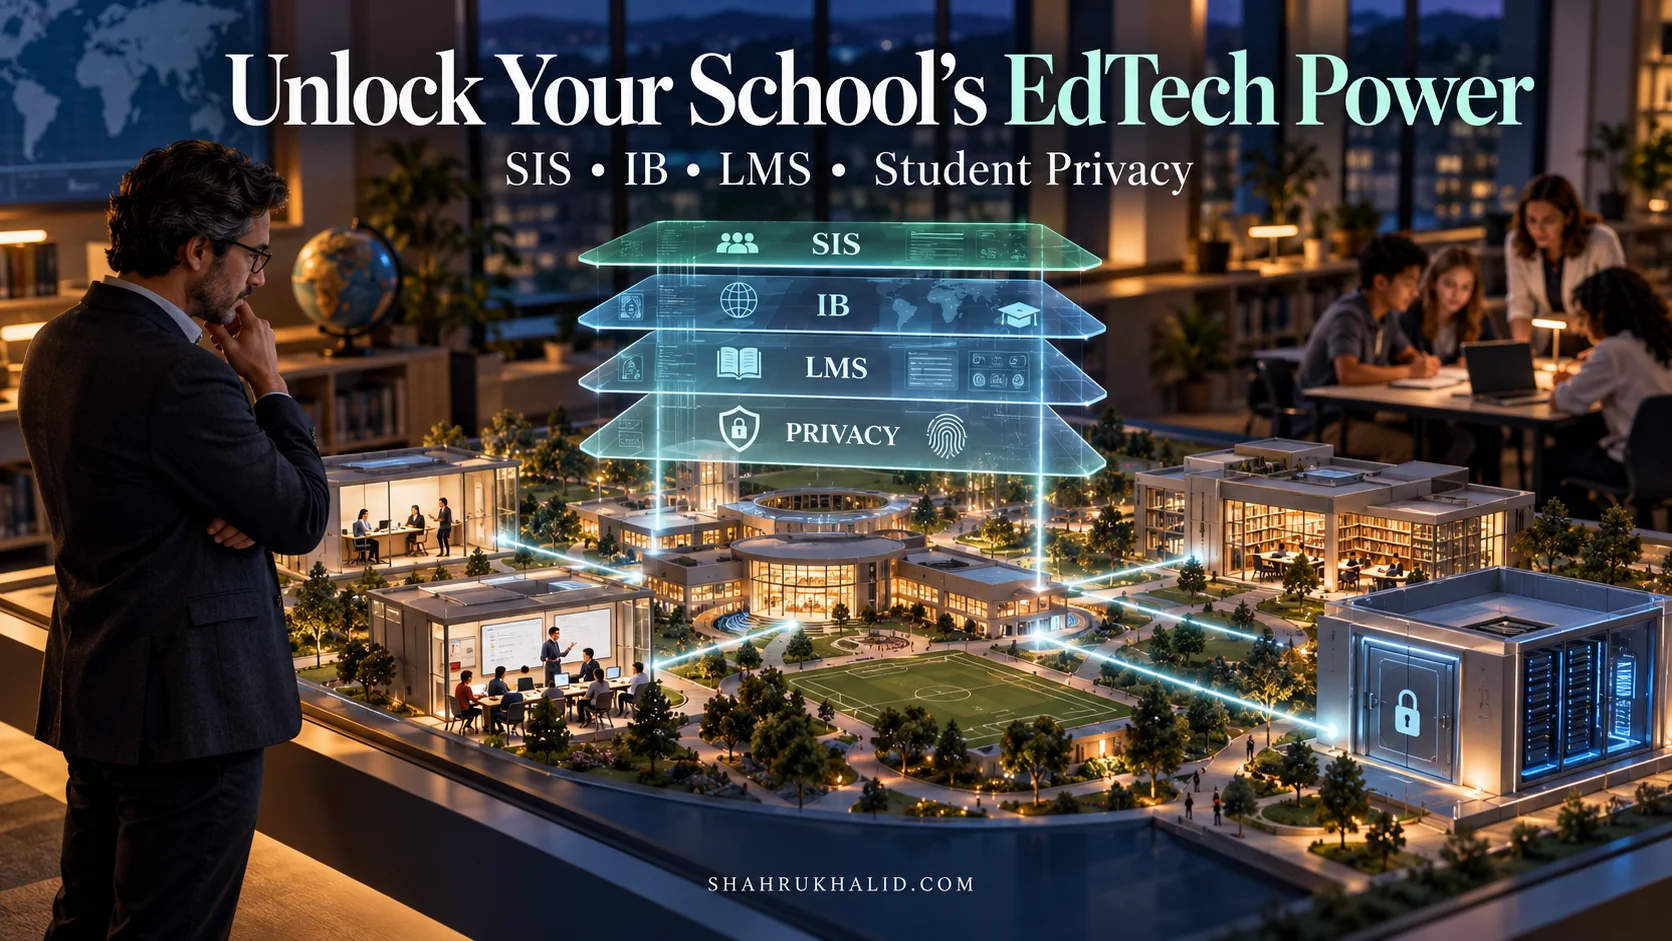
Your school is a complex place. There are hundreds, maybe thousands, of students, teachers, and parents. There are classes, schedules, assignments, grades, events, and announcements. All of this data needs to live somewhere. This “somewhere” is a massive, powerful database called a Student Information System (SIS). The company that builds PlusPortals, Rediker Software, specializes in creating these robust SIS platforms. Think of the SIS as the school’s central brain—a secure vault of information that keeps everything running. But you can’t just log in to the “brain.” It’s complicated, administrative, and not designed for daily use by students.
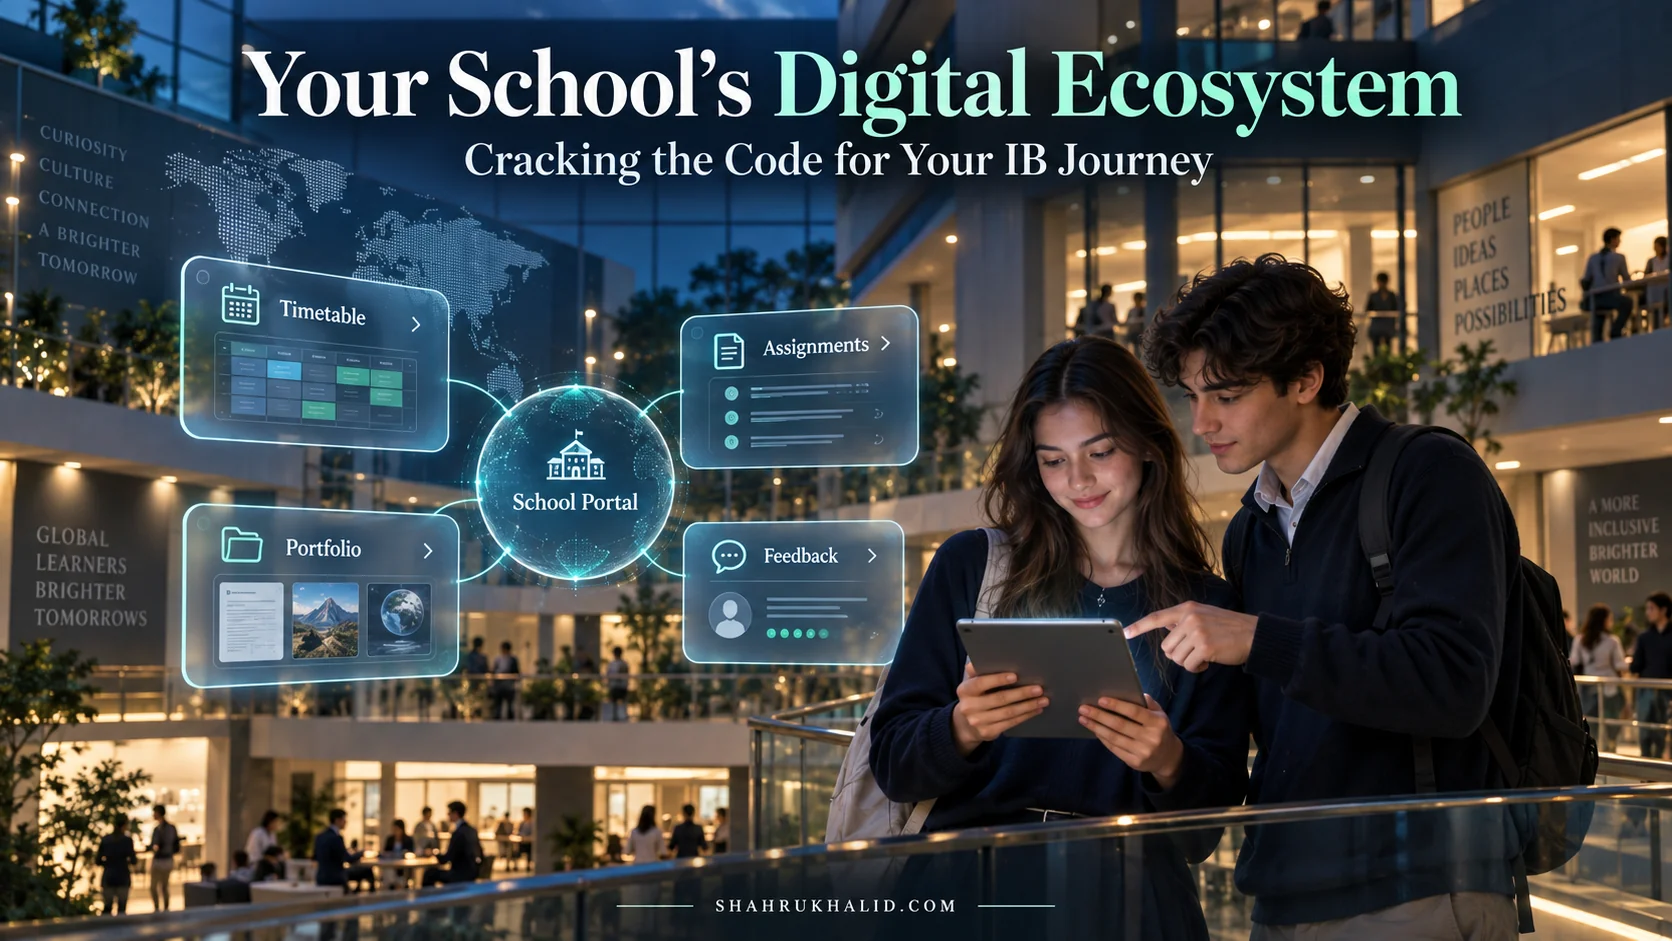
This is where PlusPortals comes in. It’s the friendly, user-facing portal to that brain. It takes all that complex data and presents it to you, your parents, and your teachers in a way that’s (supposed to be) easy to understand. So, what is PlusPortals used for in international schools? It’s the single source of truth for your academic life. It’s where your school’s data meets your daily reality.
Eliminating Jargon: SIS, Portal, and the International School Twist
Let’s break down a few terms you might hear.
- SIS (Student Information System): As we said, this is the backend database. It’s the engine room. You’ll probably never see it, but it powers everything. It’s the system of record that, as Rediker’s own architecture shows, ensures data integrity across the entire school.
- Portal: This is the web interface you interact with—the doors and windows to the engine room. PlusPortals is a specific brand of portal.
- LMS (Learning Management System): You might also hear this term. An LMS is more focused on the act of learning—hosting course content, video lectures, and interactive quizzes (think Google Classroom, Canvas, or Moodle). Sometimes, a portal like PlusPortals has LMS features built-in; other times, it links out to a separate LMS. For our purposes, PlusPortals handles many LMS-like tasks, such as assignment submission and resource hosting.
Now, for the “International School” part. Why is this so important? International schools often have incredibly diverse student bodies and faculty, and frequently use complex curricula like the International Baccalaureate (IB) or Cambridge IGCSE. The grading systems can be nuanced, with predicted grades, internal assessments (IAs), and external exams all factoring in. A system like PlusPortals is essential because it can be configured to handle this complexity. It can manage the detailed assessment criteria laid out by organizations like the IBO, ensuring that your 1-7 scale for IB Physics is tracked just as accurately as a percentage grade in your Grade 8 Art class. This adaptability is critical in a global educational landscape.
Why This Matters in 2026: Beyond Grades to Holistic Success
In 2026, your digital footprint is your academic footprint. Universities and future employers aren’t just looking at a final transcript. They’re looking for evidence of consistency, growth, and self-management. Mastering your PlusPortals is the first step in building that narrative.
The platform is evolving. We’re moving beyond simple data display. Think of it as your personal data analyst. By understanding your own patterns—when you submit work, how your grades fluctuate, which feedback you receive—you can make smarter decisions. Do you always lose points on assignments due on Monday mornings? Maybe you need to adjust your weekend study schedule. Does your grade in Chemistry dip every time you have a major project in History? That’s a sign you need to plan for overlapping deadlines. PlusPortals gives you the raw data to discover these insights about yourself. This guide will teach you how to read it.
Prerequisites & Complete Environmentironmentironment Setup
Alright, theory time is over. Let’s get our hands dirty. This module is your step-by-step guide to getting logged in, oriented, and set up for success. We’ll treat this like unboxing a new piece of tech: with care and intention. Your initial setup can define your entire experience.
Your ‘Welcome Email’: The Digital Key to Your Kingdom
Your journey begins with an email. Somewhere in your (or your parents’) inbox is a message from your school’s IT department or administration. This is your golden ticket. It will typically contain three crucial pieces of information:
- The Portal URL: This is the specific web address for your school’s PlusPortals instance. It’s usually something like `[YourSchoolName].plusportals.com`. Bookmark this page immediately. Drag it to your browser’s toolbar. Make it your homepage if you have to. Friction is the enemy of habit, so make getting here as easy as possible.
- Your School ID: PlusPortals is used by thousands of schools. The School ID tells the system which school’s “brain” to connect to. It’s often the school’s name or an abbreviation.
- Your Username and Initial Password: Your username is often your student ID number or your school email address. The password will be a temporary one. You’ll be required to change it on your first login, so have a new, secure password in mind.
Rookie Mistake Alert: Can’t find the email? Don’t panic. First, search your email for “PlusPortals,” “Rediker,” or your school’s name. Check your spam folder. If you still can’t find it, don’t guess. Contact your school’s IT help desk or your advisor. They can resend the information in a flash.
First Flight: The Step-by-Step Login and Configuration Process
Let’s walk through your very first PlusPortals student login.
- Navigate to the URL: Open your bookmarked portal link.
- Enter Credentials: You’ll see fields for School ID, Username, and Password. Carefully enter the information from your welcome email. Case sensitivity matters!
- Password Change: The first thing you’ll likely see is a prompt to change your password. Choose something strong and memorable. A good practice is a “passphrase”—a short, weird sentence like `PurpleMonkeyDishwasher1!` that is easy for you to remember but hard for others to guess. Store it in a password manager if you use one.
- The Dashboard Landing: Success! You’re in. You’ll be looking at your main dashboard. It might look a little busy, but don’t worry. We’ll dissect this in the next module. For now, just take a breath and look around.
Personalizing Your Space: Profile, Notifications, and Power-Ups
This is your digital locker. Let’s put some stuff in it. Look for a link or icon with your name, usually in the top-right corner. This is your profile area. Here are the three most important things to configure immediately:
1. Your Profile Picture: Don’t skip this. Upload a clear, friendly, school-appropriate photo of yourself. Why? Because you are more than a name or a student ID number. When your teacher sees your photo next to a message you’ve sent or an assignment you’ve submitted, it reinforces that human connection. It’s a small but powerful psychological trick. You’re not just `student_77582`, you’re you.
2. Contact Information: Double-check that your email address is correct. This is crucial for notifications.
3. Notification Settings: This is your first real “Power-Up.” Find the notification settings. You’ll likely have options to receive alerts for things like:
- A new grade being posted.
- An upcoming assignment deadline.
- A new school announcement.
- A message from a teacher.
Be strategic here. You might not want an email every single time a tiny homework grade is entered. But you absolutely want an alert 24 hours before a major project is due. My recommendation for beginners:
- Turn ON: New assignments posted, assignment due in 24 hours, new messages, and school-wide emergency announcements.
- Consider turning OFF (or setting to a weekly digest): Individual grade updates (this can cause unnecessary anxiety; it’s better to check grades intentionally, which we’ll cover later).
Verification: The ‘Am I in the Right Place?’ Checklist
Your setup is complete. Now, let’s verify that everything is working. Do a quick 5-minute check:
- ✅ Do you see your classes? Look for a “Classes” or “Courses” tab. Click on it. You should see a list of your subjects (e.g., IB English A LAL HL, Grade 10 Geometry, MYP Individuals and Societies).
- ✅ Do you see your teachers? The class list should also show your teachers’ names. Do they match what you expect?
- ✅ Does the calendar show school events? Find the calendar. You should see upcoming holidays, school-wide events, or assembly days.
If you can check all three boxes, you are officially set up. Your environment is configured, and you’re ready to start using PlusPortals as a tool, not just a task. In the next module, we’ll map out the entire platform so you know exactly where to find everything.
Core Implementation Architecture & Workflow Blueprint
Welcome to the grand tour. Now that you’re logged in and your environment is set, it’s time to understand the layout of your new digital campus. Thinking about the PlusPortals architecture in terms of “cards” or “widgets” on a dashboard can make it much more manageable. Each card is a window into a different part of the school’s “brain.” Let’s break down the most important ones.
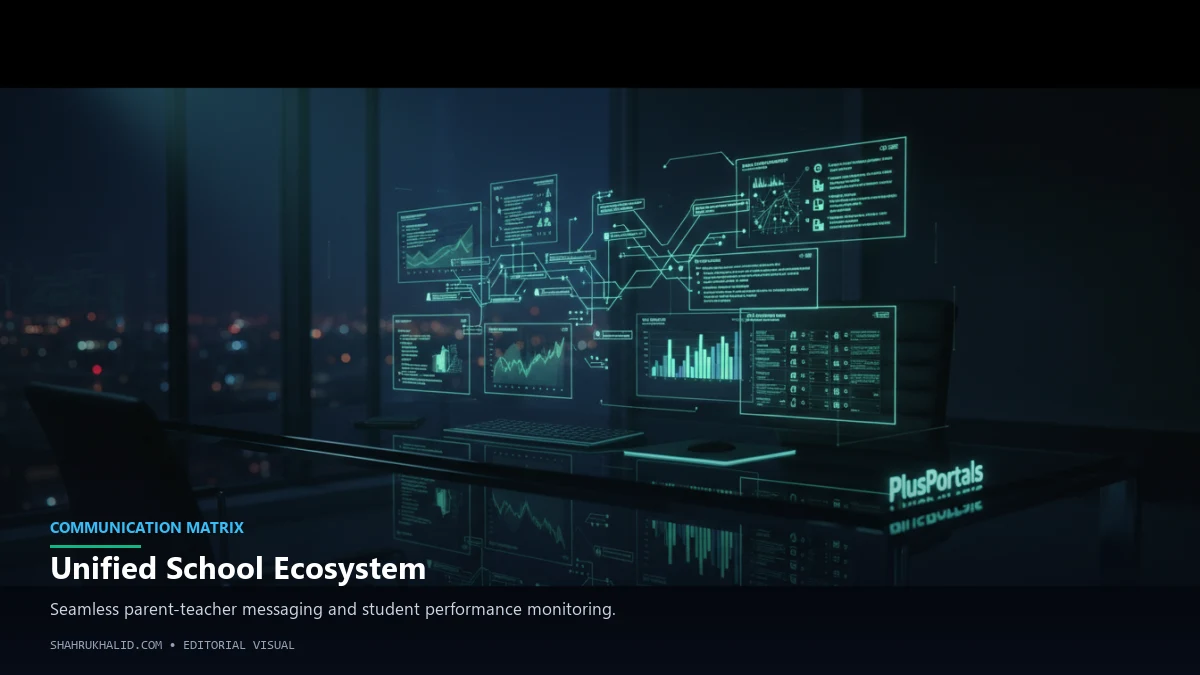
The Dashboard: Your Morning Briefing
When you first log in, you land on the Dashboard. This is your command center. Its job is to give you the most important, time-sensitive information at a glance. Think of it as your personal assistant giving you a morning briefing: “Here’s what you need to know right now.”
Your dashboard is typically composed of several smaller cards or widgets. Here’s a common layout:
Recent Scores
Shows the last 3-5 grades you’ve received. Great for a quick check, but don’t obsess over it. This is a snapshot, not the full story.
Upcoming Assignments
Lists assignments due in the next few days. This is arguably the most important widget on the dashboard. Your eyes should go here first, every single time you log in.
Announcements
School-wide or class-specific news. “Picture day is next Tuesday,” “IB mock exam schedule posted,” etc. Scan this daily.
My Schedule
Shows your class schedule for today. Incredibly useful if your school has a rotating block schedule. No more “Is it a Day A or a Day B?” panic.
Workflow Blueprint: Your daily workflow should start here. Log in, scan the dashboard for 60 seconds.
- Any new announcements?
- What’s due today or tomorrow?
- Any surprising new grades? (If yes, make a note to investigate later).
This quick check-in frames your entire day.
The Classes Tab: Your Digital Backpack and Classroom
If the Dashboard is your briefing, the “Classes” or “Courses” section is the digital equivalent of walking into a classroom. When you click on a specific class, like “AP World History,” you’re entering its dedicated hub. This is one of the most vital PlusPortals features for K-12. Inside, you’ll typically find several sub-tabs:
- Class Home/Summary: A mini-dashboard just for this class, often showing the teacher’s contact info, a welcome message, and any class-specific announcements.
- Assignments: A complete list of all assignments for the semester—upcoming, past due, and graded. This is where you’ll go to get details and submit your work.
- Gradebook/Performance: Your full grade breakdown for this class. We’ll do a deep dive on this in Module 4.
- Resources/Coursework: This is the digital bookshelf. Your teacher will post the syllabus, PowerPoint slides, PDF readings, useful links, and other materials here. Before you email a teacher asking for a document, check here first.
Workflow Blueprint: When you’re starting your homework for a specific subject, your first step should be to open its page in PlusPortals. Check the assignment details, download any necessary resources from the Coursework tab, and then begin your work.
The Calendar: Your Master Key to Time Management
The Calendar is your ultimate tool for preventing surprises. It aggregates deadlines and events from all your classes and school activities into one master view. Most portals allow you to filter this view. For example, you can choose to see only the assignments for your Math class, or only school-wide events.
This is where you can truly get ahead of the game. At the beginning of a new unit, your teacher might post all the major due dates for the next month. They’ll all appear on your calendar. You can now see that your History paper, Chemistry lab report, and Spanish oral presentation are all due in the same week. Knowing this three weeks in advance is a strategic advantage the “check the dashboard daily” student won’t have. This is how you start managing K-12 academic deadlines like a pro.
Workflow Blueprint: Make it a habit to look at the “Month” view of your calendar every Sunday evening. This gives you a strategic overview of the week ahead and helps you plan your study schedule accordingly.
The Gradebook: Understanding the International School Grading System
This is the big one. The “Grades” or “Performance” tab is often the most visited and most misunderstood part of PlusPortals. It’s more than just a list of numbers; it’s a detailed story of your academic performance. A key question students and parents have is, “Can parents see student grades on PlusPortals?” The answer is almost always yes. Your parents have their own login (PlusPortals parent access), which typically shows them a view of your grades, attendance, and assignments. This is why understanding this section is so important—it’s a central point of conversation.
The gradebook is designed to reflect your school’s specific grading philosophy, which in an international school, can be complex. It might incorporate:
- Weighted Categories: Your final grade isn’t usually a simple average. It’s often weighted. For example: Homework (10%), Quizzes (20%), Mid-term Exam (30%), Final Project (40%). PlusPortals does this math for you, showing you your current grade based on the work completed so far.
- IB/AP Scales: For IB classes, you might see grades on the 1-7 scale. For AP, it might be a 1-5 scale. The portal is configured to handle these different scales simultaneously.
- Formative vs. Summative Assessments: Your school might distinguish between “practice” assignments (formative) that don’t count heavily, and major tests or projects (summative) that do. The gradebook will reflect this.
Workflow Blueprint: We’ll cover this in-depth in the next module, but the core idea is to check your grades intentionally, not obsessively. Check once a week to review feedback and understand your standing, not ten times a day to watch the percentage flicker.
Hands-on Practical Implementation & Real-World Configuration
You’ve toured the campus, now it’s time to live in it. This module is all about action. We’re moving from “what is this button” to “how do I use this button to make my life easier.” These are the practical, step-by-step skills that will separate you from the average user and turn you into a PlusPortals power user.
The Complete Assignment Workflow: From Download to ‘Submitted’
Let’s walk through the most common task you’ll perform: submitting an assignment. We’ll use a hypothetical “History Essay” as our example.
Step 1: Locate the Assignment Details
You know the essay is due soon. Don’t rely on memory or a friend’s summary. Go to the source.
- Navigate to PlusPortals -> Classes -> History 101.
- Click on the “Assignments” sub-tab.
- Find “WWII Home Front Essay” in the list. Click on it.
Here you’ll find the full details: the prompt, the due date and time (pay attention to the time!), the point value, and any attached files like a rubric or a template.
Step 2: Download and Use Resources
Your teacher has attached a `rubric.pdf`. Don’t ignore this! This is literally the answer key for how to get a good grade. Download it. Read it before you even start writing. The rubric tells you exactly how your teacher will score your work.
Step 3: The Submission (The Moment of Truth)
You’ve written your brilliant essay. It’s saved as `Maryam_Ahmed_History_Essay.pdf` on your computer (always use a clear file name!). It’s time to submit.
- Go back to the assignment page in PlusPortals.
- Look for a button that says “Submit,” “Upload File,” or “Add Submission.”
- An upload window will appear. Many portals now have integrations with Google Drive or OneDrive. If you use those, you can connect your account and select the file directly from the cloud. This is often more reliable than uploading from your computer.
- If uploading from your computer, click “Choose File,” navigate to your document, and select it.
- CRITICAL STEP: After selecting the file, you are NOT done. You must click a final “Submit,” “Save,” or “Confirm” button. This is the #1 place students make a mistake. They upload the file but forget the final confirmation click.
Step 4: The Verification Loop
Don’t just close the tab and hope for the best. Verify.
- The page should refresh and show a confirmation message like “Submitted for grading.”
- The status of the assignment should change from “Assigned” to “Submitted.”
- You might even get a confirmation email (if you enabled notifications).
- As a final, foolproof check, you can often click on your submission to re-download the file you just uploaded. Do it. Open the file. Is it the correct version? Is it blank? Taking 10 seconds to do this can save you from a zero.
Decoding the Gradebook: A Guide to ‘How to Check Grades on PlusPortals International School’
Checking your grades can be stressful. Let’s turn it into a productive, data-driven process. Navigate to a class, and then to the “Gradebook,” “Performance,” or “Grades” tab.
You’ll see a table. Let’s break down the columns:
- Assignment Name: Self-explanatory.
- Due Date: The date it was due.
- Score: What you got. It might be `9/10`, `85%`, or `B+`. If you see an icon (like a paperclip or a comment bubble), click it! This is where your teacher leaves feedback.
-
Frequently Asked Questions