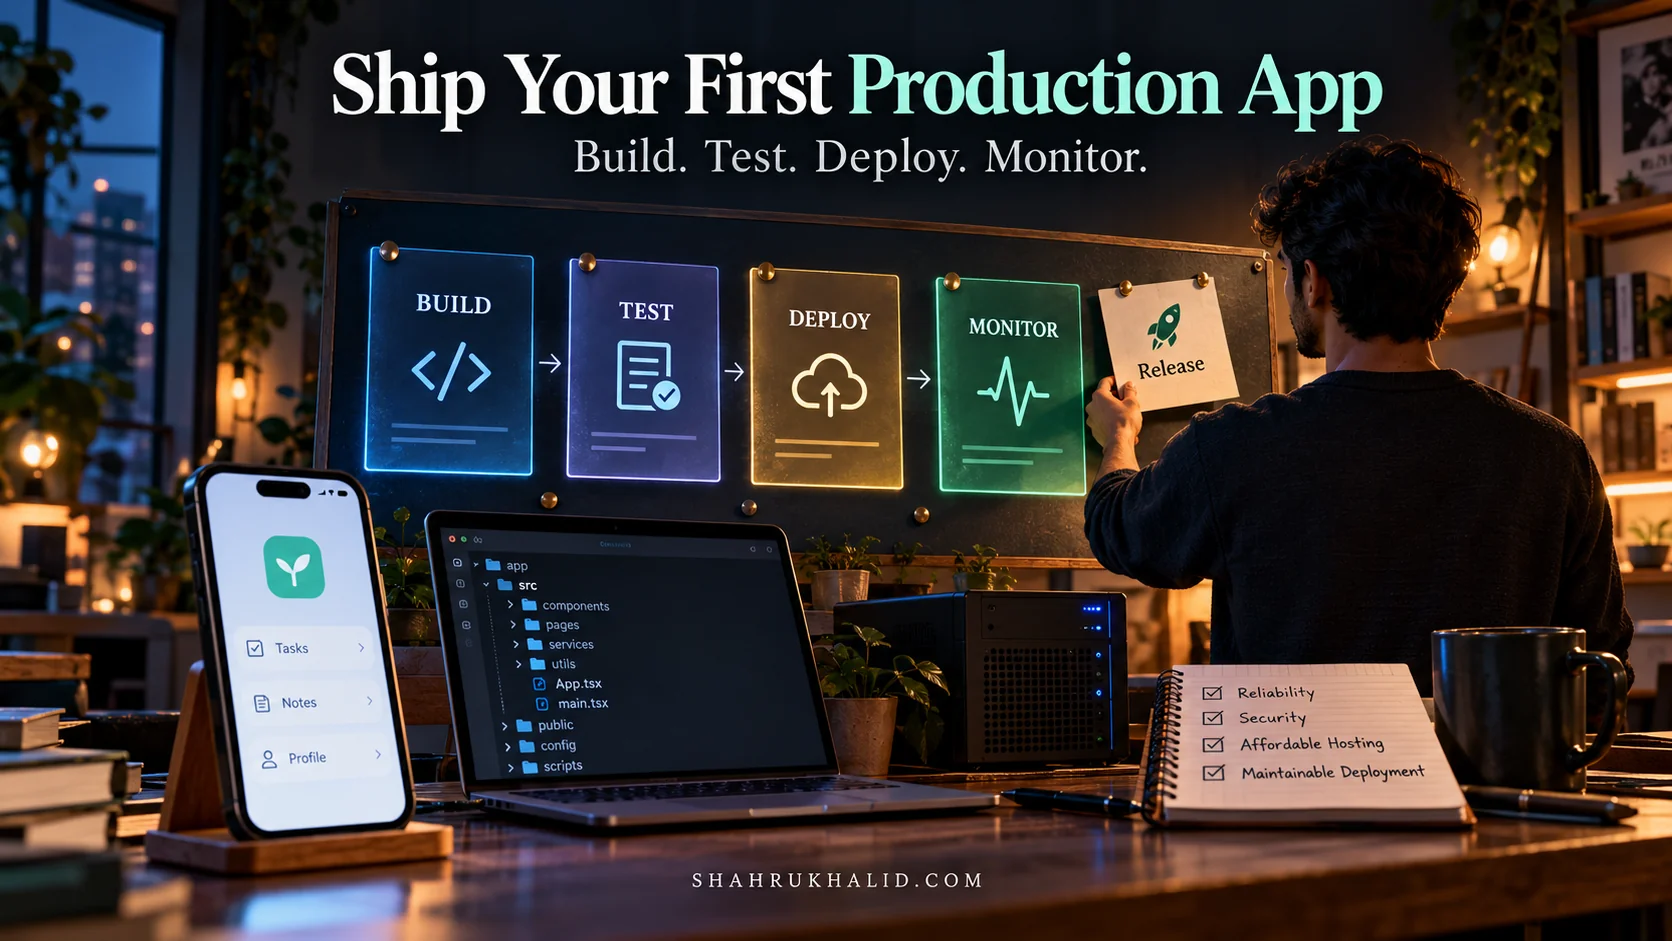
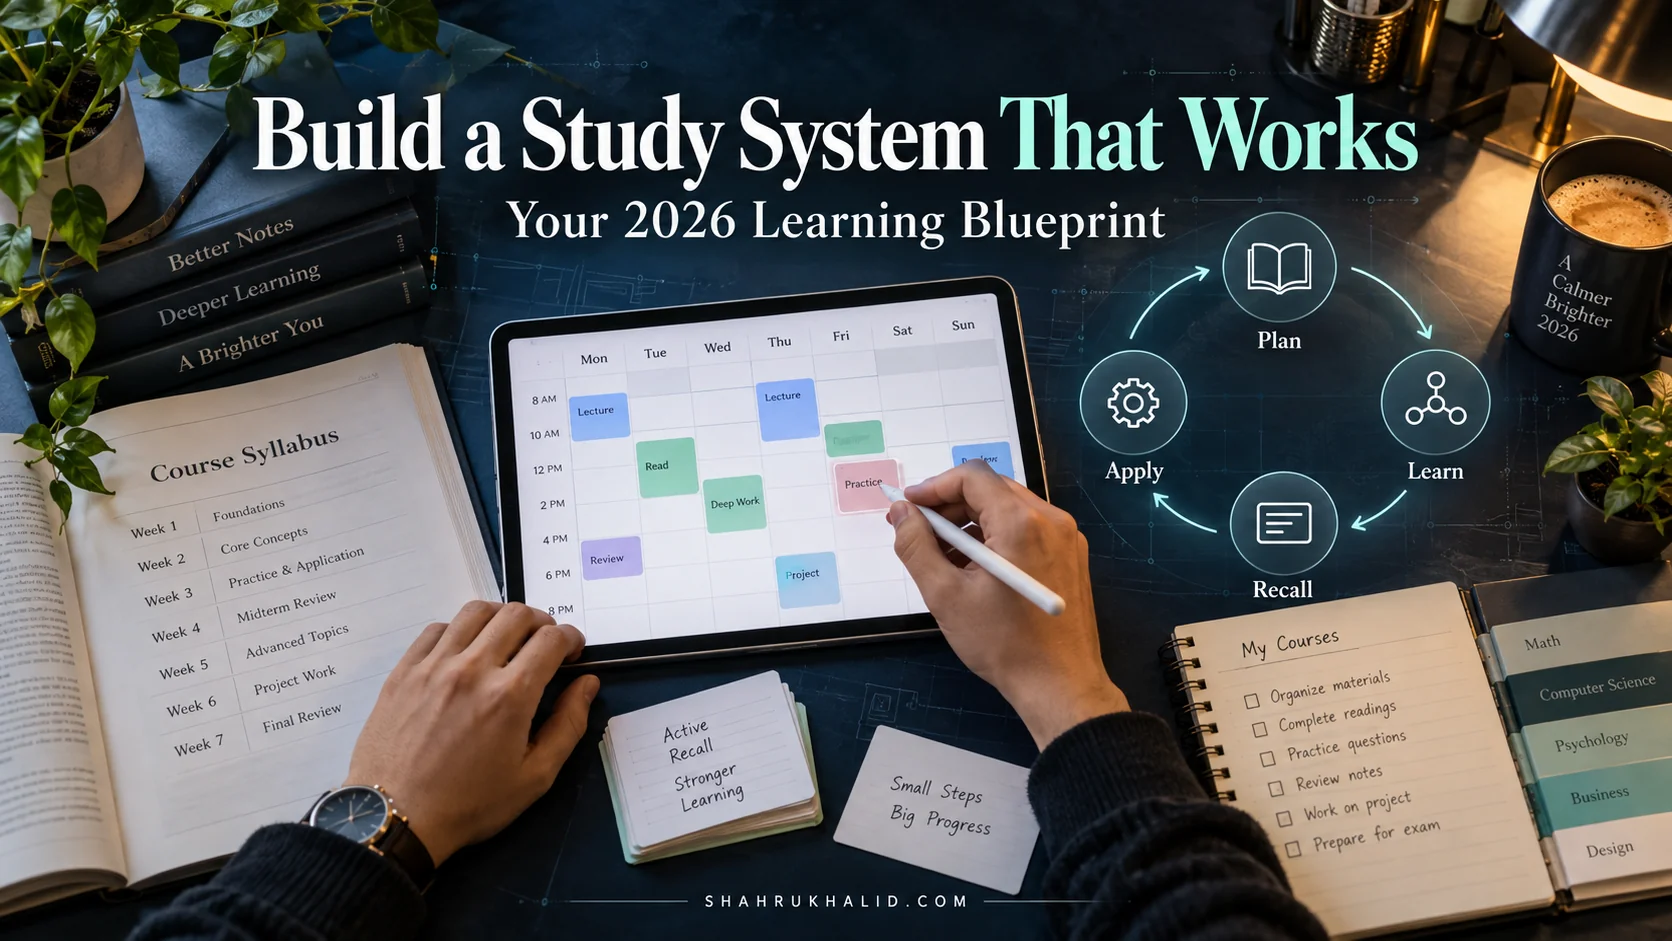
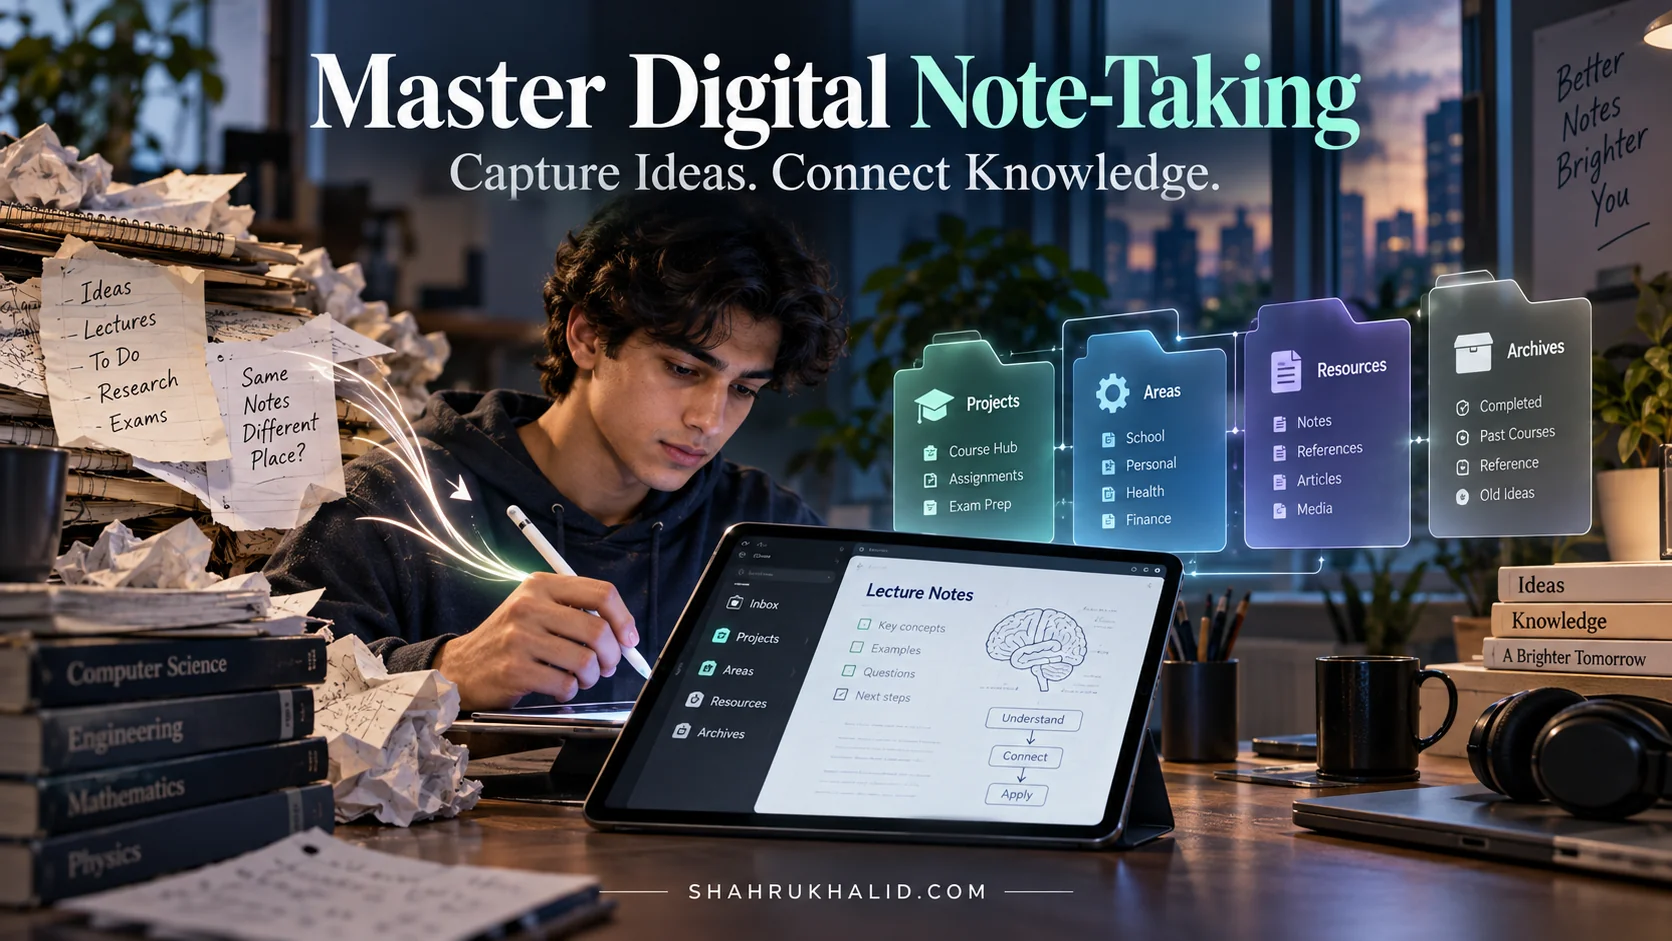
Editorial banner and system blueprint for Your 2026 Masterclass: Build Your Digital Brain (Beginners Guide to Smarter Learning & Organization).
Architecture & Execution Specification. Blueprint schematic detailing core layers, processing components, and operational benchmarks for Your 2026 Masterclass: Build Your Digital Brain (Beginners Guide to Smarter Learning & Organization).
We’re going to embark on a journey together, a masterclass designed to help you navigate the overwhelming sea of information we all face. This isn’t just about taking notes; it’s about building a system for thinking, learning, and creating. It’s time to build your digital brain.
This guide is your complete, step-by-step blueprint. We’ll start with the absolute basics, demystify the jargon, and walk hand-in-hand through setting up a powerful, personal system that will serve you for years to come. Let’s begin.
Comprehensive Foundations & Concept Primer
I remember the exact moment the idea of a “digital brain” clicked for me. I was juggling three major projects, trying to learn a new data visualization library for a tutorial on Shahrukh’s site, and simultaneously reading a fascinating book on cognitive psychology. My browser had 73 tabs open. My physical notebooks were a chaotic mix of meeting notes, code snippets, and half-formed ideas. My brain felt like a cluttered attic, where I knew something valuable was stored, but I had no idea where to find it. I was drowning in information but starving for wisdom.
This feeling isn’t unique. It’s the default state of modern life. The promise of the internet was access to all human knowledge. The reality is that we have access to all the noise, too. A digital brain, often called a “Second Brain,” is the solution. It’s your personal, private, and intelligent system for navigating this chaos.
What is a Digital Brain, Really? An Analogy for Clarity
Forget the fancy tech terms for a moment. Let’s use a few analogies.
Imagine a Personal Google. When you have a question, you don’t just search the entire internet; you search your internet—a curated collection of your most important ideas, learnings, quotes, and connections. The search results aren’t a million random pages; they are your own thoughts, in your own words, presented back to you.
Or, think of it as a Lego Collection. A single piece of information—a quote from a book, a statistic from an article, a shower thought—is like a single Lego brick. On its own, it’s not very useful. But when you have a system to connect these bricks, you can build anything: a new project, a compelling argument, a creative story, or a solution to a difficult problem. Your digital brain is the organized set of bins and the building table for your mental Legos.
Finally, my favorite analogy: a Digital Garden. Unlike a library archive, where information goes to be stored and forgotten, a garden is a living, breathing ecosystem. You plant seeds (ideas), water them (revisit and reflect), prune them (refine and distill), and over time, you watch them grow and connect with other plants to create a beautiful, emergent landscape of knowledge.
At its core, a digital brain is an external, digital system for Personal Knowledge Management (PKM). It’s a structured process and a set of tools that help you execute a simple, four-step loop:
Capture: Get ideas out of your head and into a trusted place.
Organize: Structure this information in a way that makes sense for action and retrieval.
Distill: Find the core essence of the information. What is truly important?
Express: Use your distilled knowledge to create, produce, and share.
This isn’t about becoming a digital hoarder. It’s about becoming a more effective thinker. This is the fundamental answer to the question, “What is a digital brain and how does it work?” It works by giving your biological brain a break from the tedious job of remembering everything so it can focus on what it does best: thinking, creating, and connecting ideas.
Why This is Your Most Important Skill for 2026
The world of 2026 is defined by two powerful forces: the exponential growth of information and the rise of artificial intelligence. Your career, your learning, and your creativity will depend on your ability to manage your relationship with both.
Think about the way we work and learn now. We’re expected to be lifelong learners, constantly upskilling. Projects are more complex and collaborative. The line between our personal and professional knowledge is blurring. A digital brain is no longer a “nice-to-have” for academics; it’s an essential tool for survival and success in any knowledge-based field.
Furthermore, with AI tools becoming commonplace, the value of human work is shifting. Rote memorization and information retrieval are tasks machines can do better. Our unique value lies in our perspective, our creativity, and our ability to make novel connections between disparate fields. A well-tended digital brain is the ultimate engine for this kind of high-level thinking. It’s the repository of your unique perspective, the raw material that you can feed into your creative process, making you an invaluable partner to AI, not a replacement for it.
This masterclass is your guide to building that engine. We will move slowly and deliberately, ensuring you understand the “why” behind every “how.” By the end, you won’t just have a new app on your computer; you’ll have a new system for learning and a renewed sense of clarity and control.
Prerequisites & Complete Environment Setup
Alright, let’s get our hands dirty. The most common point of failure for anyone starting this journey is what I call “tool fetishism”—spending weeks comparing every app, watching hundreds of YouTube videos, and ultimately ending up with a complex setup you never actually use. Our goal here is the opposite. We will choose a simple, powerful, and future-proof tool and set it up in under 20 minutes.
Remember the principle: the system is more important than the tool. A master chef can cook a gourmet meal in a basic kitchen, while an amateur will struggle even with the most expensive equipment. We’re here to learn the culinary skills of thought, not just to buy a fancy stove.
Choosing Your “Digital Sanctuary”: The Big Three
For a beginner, there are three main contenders in the world of knowledge management tools. Let’s briefly break them down.
Notion: Think of Notion as a set of digital Lego bricks with superpowers. It’s incredibly flexible, allowing you to build pages with text, tables, databases, calendars, and more.
Pro: All-in-one, great for collaboration, powerful databases.
Con: Cloud-based (your data lives on their servers), can feel slow, and its flexibility can be overwhelming for beginners.
Logseq: This is an “outliner” tool. Imagine every piece of information is a bullet point that you can zoom into and expand. It’s fantastic for journaling, daily notes, and non-linear thinking.
Pro: Excellent for brainstorming, local-first (your files are on your computer), free and open-source.
Con: The outliner format isn’t for everyone, and it has a slightly steeper learning curve than our chosen tool.
Obsidian: This is our choice for this masterclass. Think of Obsidian as a digital notebook that lets you create your own personal Wikipedia. It’s simple on the surface but incredibly powerful underneath.
Pro:Local-first (you own your data forever), works on plain text files (future-proof!), incredibly fast, has a massive community and plugin ecosystem, and strikes the perfect balance between simplicity and power.
Con: Syncing between devices costs money (though there are free workarounds), and the sheer number of community plugins can be a rabbit hole if you’re not careful.
We are choosing Obsidian because it best embodies the principles of a long-lasting, personal, and secure digital brain. Your notes are just .md (Markdown) files in a folder on your computer. If Obsidian disappears tomorrow, your entire knowledge base remains perfectly readable and accessible. This is a non-negotiable feature for a system you want to rely on for decades.
Step-by-Step Environment Setup: Your First Obsidian Vault
Let’s get your digital sanctuary built. Follow these steps precisely.
Step 1: Download and Install Obsidian
Go to the official Obsidian website (obsidian.md). Click the prominent “Get Obsidian for…” button. It will automatically detect if you’re on Windows, macOS, or Linux. Download the installer and run it just like any other application.
Step 2: Create Your “Vault”
When you first open Obsidian, you’ll be greeted with a dialog box. A “Vault” is just a fancy name for the folder on your computer where all your notes will live. This is your entire digital brain’s container.
Click on “Create new vault”.
Give your vault a name. I recommend something simple and inspiring, like My Digital Brain or Second Brain.
Choose a location for this vault. This is important. I strongly recommend placing it inside a folder that you back up regularly, like your Documents folder or a cloud-synced folder (like Dropbox, Google Drive, or iCloud Drive). For now, let’s just put it in Documents.
Click “Create”.
That’s it! You’re now looking at a clean, empty Obsidian vault. It might feel underwhelming. This is a good thing. It’s a blank canvas.
Directory Layout: A Simple Structure for Growth
Before we start creating notes, let’s build a simple shelving system. Just as you wouldn’t throw all your books on the floor, we need a basic folder structure. We’ll use a simplified version of the popular P.A.R.A. method, which we’ll explore in the next module.
In the left-hand sidebar of Obsidian (the File Explorer), right-click and create the following four folders. The numbers at the beginning ensure they always stay in this order.
00-Inbox
10-Projects
20-Areas
30-Resources
Let’s define these:
00-Inbox: This is your digital front door. Every new note, idea, or piece of information you capture goes here first. It’s a temporary holding area waiting to be processed.
10-Projects: For things you are actively working on with a defined deadline or outcome. Example: “Finish Q3 Marketing Report,” “Plan Vacation to Italy,” “Develop New Website.”
20-Areas: For broad, ongoing areas of responsibility or interest in your life that have no end date. Example: “Health & Fitness,” “Finances,” “Professional Development,” “Parenting.”
30-Resources: This is your library for topics of general interest. It’s for notes about things you’re learning that aren’t tied to a specific project or area yet. Example: “Notes on Stoicism,” “Book Summary – Atomic Habits,” “AI in Web Development.”
Don’t worry about an “Archive” folder yet. We’ll keep it simple.
“CLI Verification”: Confirming Your Setup with the Command Palette
In the world of software development, we use a Command-Line Interface (CLI) to verify our setup. In Obsidian, our equivalent is the Command Palette. This is your magic wand.
Press Cmd+P on macOS or Ctrl+P on Windows/Linux. A search bar will appear.
Type “new note”.
Select the option “Create new note”.
Name this note My First Note and press Enter.
You’ve just created your first note! Now, let’s test a core feature: linking.
In the body of My First Note, type the following sentence: This is my first note in my new [[Digital Note-Taking System]].
Notice what happens when you type the double square brackets [[ ]]. Obsidian is prompting you to create or link to another note. When you finish typing Digital Note-Taking System]], that text will change color. If you click on it, Obsidian will instantly create a new note with that title.
You’ve just created your first bi-directional link. You’ve laid the foundation. Your environment is set up, and you’ve verified its core functionality. Take a moment to appreciate this. You’ve built the workshop; now it’s time to learn the craft.
Core Implementation Architecture
Now that our workshop is clean and organized, we need a blueprint. An architecture. This isn’t about code or servers; it’s about the philosophy of how we will create and connect information. Without a solid architectural plan, your digital brain will quickly become as cluttered as the digital attic we’re trying to escape.
Our architecture will be built on two foundational pillars: Atomic Notes and the P.A.R.A. Method. This combination provides the perfect blend of granular detail and high-level organization, a key to any successful information organization method.
Pillar 1: The Power of Atomic Notes (Your Mental Legos)
The single most common mistake beginners make is creating “monster notes.” They’ll create a note called “Psychology” and dump everything they ever learn about psychology into that one massive, scrolling file. This is no better than a messy Word document. It’s hard to search, impossible to link precisely, and it stifles new connections.
We will do the opposite. We will create Atomic Notes.
The principle is simple: One note, one idea.
An atomic note is the smallest possible unit of knowledge that still makes sense on its own. It’s not a single word, but it’s also not a 10-page essay. It’s a single concept, a single quote with your thoughts, a single definition, a single insight.
Let’s say you’re reading a book about cognitive biases. Instead of a “Cognitive Biases” note, you would create:
A note named Confirmation Bias.
A note named Availability Heuristic.
A note named Sunk Cost Fallacy.
Inside the Confirmation Bias note, you would write a short definition in your own words, maybe add a quote from the book, and an example from your own life. That’s it.
Why is this so powerful?
Just like atoms combine to form molecules, your atomic notes combine to form a complex, interconnected network of thought. When you want to write an article about decision-making, you don’t start from a blank page. You simply gather your atomic notes on Confirmation Bias, Sunk Cost Fallacy, and Mental Models, and arrange them. The core ideas are already there, distilled and ready to be assembled. This is how you move from being a mere consumer of information to a creator of knowledge.
This is the “how” behind building a smarter learning strategy. You’re not just passively highlighting; you’re actively engaging with the material, breaking it down into its constituent atoms, and rephrasing it in your own words.
Pillar 2: The P.A.R.A. Method (Your Digital Filing Cabinet)
If atomic notes are the atoms, P.A.R.A. is the periodic table—the high-level structure that organizes them. We already created the folders in Module 2. Now, let’s solidify our understanding of this simple yet profound architecture, developed by productivity expert Tiago Forte.
P.A.R.A. stands for Projects, Areas, Resources, and Archive. It’s a method for organizing information based on its actionability.
Let’s visualize this with a simple grid:
Category
Definition
Actionability
Example Note
Projects
A series of tasks linked to a goal with a deadline.
High
Plan for 2026 Website Redesign
Areas
A sphere of activity with a standard to be maintained over time.
Medium
Notes on Personal Finance Management
Resources
A topic or theme of ongoing interest.
Low
Interesting Articles on Quantum Computing
Archive
Inactive items from the other three categories.
None
(Archived) Q1 2025 Marketing Campaign
How it works in practice
Capture Everything to the Inbox: You read a great article. You have a brilliant idea in the shower. A colleague sends you a useful link. Don’t think. Don’t file. Just open a new note in your 00-Inbox and capture it. The goal is to reduce friction.
Process Your Inbox Weekly: Once a week, go through your Inbox and ask a simple question for each note: “Is this useful for a specific project or area of my life right now?”
If YES, and it’s for a goal with a deadline, move it to the relevant folder inside 10-Projects.
If YES, but it’s for an ongoing responsibility, move it to a folder inside 20-Areas.
If NO, but it’s something you might want to reference in the future, move it to 30-Resources.
If it’s no longer relevant, delete it. Be ruthless.
This system is beautiful because it’s dynamic. A resource note on “Effective Marketing” might suddenly be moved into a “New Product Launch” project folder when it becomes actionable. Once that project is complete, the folder and its notes are moved to the Archive. The system breathes with your life and work.
The Magic of Links and Tags: Weaving the Web
This is where the architecture truly comes alive. Folders give you a top-down structure, but the real power of a second brain concept is in the bottom-up connections you create.
Links ([[ ]]) for Direct Connections: Use links to connect one atomic note directly to another. This is for creating explicit relationships. For example, in your note on Confirmation Bias, you might write:
This is closely related to the concept of the [[Filter Bubble]] and can be mitigated by using [[Mental Models]] like the ‘devil’s advocate’ technique.
Real-world implementation, telemetry verification, and analytics for Your 2026 Masterclass: Build Your Digital Brain (Beginners Guide to Smarter Learning & Organization).Operational workflow, assessment rubrics, and execution matrix for Your 2026 Masterclass: Build Your Digital Brain (Beginners Guide to Smarter Learning & Organization).Core concept architecture and environmental setup for Your 2026 Masterclass: Build Your Digital Brain (Beginners Guide to Smarter Learning & Organization).
Tags (#) for Broad Categories: Use tags to group notes by theme or status, especially when they live in different folders. A tag is like a search query you can pre-define.
Use them for status: #todo, #in-progress, #done.
Use them for type: #book-summary, #meeting-note, #idea.
Use them for broad topics that span multiple areas: #psychology, #leadership, #tech.
Imagine a visual diagram. Your folders are the large continents. Your notes are the cities and towns. The links ([[ ]]) are the major highways connecting specific cities. The tags (#) are like labels on a map, telling you which cities are “capitals,” which have “airports,” and which are “coastal,” regardless of which continent they are on.
This multi-layered architecture—Atomic Notes for granularity, P.A.R.A. for actionability, and Links/Tags for emergent connections—is the complete blueprint you need. It’s simple enough to start today but powerful enough to scale for a lifetime.
Hands-on Code & Practical Implementation
Theory is great, but a digital brain is built through practice. In this module, we’ll translate our architectural blueprint into tangible, practical actions inside Obsidian. The “code” we’ll be writing is Markdown, a simple and intuitive syntax for formatting plain text. It’s the language of the web, used on sites like GitHub and Reddit, and it’s the foundation of our future-proof system.
Think of this as your first time in the workshop, learning how to use the basic tools. We’ll create templates and real notes, and I’ll add “comments” to explain every step, just as a senior developer would comment their code for a junior colleague.
Your First Tool: A Markdown Crash Course
Markdown is designed to be readable even in its raw form. Here are the absolute essentials you’ll use 99% of the time.
# This is a Heading 1 (Use for note titles)
## This is a Heading 2
### This is a Heading 3 (Use for sub-sections within a note)
This is a bullet point
You can create lists
And indent them for sub-points
This is a numbered list
For sequential steps
This text will be bold. This text will be italic.
> This is a blockquote. Perfect for quoting sources.
`[[This is a link]]` to another note in your vault.
`#this-is-a-tag` for categorizing your note.
That’s it. With just these few syntactical rules, you can structure almost any kind of information.
Production-Ready Templates: Building Your Note Skeletons
Starting with a blank page can be intimidating. Templates solve this by providing a pre-built structure for common types of notes. They ensure consistency and prompt you to think in a structured way.
In Obsidian, we can create a 50-Templates folder (at the same level as your P.A.R.A. folders) to store these. Let’s create three essential templates.
1. The Literature Note Template (for books, articles, podcasts)
Create a new note in your 50-Templates folder named T-Literature Note. The “T-” prefix helps identify it as a template.
The --- section at the top is called “frontmatter.” It’s metadata that Obsidian can use for searching and organizing. We’ve included tags and fields for author, source URL, and the date you read it.
The headings (##) break the note into logical chunks, forcing you to move beyond passive highlighting and actively process the information.
The [[Related Ideas]] section is crucial. It prompts you to immediately start weaving this new knowledge into your existing web of thought.
2. The Meeting Note Template
Create a new note in 50-Templates named T-Meeting Note.
{{date}}: This is a special template variable. If you use Obsidian’s core “Templates” plugin, this will automatically insert today’s date when you use the template.
@person1: While not a formal feature, using the “@” symbol is a common convention to denote people.
[ ]: This creates a functional checkbox. You can click it in Obsidian’s reading view to mark a task as complete. This turns your meeting notes into an actionable dashboard.
Step-by-Step Walkthrough: From Article to Insight
Let’s put this all together. Imagine you just read a fascinating article about the “Forgetting Curve,” a concept in psychology.
Step 1: Capture to Inbox
You’re busy, so you don’t have time to process it fully.
Create a new note in your 00-Inbox folder called Article on Forgetting Curve.
Copy and paste the URL of the article and maybe one or two key paragraphs that caught your eye.
Close the note. That’s it. The idea is captured and safe.
Step 2: Process During Your Weekly Review
It’s Sunday morning, and you’re processing your inbox. You see the Article on Forgetting Curve note. You decide now is the time to turn it into knowledge.
Create a permanent note: Create a new note in your 30-Resources folder. Let’s call it The Forgetting Curve.
Apply the template: Use the Command Palette (Cmd/Ctrl+P), type “Insert template,” and choose your T-Literature Note.
A Digital Brain is a personal system for smarter learning and organization, designed to simplify complex information and enhance your mental processing.
How does a Digital Brain improve learning and organization?
It provides a structured approach to manage information, making complex topics intuitive and helping you learn more effectively and organize your knowledge efficiently.
Who is the 'Digital Brain' masterclass for?
This masterclass is a beginner's guide designed for anyone looking to build a personal system for smarter learning and improved information organization.
The landscape of artificial intelligence is rapidly evolving, moving beyond static models to dynamic, autonomous entities capable of reasoning, planning, and interacting with their environment. This shift marks the dawn of sophisticated...
Embarking on the journey to **ship your first app** to a live, production environment is a pivotal moment for any developer. It transforms theoretical knowledge into tangible impact, moving from local development...
A step-by-step operational blueprint to transform semester-long group assignments from chaotic scrambles into career-defining portfolio pieces that demonstrate real-world competence.
AI Study Tools & Student Automation Series Flagship Architectural Guide AI academic study assistant tools → In-depth benchmark comparing the top 10 free AI study...
Traditional masterclasses, while often rich in content, inherently struggle with scalability and individual adaptation. A single instructor's expertise, delivered through static videos or texts, cannot dynamically respond to...
This isn't just another tech project; it's about empowering your educational journey, creating a truly personalized AI study tool that understands your unique learning style,...
We use cookies to personalise content, ads and to analyse our traffic. We also share information about your use of our site with our advertising and analytics partners who may combine it with other information that you’ve provided to them or that they’ve collected from your use of their services.
Privacy Policy
Necessary CookiesAlways Active
Required for secure login, CSRF protection, session management, and core site accessibility. Cannot be switched off.
Preferences & Theme
Allows the website to remember user interface preferences, dark/light mode toggle, and language settings.
Analytics & Performance
Helps us measure audience traffic and understand how readers interact with tech articles via Google Site Kit and anonymous analytics.
Marketing & Social Embeds
Used to deliver relevant recommendations, embedded YouTube/X content, and assess advertising campaign engagement.