Your 2026 Blueprint: How to Build Educational Guides That Actually Transform Learners

Key Takeaways
- Effective guides prioritize teaching expertise over mere subject knowledge to prevent learner frustration.
- Transformative guides architect an empathetic learning journey, fundamentally changing what learners *can do*.
- In an AI-driven world, genuine learner transformation is the most valuable educational currency.
- Creators must become 'learning architects,' guiding learners with empathy and clarity, not just sharing information.
- True transformation empowers learners to build, understand, and master a new domain, beyond simple instruction.
Greetings, I’ve spent my career authoring AI and EdTech curricula, and I’ve seen it all. I’ve seen brilliantly technical people write guides so dense and academic that they repel the very beginners they hope to help. And I’ve seen learners, hungry for a new skill, abandon their journey in frustration, blaming themselves when the fault lay with the material.
This guide is my answer. It’s the blueprint I wish I had when I started. We’re not just going to talk about writing. We’re going to talk about architecture, empathy, and the science of learning itself. We’re going to build a framework that turns you from a content creator into a learning architect. This isn’t about just sharing what you know; it’s about fundamentally changing what someone else can do.
So, what makes an educational guide truly effective? It’s the deliberate, empathetic design of a journey—one that anticipates a learner’s questions, respects their cognitive limits, and empowers them with a tangible sense of progress. By the end of this masterclass, you will have the complete blueprint to build exactly that. Let’s begin.
Comprehensive Foundations & Concept Primer
Before we lay a single brick, we need to understand the soil we’re building on. So many aspiring educators jump straight into writing, thinking that their expertise is enough. But expertise in a subject and expertise in teaching that subject are two vastly different skills. This module is about building the second one. It’s our foundation.
Why “Transformative Guides” Are the Currency of 2026
Let’s talk about the world we’re building for. In 2026 and beyond, information is not the scarce resource—attention and comprehension are. We are drowning in an ocean of low-quality blog posts, auto-generated content, and fragmented YouTube tutorials. Anyone can use an AI to spit out a “10-step guide” in 30 seconds. The market is saturated with information.
What’s rare? What has immense value? Transformation.
A transformative guide doesn’t just give someone a fish; it doesn’t even just teach them how to fish. It takes them on a guided journey where they build their own fishing rod, understand the ecosystem of the lake, catch their first fish, cook it, and feel the profound confidence that comes from mastering a new domain.
This is why your work matters. In an AI-driven world, the most human skill is the ability to guide another human through a complex process with empathy and clarity. That’s our goal. The demand for effective educational guides has never been higher, because genuine skill acquisition is the antidote to information overload.
The Core Principles: Your Pedagogical Compass
Don’t let the word “pedagogy” scare you. It’s just the theory and practice of how we learn. We’re going to focus on three core ideas, explained through simple analogies.
1. Andragogy (Adult Learning Principles): The “Respect the Driver” Principle
Imagine you’re teaching a teenager to drive versus teaching a 40-year-old who has been a passenger their whole life. The teenager might just do what you say. The adult, however, comes with a wealth of experience (they know the rules of the road), a clear motivation (they need to commute to a new job), and a desire to be in control.
Andragogy is the art of teaching adults. It’s built on a few key tenets:
- The “Why”: Adults need to know why they are learning something. We can’t just say “do this.” We must start with a compelling reason that connects to their goals. This is our “Hook.”
- Self-Direction: Adults want to feel in control of their learning journey. Our guides should feel like a partnership, not a lecture. We provide the map, but they hold the steering wheel.
- Experience as a Resource: Adults bring their own life experiences. We should leverage this. Use analogies that relate to common experiences (like cooking, driving, or building furniture).
- Problem-Centered: Learning is most effective when it solves an immediate, real-world problem. Don’t teach abstract theory; frame everything as a solution to a challenge.
2. Constructivism: The “IKEA Effect” in Learning
Have you ever assembled a piece of IKEA furniture? Even if it was wobbly, you probably felt a strange sense of pride and attachment to it. You built it! This is the core of constructivism. We don’t just passively receive knowledge; we construct it by doing.
A bad guide is a pre-assembled piece of furniture. It might look perfect, but the learner has no idea how it was made. A great guide gives the learner the parts, the tools, and a clear set of instructions, and lets them build it themselves.
This is why hands-on practice is non-negotiable. Every concept you introduce must be followed by an action the learner can take. This active engagement is how you design content that transforms learners. It moves knowledge from short-term memory to long-term, usable skill.
3. Cognitive Load Theory: The “Juggling” Analogy
Imagine a learner is juggling. Their working memory is the number of balls they can handle at once. For most people, it’s not very many—maybe three or four.
- Intrinsic Load: One ball is the inherent difficulty of the topic itself. We can’t change this.
- Extraneous Load: Another ball is the way we present the information. Jargon, confusing layouts, and walls of text are all extra balls we’re forcing the learner to juggle. This is the enemy.
- Germane Load: The final ball is the mental effort of actually processing and understanding the concept—the “good” kind of thinking.
Our job as educators is to ruthlessly eliminate the Extraneous Load so the learner can use all their mental energy on the Germane Load. This means:
- Chunking: Break down complex topics into small, digestible pieces.
- Simple Language: Eliminate all unnecessary jargon. If you must use a technical term, explain it immediately with an analogy.
- Clear Visuals: Use diagrams and well-structured layouts to support the text, not compete with it.
By internalizing these three principles, you’ve already put yourself in the top 1% of guide creators. You’re no longer just a writer; you’re a learning experience designer.
Prerequisites & Complete Environment Setup
Just as a developer sets up their coding environment, a learning architect must set up their creation environment. This isn’t about complex software; it’s about establishing a workflow and mindset that puts the learner at the center of everything you do.
Step 1: The Empathy Map – Your Most Important Prerequisite
Before you write a single word, you must know who you’re writing for. Not in a vague “for beginners” sense, but in a deeply specific way. We’re going to create an Empathy Map. Grab a piece of paper or open a text file and answer these questions about your target learner. Let’s call her “Alex.”
- GOALS: What is Alex trying to achieve?
- Bad Answer: Learn Python.
- Good Answer: Build a simple web scraper to automate a boring part of her data entry job so she can get a promotion. (This is specific and problem-centered).
- FEELINGS: How does Alex feel about this journey?
- Anxious: “What if I’m not smart enough for this?”
- Overwhelmed: “There are so many tutorials, I don’t know where to start.”
- Impatient: “I want to see results quickly so I know I’m not wasting my time.”
- Hopeful: “If I can learn this, it could change my career.”
- PAINS: What are her biggest frustrations?
- Tutorials that assume prior knowledge she doesn’t have.
- Hitting an error message and having no idea how to fix it.
- Spending hours on a guide only to realize it was outdated or didn’t work.
- THINKS: What are the internal questions running through her head?
- “Is this the right way to do this?”
- “Why did the author do it that way and not another way?”
- “Am I making progress?”
This Empathy Map is your North Star. Every decision you make—from the words you choose to the examples you create—should be filtered through this map. You are writing for Alex.
Step 2: Your Authoring Toolkit (Keep It Simple)
You don’t need fancy, expensive software. In fact, simplicity is key. Here’s my recommended stack for creating engaging educational content.
- Primary Editor: A Markdown-First Text Editor
- What it is: Markdown is a simple syntax for formatting plain text. It’s what most modern documentation is written in. An editor like Visual Studio Code (VS Code) is perfect.
- Why: It forces you to focus on structure (
#for headings,for lists) rather than fussy formatting. VS Code has excellent Markdown previewers, so you can see what your guide will look like as you write. It’s free and industry-standard. - Diagramming Tool: A “Whiteboard” for Your Thoughts
- What it is: A tool to create simple flowcharts, diagrams, and architectural sketches. I personally love Excalidraw, but Miro or even a simple drawing app works.
- Why: Visuals are critical for reducing cognitive load. Before you write a complex section, sketch it out. This act of visual thinking will clarify your own understanding and give you an asset to include in the guide.
- File & Asset Management: A Logical Directory Structure
- What it is: A simple, repeatable folder structure for every guide you create. This is your “project repository.”
- Why: Organization prevents chaos. It makes it easy to find your images, drafts, and code snippets. It professionalizes your process.
Step 3: Your Project Directory Layout
For every new guide you create, use this structure. It’s a simple act of professional hygiene that pays massive dividends.
/my-transformative-guide/
|
|– 00_research/
| |– empathy-map.md
| |– competitor-guides-analysis.md
|
|– 01_drafts/
| |– module-1-foundations.md
| |– module-2-setup.md
| |– …
|
|– 02_assets/
| |– images/
| | |– learning-loop-diagram.png
| | |– architecture-overview.svg
| |
| |– code-snippets/
| |– setup-script.sh
| |– example-component.js
|
|– 03_final_guide/
| |– complete-guide.md
|
|– README.md (A summary of the guide’s purpose and target audience)
00_research/: This is for your prep work. Your Empathy Map lives here.01_drafts/: Write each module as a separate file. This makes large projects manageable.02_assets/: All your non-text files. Keep images and code separate.03_final_guide/: Where you’ll assemble the final, polished guide from your drafts.README.md: A simple file stating the “Alex” you’re writing for and the transformation you promise. This keeps you honest.
With your mindset calibrated and your environment structured, you are now ready to design the actual architecture of the learning experience.
Core Implementation Architecture
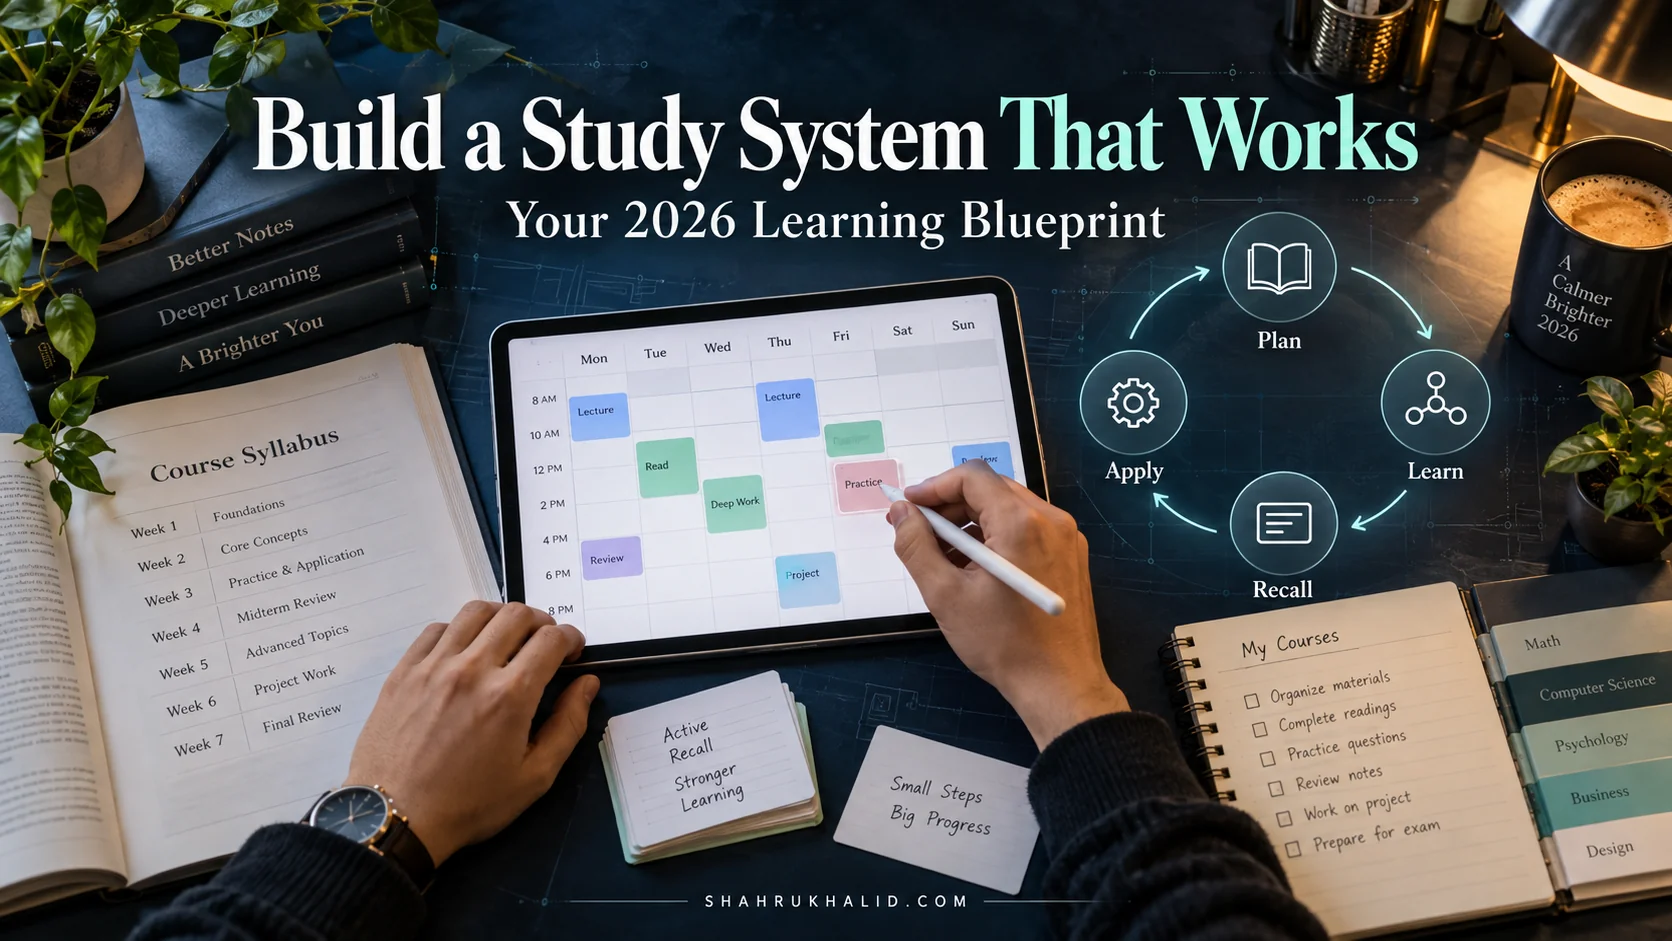
This is where we move from abstract principles to a concrete blueprint. What are the essential components of a successful learning guide? We will answer that by designing a repeatable structure—a loop—that forms the backbone of every module, and indeed the guide as a whole. I call this the Transformative Learning Loop.
It consists of four key stages: Hook, Foundation, Action, and Reflection.
The Transformative Learning Loop: Your Four-Stage Rocket
Imagine you’re trying to launch a satellite (the learner’s new skill) into orbit (long-term memory and real-world application). You can’t just point it at the sky and light the fuse. You need a multi-stage rocket.
- Stage 1: HOOK (Ignition & Liftoff) – Grab their attention and build momentum.
- Stage 2: FOUNDATION (Main Engine Burn) – Provide the core thrust of knowledge.
- Stage 3: ACTION (Payload Separation) – Detach from theory and perform a real task.
- Stage 4: REFLECTION (Achieve Stable Orbit) – Internalize the experience and connect it to the bigger picture.
Let’s break down how to build each stage.
Visual Card Structure: Designing a Single Learning Unit
Think of each core concept you teach as a “Learning Unit.” You can visualize it as a card with four distinct sections.
1. The HOOK Section
Purpose: To answer the learner’s question, “Why should I care?” This is where you connect to their goals from the Empathy Map.

Implementation:

- Start with a relatable story or a frustrating problem. “Have you ever spent hours manually copying data from a spreadsheet…?”
- State the clear, tangible outcome of this specific unit. “In the next 15 minutes, you will learn how to write a 3-line script that does that entire task for you.”
- Create a “knowledge gap.” Hint at a powerful, non-obvious solution that makes them curious.
2. The FOUNDATION Section
Purpose: To deliver the minimum necessary information required to complete the upcoming action. This is where you manage cognitive load.
Implementation:
- Introduce one core concept at a time. No more.
- Use a clear analogy. “Think of a ‘variable’ as a labeled box where you can store a piece of information.”
- Provide a concise, heavily commented code snippet or example. Explain every single line.
- Reference authoritative sources like MDN or Google’s official docs. “The official definition, as you can see on MDN, is…, but for our purposes, just think of it as a labeled box.” This builds trust.
3. The ACTION Section
Purpose: To get the learner’s hands on the keyboard. This is the constructivist “IKEA” moment.
Implementation:
- Provide a step-by-step, numbered list of instructions. “1. Open your text editor. 2. Create a new file named
app.js. 3. Type the following code exactly as you see it.” - Give them a “starter kit.” Provide any boilerplate code so they can focus on the new concept.
- Define a clear “Success State.” Tell them exactly what they should see. “After running the command, you should see the message ‘Hello, World!’ printed in your terminal.” This provides a dopamine hit of success.
4. The REFLECTION Section
Purpose: To cement the learning and connect it back to the bigger picture. This is what separates a tutorial from a transformative experience.
Implementation:
- Ask probing questions. “What do you think would happen if you changed the message inside the quotes?” (Encourages experimentation).
- Connect back to the Hook. “See? That 3-line script just replaced 30 minutes of manual work. That’s the power we’re unlocking.”
- Bridge to the next concept. “Now that you can send a message to the console, what if we could get the computer to make a decision? That’s what we’ll cover in the next unit on ‘if-statements’.”
Diagram Grids: Mapping Your Entire Guide
Your guide is not just a series of these cards in a row. It’s a structured journey. Use a diagramming tool to map it out.
Create a grid. Each column is a major Module (e.g., “Module 1: Setup”, “Module 2: Core Concepts”). Each row within that column is a Learning Unit (a Hook-Foundation-Action-Reflection loop).
This visual map helps you see:
- The Flow: Does the journey make logical sense?
- The Dependencies: Does Unit 2.3 require a skill taught in Unit 1.4?
- The “Why”: Can you draw a line from every single Action back to the learner’s primary goal from the Empathy Map?
This architectural planning is the most crucial step in learning guide development. It’s the difference between building a rambling shack and a sturdy, beautiful house.
Hands-on Code & Practical Implementation
Theory is great, but transformation happens through action. In this module, we’re going to stop talking about the blueprint and actually use it. I will write a small, self-contained learning unit using the four-stage loop we just designed.
Our topic will be something universally understood, so we can focus on the structure of the teaching, not the complexity of the subject. Let’s teach “Alex” how to make a perfect pour-over coffee.
Notice how I will use blockquotes as “author’s notes” to you, explaining my pedagogical choices in real-time. This is a meta-lesson in itself.
### Learning Unit: The 3-Minute Pour-Over That Will Change Your Mornings
(Start of the Learning Unit)
[HOOK] From Mud to Magic: The Pour-Over Problem
Have you ever made a cup of coffee at home that just tasted… sad? Maybe it was bitter, maybe it was watery, but it definitely didn’t taste like the amazing $6 cup you get from your favorite cafe. You have a bag of expensive, wonderful-smelling beans, but the results are disappointing. It feels like a waste.
What if I told you that the secret to a consistently delicious cup isn’t a fancy, expensive machine? It’s a simple, 3-minute technique that puts you in complete control. In this short guide, you will learn the “bloom and pulse” pour-over method. By the end, you’ll be able to turn those beautiful beans into a perfect cup of coffee, every single time.
> Author’s Note (to you): See what I did there? I started with a relatable pain point (bad home coffee). I identified the learner’s goal (cafe-quality coffee). I created a knowledge gap by hinting at a “secret” simple technique, making them curious. I gave a specific, time-bound promise (“3-minute technique,” “by the end, you’ll be able to…”). The Hook is set.
[FOUNDATION] The Science of Extraction & The “Bloom”
To make great coffee, we need to understand one core concept: extraction. Think of a coffee bean as a tiny, tightly-packed sponge filled with delicious flavors. Our job is to use hot water to gently “extract” those flavors. If we do it too fast, the coffee is sour and weak (under-extracted). If we do it too slow or with water that’s too hot, it becomes bitter (over-extracted).
Our secret weapon for perfect extraction is a step called the bloom.
When hot water first hits fresh coffee grounds, they rapidly release carbon dioxide gas. This gas actually repels water, preventing even extraction. The bloom is the act of pouring just enough water to wet all the grounds and then waiting for about 30-45 seconds. You’ll see the coffee bed bubble and “bloom” upwards. This releases the gas and prepares the grounds to be evenly extracted for the rest of the pour.
Your Key Tools & Ratios (Heavily Commented):
// The Golden Ratio: A great starting point for any coffee.
// We’re using a 1:15 ratio. That means for every 1 gram of coffee, we use 15 grams of water.
const COFFEE_GRAMS = 20; // A good amount for a single mug.
const WATER_GRAMS = 300; // 20g 15 = 300g.
// Water Temperature: The biggest factor in extraction.
// Too hot = bitter. Too cool = sour.
const WATER_TEMP_CELSIUS = 94; // Just off the boil is perfect.
// The Bloom Water: The most important step.
// We use about 2x the weight of the coffee for the bloom.
const BLOOM_WATER_GRAMS = 40; // 20g 2 = 40g.
> Author’s Note: Notice the cognitive load management. I introduced only one new concept: extraction. I used an analogy (sponge). I then introduced the practical application (the bloom) and explained why it works (releasing CO2). The “code” snippet isn’t code; it’s a structured list of parameters. The comments explain the why* behind each number, adhering to adult learning principles. I’ve given them the foundational knowledge they need for the next step.
[ACTION] Your First Perfect Pour: A Step-by-Step Guide
Let’s do this. Grab your kettle, coffee, grinder, mug, and pour-over cone.
Your Goal: To pour 300g of water over 20g of coffee, starting with a 45-second bloom, for a total brew time of around 3 minutes.
- Boil your water. Once it boils, let it sit for about 30 seconds to cool to the perfect temperature (~94°C / 201°F).
- Weigh and grind your coffee. Weigh out 20g of whole beans. Grind them to the consistency of coarse sand