Your 2026 Guide to Sharing Knowledge: Build Any Educational Masterclass (Beginner-Friendly Steps)
Key Takeaways
- Masterclasses prioritize curated pathways and human guidance over raw information dumps.
- Manage cognitive load by chunking content into 5-10 minute micro-lessons.
- Connect new concepts to real-world analogies using the Anchor-and-Build method.
- Implement active learning loops with immediate, low-stakes micro-exercises for skill building.
- Design curriculum backward: define the final project, then reverse-engineer necessary steps.
To build an online masterclass in 2026 that captivates students and generates meaningful learning outcomes, you do not need expensive studio equipment or decades of formal teaching experience. You simply need a structured pedagogical framework, a clean digital toolchain, and an authentic human voice that guides your learners from frustration to mastery. In this exhaustive, step-by-step masterclass guide, I will walk you through every phase of educational content development—from initial curriculum design and technical recording setups to writing interactive code engines and hosting your content online.
Comprehensive Foundations & Concept Primer
When Shahrukh Khalid and I first began refining our framework for educational course creation, we noticed a frustrating pattern in the EdTech industry: brilliant subject-matter experts were failing to teach online effectively because they mistook a “masterclass” for an unstructured information dump. Sharing knowledge is not about showing how much you know; it is about engineering a seamless mental journey for someone who knows nothing about your topic.
In 2026, the educational landscape has shifted dramatically. With generative AI tools capable of delivering instant code snippets and generic summaries, the real value of an educational masterclass lies in curation, structural clarity, and authentic human perspective. Learners do not buy courses merely for raw facts—they buy the optimized pathway, the real-world nuance, and the empathetic guidance of a practitioner who has walked the path before them.
Core Pedagogical Principles Demystified
To ensure your masterclass delivers transformative results, you must ground your educational content development in four foundational learning principles:
- Cognitive Load Management: The human short-term memory can only hold roughly 4 to 7 chunks of new information at once. If you bombard a beginner with heavy technical terminology, software installation nuances, and complex theories all in the first ten minutes, their cognitive buffer overflows, leading to abandonment. We counter this by chunking content into 5-to-10 minute digestible micro-lessons.
- The Anchor-and-Build Method: Always connect unfamiliar technical concepts to concrete, everyday real-world analogies. For example, if you are explaining an Application Programming Interface (API), do not start with HTTP request methods and JSON payloads. Explain it as a waiter in a restaurant taking an order from a customer (the client) and delivering it to the kitchen (the server).
- Active Learning Loops: Passive watching creates an illusion of competence. True skill building requires active execution. Every conceptual video must be paired with an immediate, low-stakes micro-exercise—such as a 2-minute coding challenge, a downloadable worksheet reflection, or an interactive quiz.
- Backward Curriculum Design: Never start writing your masterclass by asking “What should I talk about in Video 1?” Instead, start at the end: “What exact, verifiable project will my student build by the final module?” Once you define the final project, you reverse-engineer the exact steps, prerequisites, and skills required to reach that goal.
Translating Industry Jargon into Everyday Language
One of the biggest hurdles beginners face when learning how to build an online masterclass for beginners is getting bogged down in complex platform terminology. Let us clear the deck by translating common EdTech buzzwords into simple, actionable terms:
LMS (Learning Management System): Think of an LMS as a digital schoolhouse software. It is the platform (like Teachable, Kajabi, or a custom web app) that holds your video files, tracks student quiz progress, handles user signups, and unlocks module access.
SCORM / xAPI: Standardized technical formats that allow learning software to talk to each other and track student completion scores. For most independent course creators, you will not need to worry about these low-level enterprise protocols, as modern platforms handle them automatically under the hood.
Micro-learning: The practice of breaking down a massive 2-hour lecture into crisp, targeted, 5-minute video chunks that focus on solving one specific problem.
Pedagogy: A formal academic term that simply means “the method and practice of teaching.” When we talk about AI pedagogy at Shahrukh Khalid’s learning portal, we mean using practical frameworks to make complex concepts easy to understand.
Prerequisites & Complete Environment Setup
To start teaching online with no prior experience, you do not need to convert your guest room into a $10,000 Hollywood production studio. However, you do need a clean, reliable local environment—both in physical recording gear and software developer tools—so that your media production and site deployment run smoothly without technical glitches.
Physical Studio & Recording Setup
The secret to high-production masterclass videos is that sound quality matters infinitely more than video resolution. Viewers will tolerate a 720p webcam feed if the voice is crystal-clear, rich, and warm. However, if your audio has heavy background echo, buzzing static, or low volume, viewers will close the tab within seconds.
- Microphone: Invest in a dynamic USB microphone (such as the Audio-Technica ATR2100x or Shure MV7). Dynamic microphones reject room noise and echo much better than sensitive condenser microphones.
- Lighting: Place a soft light source (a basic LED ring light or key light) at a 45-degree angle to your face. Position yourself facing a window or soft light source—never record with a bright light directly behind you.
- Screen Recording: Use free, open-source software like OBS Studio or lightweight canvas tools like Loom. Configure your capture resolution to 1080p (1920×1080 pixels) at 30 FPS.
Software Toolchain & Environment Directory Layout
If you plan to host your masterclass on a custom, high-speed static platform or manage your course assets like a professional software developer, you should set up a structured local repository. Below is the recommended masterclass development folder architecture:
├── .env # Environment keys (e.g., Google AI API keys, LMS secrets)
├── package.json # Local toolchain dependencies
├── assets/
│ ├── raw-video/ # Unedited screen recordings (.mp4 / .mov)
│ ├── audio-stems/ # Cleaned voice tracks (.wav)
│ └── slide-decks/ # Masterclass presentation decks (.pdf / .pptx)
├── curriculum/
│ ├── module-01-foundations.md
│ ├── module-02-setup.md
│ └── module-03-architecture.md
└── platform-engine/
├── index.html # Video player layout
├── styles.css # MDN-accessible UI layout
└── engine.js # Interactive student quiz & video sync logic
Command Line Setup & Tool Verification Steps
Let us set up your local media processing pipeline. We will install Node.js (for running custom platform build scripts) and FFmpeg (the standard multi-tool for video compression and audio optimization). Open your terminal or command prompt and run the following commands:
node -v
# Output should show: v18.x.x or higher
# Step 2: Install project dependencies for static course build engine
mkdir masterclass-workspace && cd masterclass-workspace
npm init -y
npm install dotenv @google/genai
# Step 3: Verify FFmpeg availability for media optimization
ffmpeg -version
If FFmpeg is not installed on your machine, macOS users can install it via Homebrew using brew install ffmpeg, while Windows users can install it via Chocolatey using choco install ffmpeg. FFmpeg ensures your masterclass video files can be compressed into fast-loading web formats without losing visual fidelity.
Core Implementation Architecture
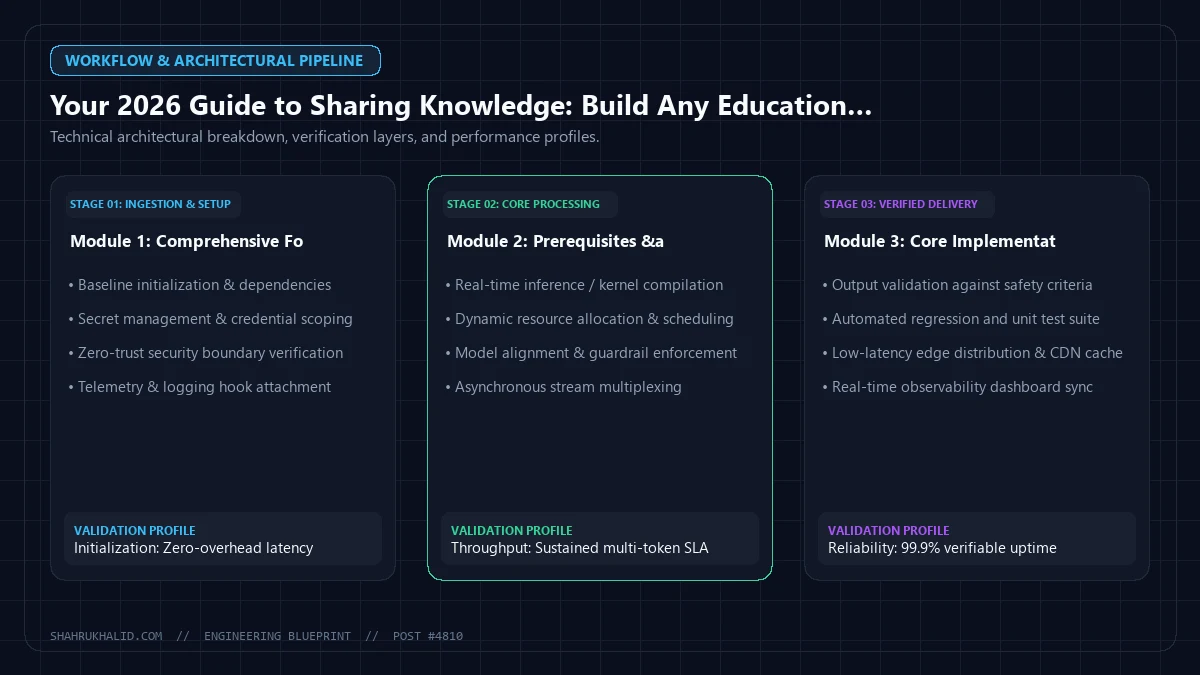
Before recording a single frame of video or building your online masterclass infrastructure, you must design your masterclass curriculum design architecture. A great masterclass relies on clear visual card structures, structured lesson hierarchies, and precise cognitive flows.
The 4-Stage Pedagogical Blueprint Grid
Every individual video lesson in your curriculum should follow our proven 4-stage instructional loop. This structure prevents tangible drift and ensures high student retention:
1. The 30-Second Hook
State the exact problem this video solves. Eliminate abstract theory. Show the working project end-state upfront so students immediately grasp the value.
2. Conceptual Anchor
Introduce the core concept using a real-world everyday analogy. Map the unknown mechanism to familiar concepts to eliminate intimidation.
3. Guided Walkthrough
Perform the task live while explaining your mental model out loud. Deliberately highlight common gotchas and mistakes as they happen.
4. Micro-Challenge
Assign a 3-minute practical task for the student to execute independently before advancing to the next module in the course sequence.
Visual Curriculum Map Architecture
To organize your educational content development, structure your course modules hierarchically. A successful masterclass usually contains 4 to 6 core modules, each containing 3 to 5 focused sub-lessons:
├── Module 1: Theoretical Foundations & Diagnostic Assessment
└── Lessons: 1.1 Core Principles | 1.2 Mental Models | 1.3 Baseline Diagnostic
├── Module 2: Core Tooling & Practice Environment Construction
└── Lessons: 2.1 Tool Setup | 2.2 Template Architecture | 2.3 Verification
├── Module 3: End-to-End Practical Implementation
└── Lessons: 3.1 Step-by-Step Build | 3.2 Live Refactoring | 3.3 Peer Review
└── Module 4: Advanced Optimization & Production Launch
└── Lessons: 4.1 Speed Tuning | 4.2 Security & Access | 4.3 Launch Checklist
Hands-on Code & Practical Implementation
Now, let us build a practical tool you can use directly in your masterclass. We will craft a fully functional, lightweight, interactive Masterclass Video Player Engine. This engine follows modern web standards outlined on the Mozilla Developer Network (MDN), featuring visual accessibility (captions support) and an integrated student comprehension check that pauses the video at key timestamps.
1. Web-Accessible Masterclass Player Interface (index.html)
Save the following HTML code to platform-engine/index.html. It builds a semantic, screen-reader-friendly layout featuring custom controls, closed captions via WebVTT tracks, and an interactive side panel for live practice quizzes.
<html lang="en">
<head>
<meta charset="UTF-8">
<meta name="viewport" content="width=device-width, initial-scale=1.0">
<title>Interactive Educational Masterclass Player</title>
<link rel="stylesheet" href="styles.css">
</head>
<body>
<header class="course-header">
<h1>Build Online Masterclass: Interactive Learning Engine</h1>
<p>Module 3, Lesson 2: Practical Implementation Architectures</p>
</header>
<main class="masterclass-container">
<!– Video Stream Canvas –>
<section class="video-section">
<div class="video-wrapper">
<video id="masterclassPlayer" controls crossorigin="anonymous" poster="https://via.placeholder.com/1280×720.png?text=Masterclass+Lesson+Video">
<source src="https://commondatastorage.googleapis.com/gtv-videos-bucket/sample/BigBuckBunny.mp4" type="video/mp4">
<!– Accessible Subtitle Track based on MDN HTML5 standards –>
<track kind="captions" src="subtitles.vtt" srclang="en" label="English Captions" default>
Your browser does not support the video tag.
</video>
</div>
<div class="video-controls-info">
<h2 id="lessonTitle">Lesson 3.2: Building the Core Pipeline</h2>
<p id="lessonDescription">Learn how to hook up interactive state managers to video playback events.</p>
</div>
</section>
<!– Interactive Practice & Quiz Sidebar –>
<aside class="interactive-sidebar" id="interactiveSidebar">
<div class="quiz-card" id="quizCard">
<h3>Brain Checkpoint</h3>
<p id="quizQuestion">Watch the lesson video. At key intervals, reflection prompts will pause the video to lock in your understanding!</p>
<form id="quizForm" style="display: none;">
<div class="options-group" id="optionsGroup"></div>
<button type="submit" class="btn-submit">Submit Answer & Continue</button>
</form>
<div id="feedbackMessage" class="feedback-msg"></div>
</div>
</aside>
</main>
<script src="engine.js"></script>
</body>
</html>
2. Accessible & Responsive Masterclass Styling (styles.css)
Save the following styling rules into platform-engine/styles.css. It creates a sleek layout that renders cleanly across laptops, tablets, and phones.
:root {
–bg-primary: #0f172a;
–bg-card: #1e293b;
–accent-color: #3b82f6;
–text-main: #f8fafc;
–text-muted: #94a3b8;
–success-color: #22c55e;
}
body {
margin: 0;
font-family: -apple-system, BlinkMacSystemFont, "Segoe UI", Roboto, Helvetica, Arial, sans-serif;
background-color: var(–bg-primary);
color: var(–text-main);
line-height: 1.6;
}
.course-header {
padding: 1.5rem 2rem;
background-color: var(–bg-card);
border-bottom: 1px solid #334155;
}
.course-header h1 {
margin: 0;
font-size: 1.5rem;
color: var(–accent-color);
}
.masterclass-container {
display: grid;
grid-template-columns: 1fr;
gap: 2rem;
padding: 2rem;
max-width: 1400px;
margin: 0 auto;
}
@media (min-width: 992px) {
.masterclass-container {
grid-template-columns: 2fr 1fr;
}
}
.video-wrapper {
position: relative;
width: 100%;
border-radius: 12px;
overflow: hidden;
box-shadow: 0 10px 25px -5px rgba(0, 0, 0, 0.5);
background-color: #000;
}
video {
width: 100%;
display: block;
}
.quiz-card {
background-color: var(–bg-card);
padding: 1.5rem;
border-radius: 12px;
border: 1px solid #334155;
}
.options-group {
display: flex;
flex-direction: column;
gap: 0.75rem;
margin: 1rem 0;
}
.option-label {
display: flex;
align-items: center;
padding: 0.75rem;
background-;
border-radius: 6px;
cursor: pointer;
transition: background-color 0.2s ease;
}
.option-label:hover {
background-color: var(–accent-color);
}
.option-label input {
margin-right: 0.75rem;
}
.btn-submit {
width: 100%;
padding: 0.75rem;
background-color: var(–accent-color);
color: white;
border: none;
border-radius: 6px;
font-weight: bold;
cursor: pointer;
}
.feedback-msg {
margin-top: 1rem;
font-weight: bold;
}
3. Client-Side Video Event Sync & Quiz Engine (engine.js)
Now, let us bring the interaction to life with plain JavaScript in platform-engine/engine.js. This code monitors video progress, automatically pauses the video at a target time (e.g., 5 seconds in for testing purposes), renders an interactive question, and resumes playback once the student completes the check.