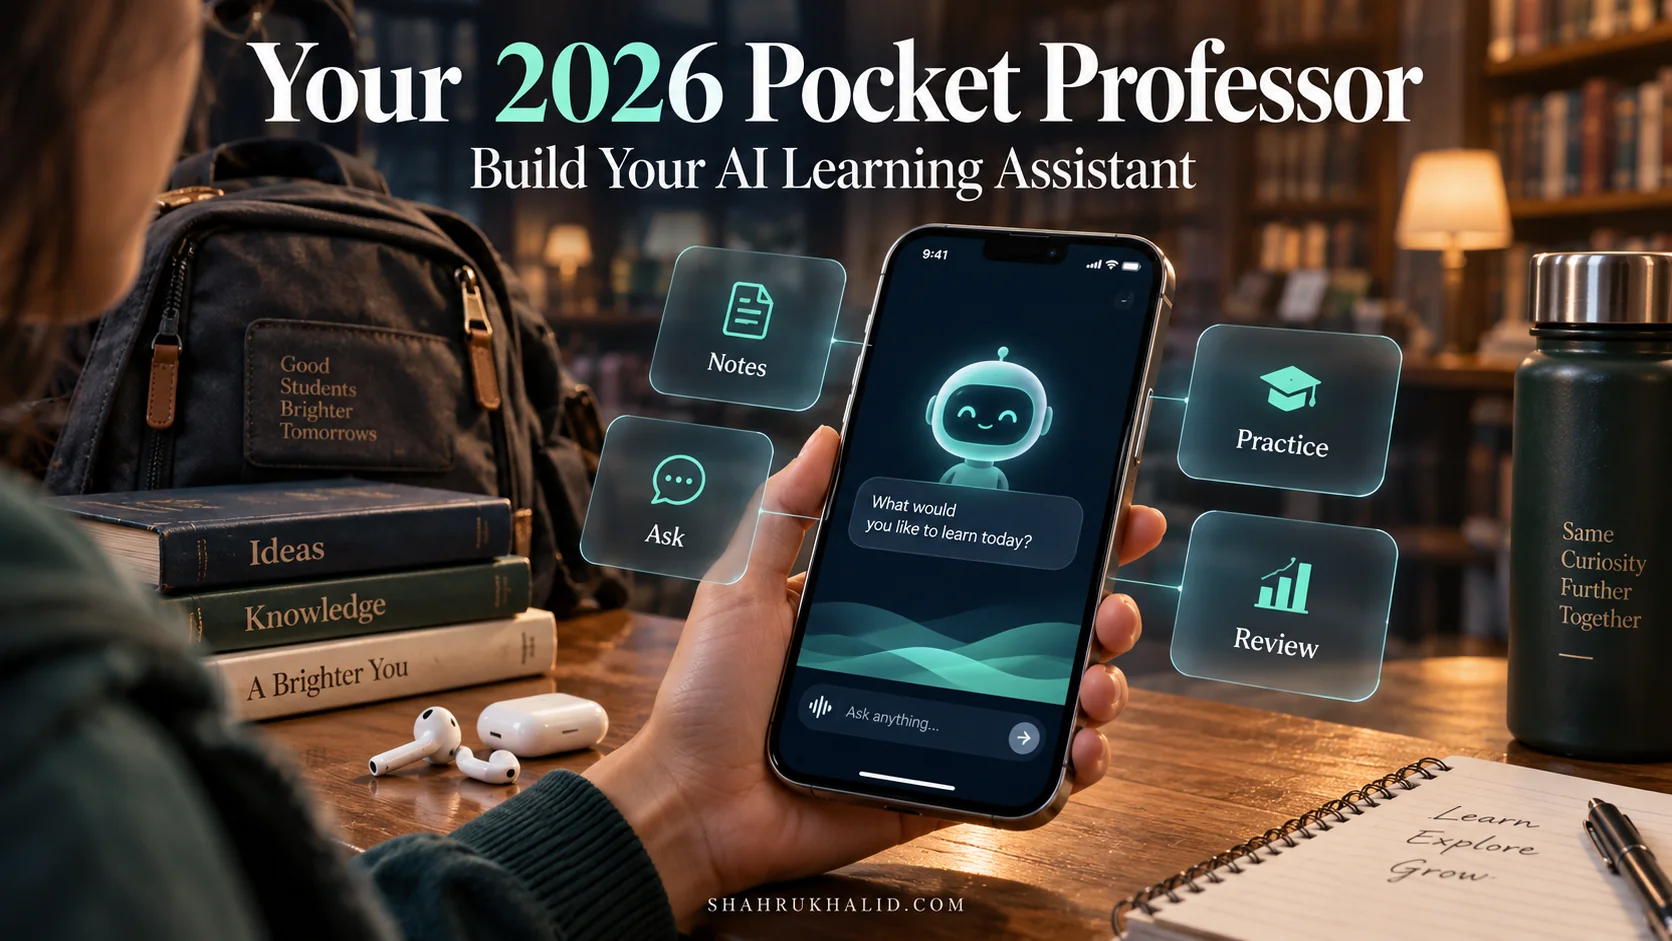
Your AI Best Friend in 2026: A Step-by-Step Guide to Making AI Help *You* Daily

Key Takeaways
- Personal AI collaboration will be fundamental by 2026, like early search engines.
- AI is a pattern-matching LLM, a 'super-powered intern' requiring specific instructions.
- Effective AI interaction requires Prompt Engineering: clear, context-rich instructions.
- AI lacks real-world experience, common sense, and long-term memory.
- The guide focuses on building a functional, browser-based 'Personal AI Dashboard'.
I remember a few years ago, AI felt like a concept from a sci-fi movie—abstract, a bit intimidating, and certainly not something I’d use to help me draft an email or plan my weekend. Fast forward to today, and it’s a different world. The core thesis of this masterclass is simple: by 2026, learning to collaborate with a personal AI will be as fundamental as learning to use a search engine was in the early 2000s. This guide is your practical, step-by-step tutorial to not just understand this shift, but to build your very own AI-powered assistant that helps you, every single day.
We’re not going to just talk about theories. We’re going to roll up our sleeves and build a functional, browser-based “Personal AI Dashboard” from scratch. This isn’t about becoming an AI researcher; it’s about becoming an AI user in the most empowered sense of the word. Let’s get started.
Comprehensive Foundations & Concept Primer
Before we write a single line of code, it’s crucial to build a solid mental model. What is this “AI” we’re talking about? How does it work? And why is it suddenly everywhere? Let’s demystify the magic and eliminate the jargon.
Analogy Time: Your AI is a Super-Powered Intern
Imagine you have an intern. This intern is brilliant. They’ve read nearly the entire internet, every book, every scientific paper, and every Wikipedia article. They can write, summarize, translate, code, and brainstorm at lightning speed. However, they have a few quirks:
- They have no real-world experience or common sense. They only know what they’ve read. They don’t have memories of their own or personal opinions.
- They need extremely specific instructions. If you say, “Write a report,” they’ll be lost. If you say, “Write a 500-word summary of the latest quarterly earnings report for a non-technical audience, focusing on revenue growth and future outlook, in a professional but optimistic tone,” they’ll nail it.
- They have a short-term memory. Each request you make is like a brand-new conversation. They won’t remember what you asked them five minutes ago unless you remind them.
This, in a nutshell, is a Large Language Model (LLM) like Google’s Gemini or OpenAI’s GPT series. It’s a pattern-matching machine of unimaginable scale. When you give it a “prompt” (your instruction), it doesn’t “think” or “understand” in the human sense. Instead, it calculates the most statistically probable sequence of words to come next, based on the patterns it learned from its vast training data. Your job, as the manager of this intern, is to get good at giving clear, context-rich instructions. This skill is called Prompt Engineering.
Core Principles: The Three Pillars of Your Personal AI
Our project, and indeed most practical AI applications you’ll build, rests on three simple pillars. Understanding them is key to seeing how the whole system fits together.
- The User Interface (The ‘Front Door’): This is what you see and interact with. It’s the textbox where you type your request and the area where the AI’s response appears. In our case, this will be a simple webpage built with HTML and CSS. It’s the friendly face of our powerful system.
- The API (The ‘Messenger’): API stands for Application Programming Interface. Think of it as a waiter in a restaurant. You (the User Interface) give your order (the prompt) to the waiter. The waiter takes it to the kitchen (the AI model), which you can’t see or access directly. The kitchen prepares the dish (the AI’s response), and the waiter brings it back to your table. The API is the messenger that handles all the communication between your simple webpage and the multi-billion dollar AI model running on a server somewhere in the world. As noted in the MDN Web Docs, APIs are the fundamental contracts that allow different software systems to talk to each other.
- The AI Model (The ‘Brain’): This is the super-powered intern, the LLM itself. It’s a massive, complex piece of software hosted by a company like Google. We don’t need to know how it was built, only how to talk to it through its API. We send it text, and it sends us text back. That’s the core transaction.
That’s it. That’s the whole magic trick. A front-end you build, a model someone else built, and an API that connects them. Our journey in this masterclass is to become experts at wiring these three things together effectively.
Why This is Essential in 2026
In the past, the ability to leverage technology was about knowing how to use specific software—Microsoft Word, Photoshop, Excel. The software had fixed buttons and functions. The future of productivity is different. It’s about dialogue. Instead of clicking a “summarize” button that may or may not exist, you’ll simply ask your AI, “Summarize this document for me.”
By learning to build your own simple AI interfaces, you are moving from being a passive consumer of AI (just using a public chatbot) to an active architect of your own productivity tools. You can tailor the AI’s function to your exact needs, integrate it into your personal workflows, and automate the repetitive, mundane tasks that drain your time and creativity. This isn’t a niche skill for developers; it’s a universal competency for the modern professional, student, and creator. As we see on platforms like Shahrukh Khalid’s blog, the focus is shifting from complex, monolithic software to lightweight, practical architectures that solve real-world problems. That’s exactly what we’re about to build.
Prerequisites & Complete Environment Setup
Alright, theory’s over. It’s time to get our hands dirty. This module is a pure, practical step-by-step tutorial to get your digital workshop ready. We’ll set up everything you need to start building your Personal AI Dashboard. No steps skipped.

Step 1: Get Your AI API Key
The API key is your secret password that lets you access the AI model. It proves to Google that you’re an authorized user. We will use the Google Gemini API, as it’s powerful, well-documented, and has a generous free tier perfect for our project.
- Navigate to Google AI Studio: https://aistudio.google.com/.
- You’ll be prompted to sign in with your Google account. Do so.
- Once you’re in, look for a button or link that says “Get API key” (it’s usually on the left-hand navigation pane or top right).
- Click on “Create API key in new project“.
- A new window will pop up with your API key. It’s a long string of random letters and numbers. This is a secret! Treat it like a password. Do not share it publicly or commit it to a public code repository like GitHub.
- Copy this key and paste it into a temporary, secure text file on your computer. We’ll need it very soon.
This process is clearly laid out in the official Google AI documentation, which is your best friend for any future questions.
Step 2: Set Up Your Local Project Folder
We don’t need complex tools. We’ll use the fundamental building blocks of the web. All you need is a text editor (like VS Code, Sublime Text, or even Notepad) and a web browser (like Chrome or Firefox).
- On your computer, create a new folder. Name it something clear, like
personal-ai-dashboard.
- Inside this folder, create three empty files:
index.html(This will be the structure of our webpage)style.css(This will handle the visual styling)script.js(This is where our logic and API calls will live)
Your directory layout should look like this:
├── index.html
├── style.css
└── script.js
This simple, clean structure is a best practice you’ll find in countless web development tutorials, including those on MDN.
Step 3: Install a Lightweight Web Server (Optional but Recommended)
When you make API calls from a local HTML file (file:///...), modern web browsers often block them for security reasons (this is called a CORS policy error). The easiest way to get around this for development is to serve your files from a local web server.
My favorite tool for this is live-server, which requires Node.js and npm. If you don’t have them, don’t worry! You can skip this for now, but you might run into issues later. For a complete setup:
- Install Node.js and npm: Go to nodejs.org and download the LTS (Long-Term Support) version for your operating system. The installer includes npm (Node Package Manager).
- Open your terminal or command prompt. On Windows, search for “Command Prompt” or “PowerShell”. On macOS, search for “Terminal”.
- Verify the installation by typing these commands and pressing Enter. You should see version numbers printed out.
node -v
npm -v - Install live-server globally: In the same terminal, run the following command. The
-gflag means it will be available anywhere on your system.npm install -g live-server - Run your server: Now, navigate your terminal into your project folder (
personal-ai-dashboard) and simply run the command:live-server
Your default web browser should automatically open to http://127.0.0.1:8080, showing your (currently empty) index.html page. The best part? Any time you save a change to your files, the browser will automatically refresh. It’s a fantastic development workflow.
Your environment is now fully configured. We have our secret key, our project files, and a way to view our work in a browser. We’re ready to build the architecture.
Core Implementation Architecture
Now we’ll map out the blueprint of our Personal AI Dashboard. Understanding this flow is more important than memorizing any specific piece of code. We’ll visualize the journey of a single request, from your brain to the AI’s response on your screen. As emphasized in the pedagogical approach of Shahrukh Khalid | Technology News & Insights, a clear architectural diagram is the foundation of a practical tutorial.

The Data Flow: A Visual Grid
Imagine the process as a series of connected cards. Each card represents a component in our system and what it’s responsible for.
1. The User Interface (index.html)
Role: The Entry Point
This is what the user interacts with. It contains:
- A text area for the user to type their prompt (e.g., “Summarize my morning emails”).
- A “Generate” button to trigger the process.
- A designated area (like a
<div>) to display the AI’s response. - A loading indicator to show that the system is working.
Technology: HTML, CSS
2. The Event Handler (script.js)
Role: The Trigger
This is the JavaScript code that “listens” for the user to click the “Generate” button. When the click happens, it:
- Grabs the text from the input area.
- Shows the loading indicator.
- Calls the next function in the chain, passing the user’s prompt as an argument.
Technology: JavaScript (DOM Events)
3. The API Caller (script.js)
Role: The Messenger
This is the core communication function. It takes the prompt and:
- Constructs the full API request, including the URL, headers, and the request body (which contains the prompt and other parameters).
- Uses the JavaScript
fetch()API to send this request over the internet to Google’s servers. - Crucially, it includes your secret API key in the request headers for authentication.
Technology: JavaScript (fetch API, Promises, async/await)
4. The AI Model (Google Gemini)
Role: The Brain
This is the black box on Google’s servers. It receives the request, processes the prompt, and generates a response based on its training. We don’t control this part, we just trust it to work.
- Parses the incoming request.
- Calculates the most probable text completion.
- Wraps the result in a JSON object.
Technology: Large Language Model (LLM)
5. The Response Handler (script.js)
Role: The Unpacker
Once the fetch() call gets a response back from the server, this part of our JavaScript code takes over. It:
- Checks if the request was successful (e.g., HTTP status 200 OK).
- Parses the JSON response to extract the actual text generated by the AI.
- Handles any potential errors (e.g., API key invalid, network error).
Technology: JavaScript (Promises, JSON parsing)
6. The DOM Manipulator (script.js)
Role: The Presenter
The final step. This function takes the clean text from the response handler and:
- Hides the loading indicator.
- Injects the AI-generated text into the designated display area on our webpage.
- Might perform some light formatting (e.g., converting markdown to HTML).
Technology: JavaScript (DOM Manipulation)
Step-by-Step Mechanical Walkthrough
Let’s trace a single request through this system:
- You type: “Give me three creative breakfast ideas that are high in protein” into a text box in your browser.
- You click: The “Generate” button.
script.jslistens: AneventListenerfires. It grabs the text you typed.script.jsprepares: It creates a JSON object like{ "contents": [{ "parts": [{ "text": "Give me three..." }] }] }. This is the specific format Google’s API expects, as detailed in the REST API overview.script.jssends: It usesfetchto send aPOSTrequest to the Google AI API endpoint (a specific URL), including your API key and the JSON object.- Google’s server receives: It authenticates your key, sends the prompt to the Gemini model, and gets a response.
- Google’s server replies: It sends back a complex JSON object containing the generated text, safety ratings, and other metadata.
script.jsreceives: Thefetchpromise resolves. Your code checks that the response is valid and then drills down into the JSON to find the actual text, which might be something like:1. Greek Yogurt Bowl... 2. Scrambled Eggs with Spinach... 3. Protein Smoothie...script.jsdisplays: It takes this text and sets it as theinnerHTMLof the resultsdivon yourindex.htmlpage.- You see: The breakfast ideas appear on your screen.
This entire process, from click to display, might take 1-5 seconds depending on the complexity of the request and network speed. Our job in the next module is to write the code that executes this dance perfectly.
Hands-on Code & Practical Implementation
This is the heart of our masterclass. We will now write the full, functional code for our Personal AI Dashboard. I’ll provide the complete code for each file, heavily commented to explain what every single line does. This is a practical, production-ready starting point for your own projects.
File 1: index.html (The Skeleton)
This file defines the structure of our page. It’s standard HTML5, linking to our CSS for style and our JavaScript for functionality. Notice the id attributes on key elements—these are the hooks our JavaScript will use to interact with the page.
Your AI Best Friend
Your personal assistant for daily tasks, powered by Google Gemini.
Daily Briefing Generator
Ask the AI to summarize your day, draft an email, or brainstorm ideas.
AI Response
File 2: style.css (The Look and Feel)
This CSS provides a clean, modern, and responsive design. It’s not the focus of the tutorial, but good presentation makes the tool much more pleasant to use. We’ve included styles for the main layout, cards, buttons, and a simple loading spinner.
css
/ General Body & Font Styling /
body {
font-family: -apple-system, BlinkMacSystemFont, “Segoe UI”, Roboto, Helvetica, Arial, sans-serif;
background-color: #f0f2f5;
color: #333;
line-height: 1.6;
margin: 0;
padding: 20px;
}
.container {
max-width: 800px;
margin: 0 auto;
}
header {
text-align: center;
margin-bottom: 40px;
}
header h1 {
font-size: 2.5rem;
color: #1a73e8;
}
/ Card-based layout /
.card {
background-color: #ffffff;
border-radius: 8px;
box-shadow: 0 4px 6px rgba(0, 0, 0, 0.1);
padding: 25px;
margin-bottom: 25px;
}
.card h2 {
margin-top: 0;
border-bottom: 1px solid #e0e0e0;
padding-bottom: 10px;
margin-bottom: 20px;
color: #1a73e8;
}
/ Prompt Input Area /
.prompt-container {
display: flex;
flex-direction: column;
gap: 15px;
}
#prompt-input {
width: 100%;
min-height: 120px;
padding: 12px;
border: 1px solid #ccc;
border-radius: 6px;
font-size: 1rem;
font-family: inherit;
resize: vertical;
box-sizing: border-box; / Important for padding and width /
}
#generate-btn {
align-self: flex-end; / Pushes button to the right /
padding: 12px 25px;
font-size: 1rem;
font-weight: bold;
color: #fff;
background-color: #1a73e8;
border: none;
border-radius: 6px;
cursor: pointer;
transition: background-color 0.3s ease;
}
#generate-btn:hover {
background-color: #155ab6;
}
#generate-btn:disabled {
background-color: #9e9e9e;
cursor: not-allowed;
}
/ Result Area & Loader /
#result-text {
white-space: pre-wrap; / Preserves whitespace and line breaks from the AI response /
background-color: #f8f9fa;
padding: 20px;
border-radius: 6px;
border: 1px solid #e0e0e0;
min-height: 100px;
}
.